
 Save
Save
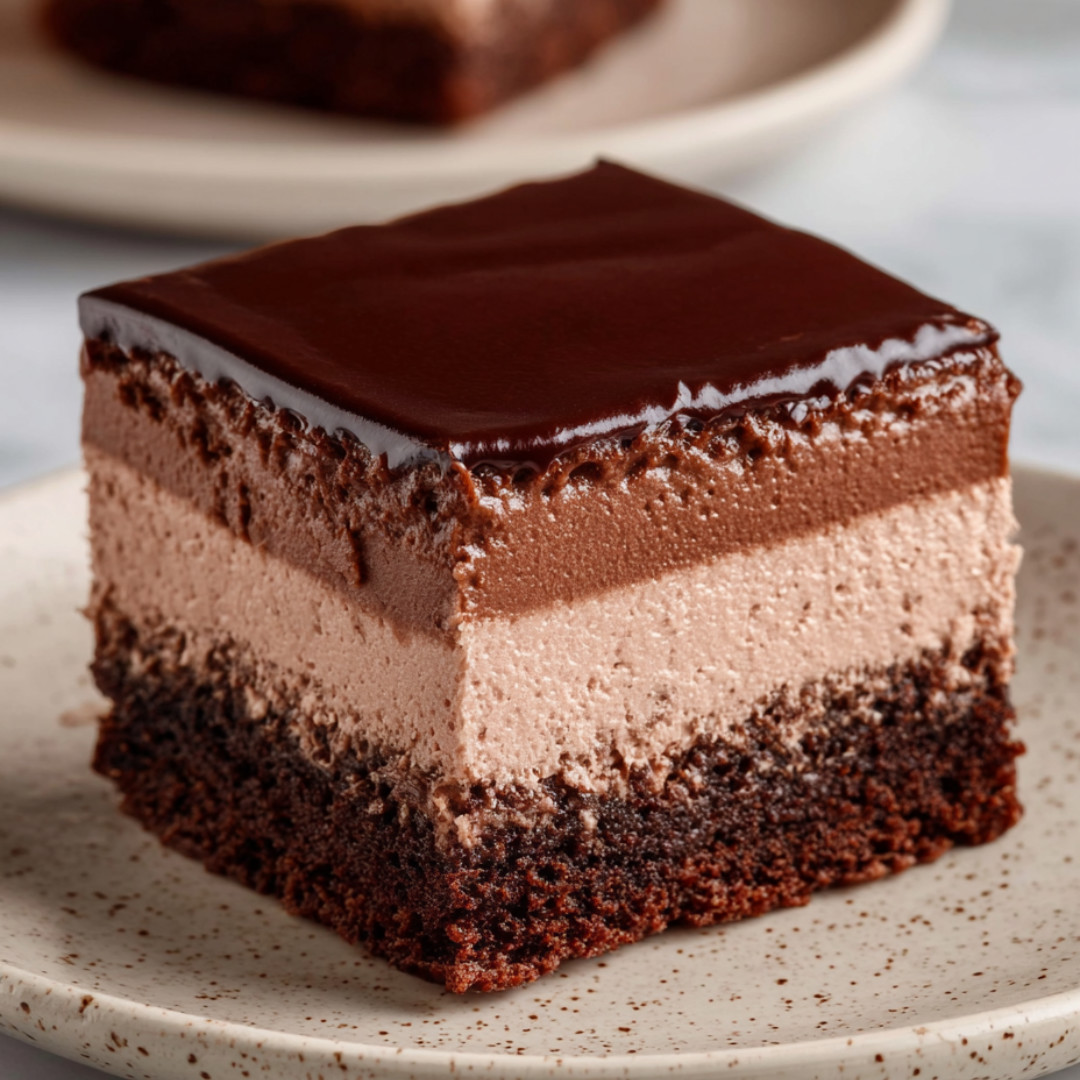
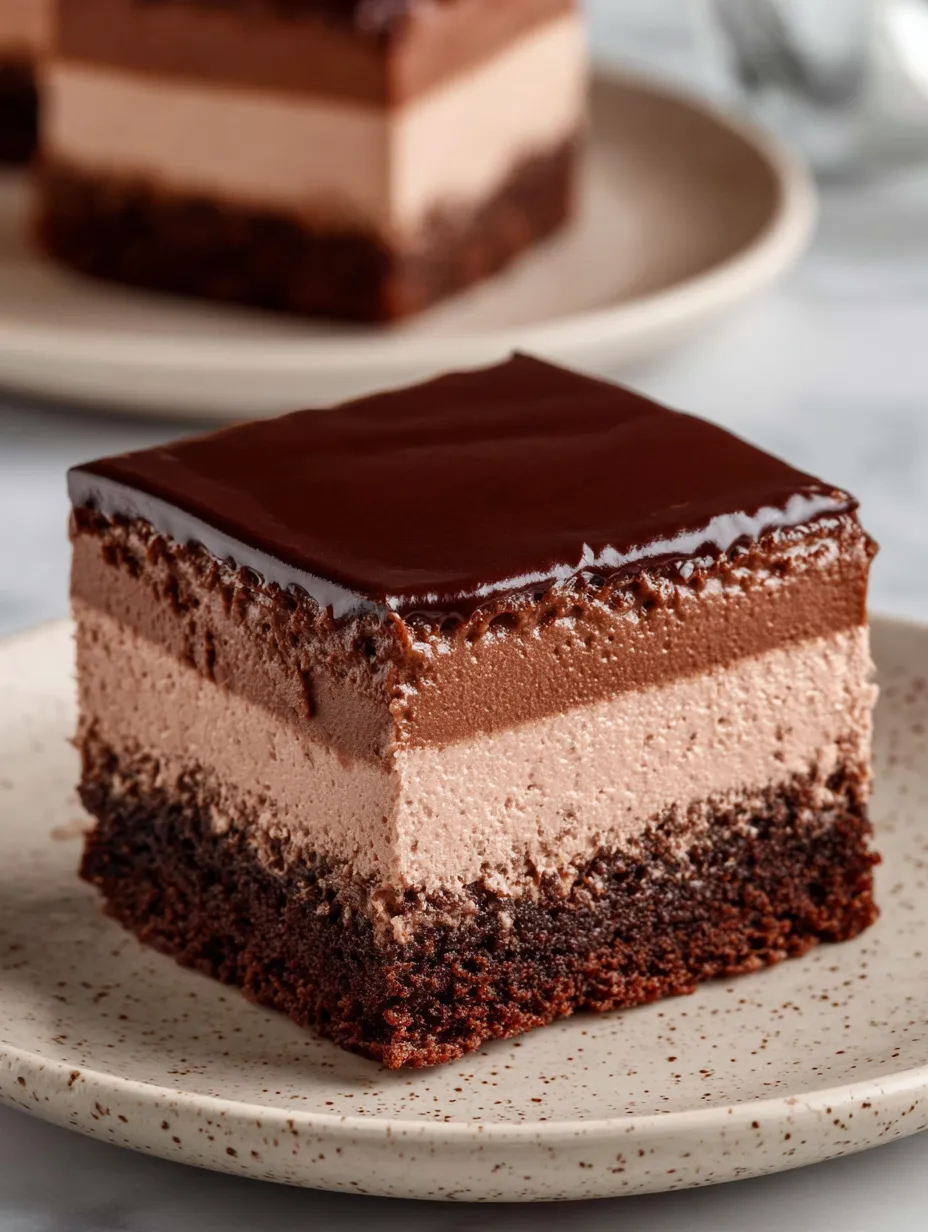
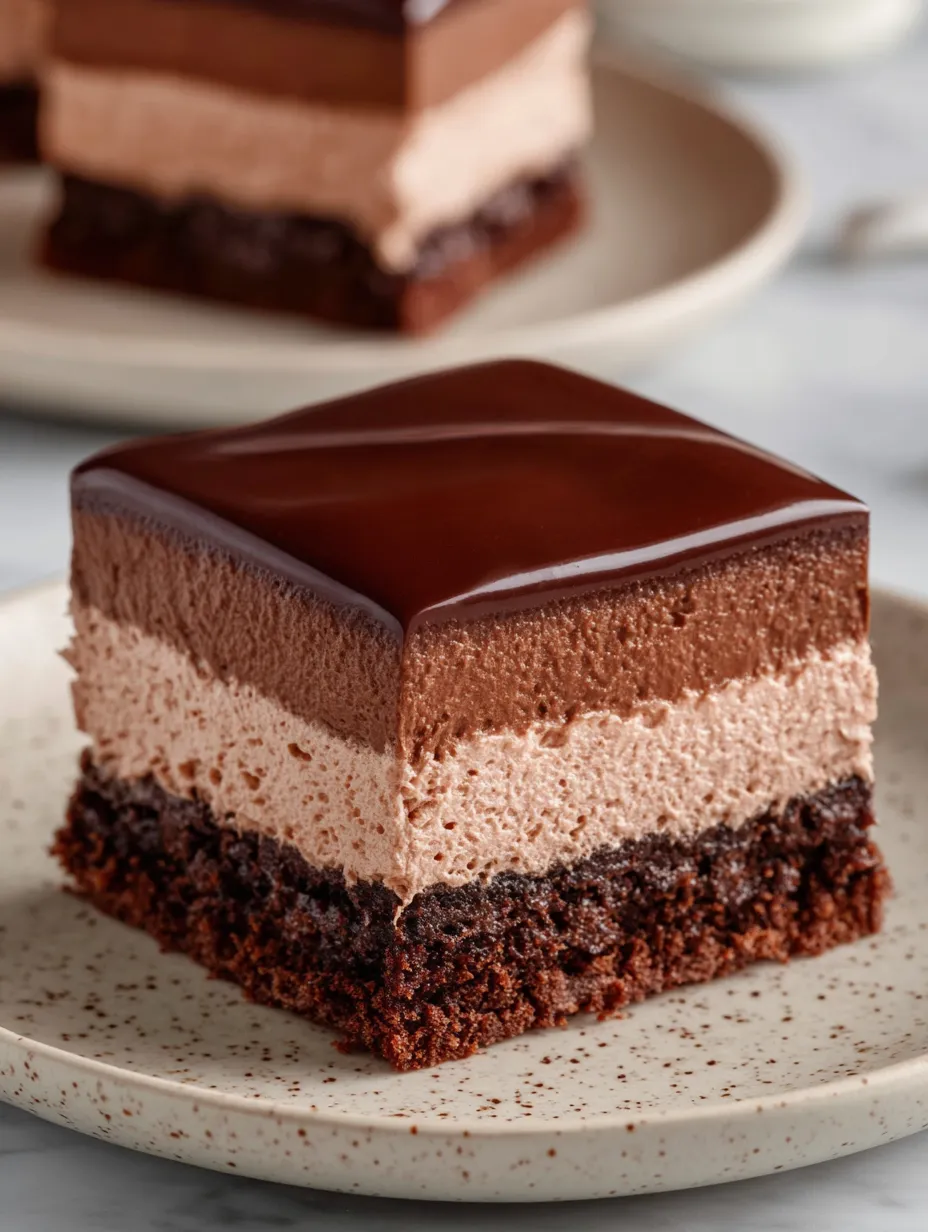
When you want a dessert that wows, these brownies always hit the spot. They're stacked with layers—chewy chocolate base, fluffy chocolate mousse, and a glossy chocolate topper. But trust me, anyone comfortable in their own kitchen can make them happen, no sweat.
I baked these the first time for someone’s birthday, and now every friend begs me to make them again. People are always amazed at how fancy they look, but honestly, all you need are straightforward ingredients.
Dreamy Ingredients
- Powdered sugar: not too sweet and helps keep the mousse light Sift it in to get rid of lumps
- Semisweet chocolate: forms the base for both mousse and topping Use quality bars you’d snack on
- Heavy whipping cream: makes the mousse and ganache luxuriously smooth Pick cream with at least 36% fat if you can
- Baking powder: adds a bit of lift so you don’t end up with bricks
- Salt: don’t skip this or the brownies will taste flat
- All-purpose flour: for structure that keeps everything tender
- Unsweetened cocoa powder: gives a strong chocolate punch Go for dark or Dutch-processed if possible
- Vanilla extract: makes the chocolate flavors pop Use pure vanilla for best impact
- Large eggs: they hold your brownies together and make them thick Use fresh eggs if you can
- Granulated sugar: sweetens and gives brownies those shiny crackly tops
- Milk: melts into the chocolate for silky mousse
- Unsalted butter: for that fudgy chew Grab the good stuff when you can
Easy Step-by-Step
- Finish with Ganache:
- Chop up your semisweet chocolate and put it in a bowl. Heat your heavy cream to a simmer and pour it over the chocolate. Let it hang out a few minutes and melt down. Stir gently until it becomes silky. After it thickens up for five minutes, pour right on top of your cold mousse and smooth it out. Chill for an hour or so until the top’s set.
- Craft the Mousse Layer:
- Pour warm milk over chopped chocolate and leave it for two minutes—don’t touch it yet. Once it looks melty, give it a stir so it’s glossy, and let it cool to room temp so it won’t melt your whipped cream. Grab a new bowl and whip cold heavy cream and powdered sugar until it starts forming soft peaks. Gently mix in the cooled chocolate with a spatula so everything stays fluffy. Spread all of it right on top of your cooled brownies and pop it in the fridge for at least two hours.
- Bake Brownie Base:
- Start by mixing melted butter, sugar, eggs, and vanilla really well until it looks shiny. Sift in cocoa, flour, salt, and baking powder, then gently fold just until it comes together. Spread in a lined 8-inch pan, making sure it’s even. Bake at 350°F for about 20-25 minutes. You want crumbs, not raw batter, on a toothpick when you check. Cool totally in the pan before you stack the next part on top.
Whenever I make these, people rave about how light and silky the mousse is. My nephew claimed they’re better than any bakery brownie he’s had, and now we bring them out for every family party.
Storage Know-How
Wrap leftovers tightly and keep in the fridge for up to four days. For longer keeping, freeze cut bars in a sealed box and let them sit out to warm up before eating. The mousse stays soft and the ganache keeps that shine even out of the freezer.
Swap Options
Switch to dark chocolate for even more cocoa flavor, or swap in milk chocolate for something gentler. You can use a gluten-free blend for the brownie and it still works great. Want them extra-stacked Drop in half a cup of chopped pecans or walnuts before you bake the base.
Serve It Up
These are at their best cold right from the fridge if you want neat squares. For extra style on dessert night, add whipped cream and fresh berries to each one. They taste amazing with strong coffee or even a splash of red wine.
Baking Memories
Treats like these always showed up at our holiday tables and bake sales when I was a kid. My folks would make them for birthdays or Valentine’s since they feel kind of special. They’re cozy enough for family but fancy enough to show off.
Frequently Asked Cooking Questions
- → What’s the trick to keeping the brownie base moist?
Pull it from the oven as soon as a toothpick comes out with a few sticky crumbs left. Cool it inside the baking pan so it stays soft and fudgy.
- → Is it alright to make these in advance?
Go for it! Both the mousse and brownie layers hold up in the fridge. Cover well, chill overnight, and cut into squares when you’re ready to eat.
- → Could I use milk or dark chocolate if I don’t have semisweet?
Absolutely. Swap in milk or dark for the semisweet in either the ganache or the mousse. Just taste and adjust the sugar, so it’s right for you.
- → Got any tips for nice, neat bars?
Grab a hot knife, wipe it off before every cut, and your slices will show off those tasty layers perfectly!
- → What’s the best way to keep leftovers fresh?
Pop them into a tightly closed container and put them in the fridge. They’ll stay delicious for around four days, and the layers won’t get mushy.
- → Can I swap in something else for the cream in the mousse?
You can! Use full-fat coconut cream instead of regular whipping cream for a dairy-free twist, but it’ll taste and feel a little different.