
 Save
Save
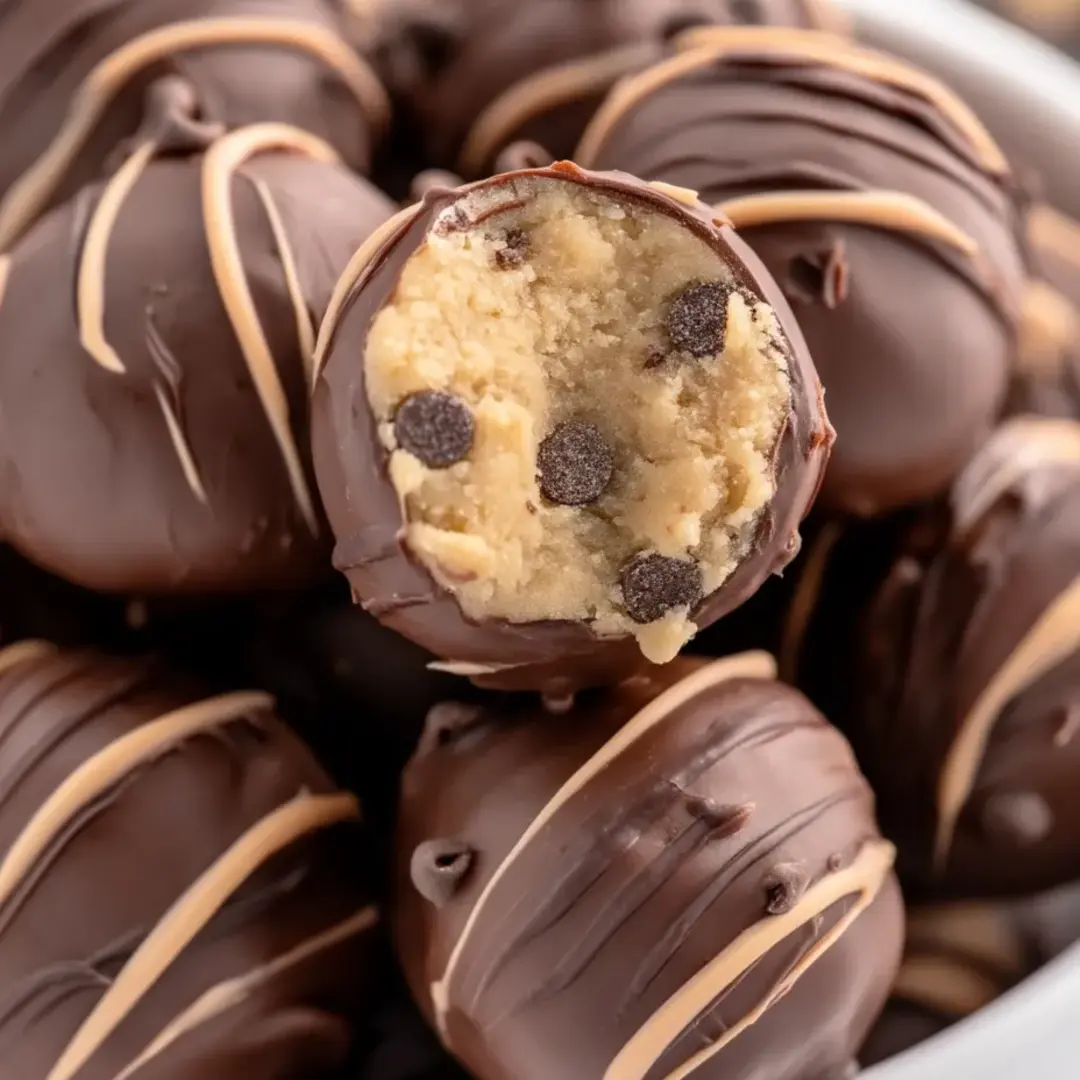
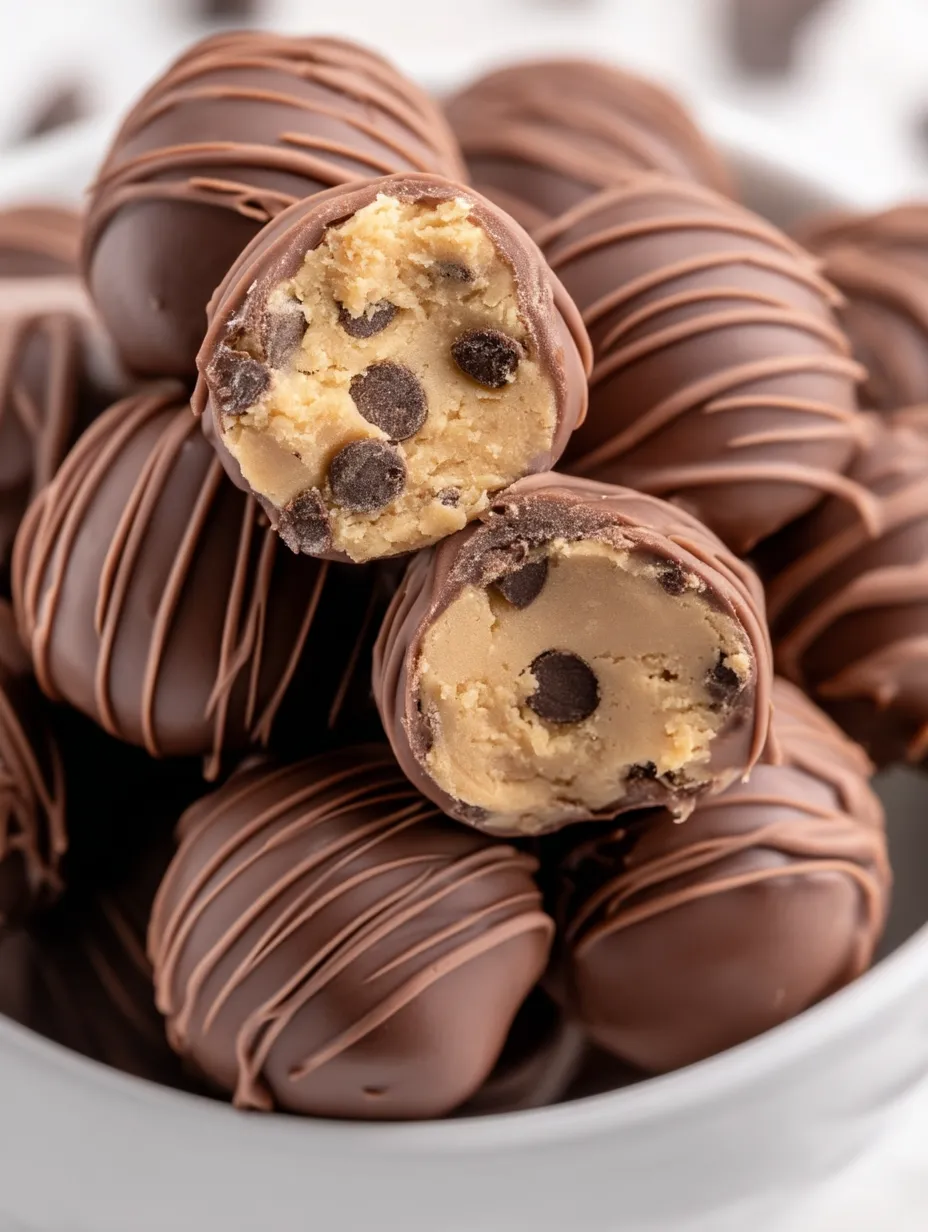
These indulgent no-bake cookie dough bites turn everyone's secret snacking weakness—unbaked cookie mixture—into a totally safe, pop-in-your-mouth delight. The perfect mix of smooth dough centers wrapped in velvety chocolate makes an addictive little treat that won't last long at any get-together.
I originally created these for my sister's birthday after she admitted she used to sneak raw dough as a kid. They were such a hit that we now can't have a family celebration without them showing up.
What You'll Need
- All-purpose flour: We'll heat it up to knock out any bacteria and make the raw dough totally safe
- Unsalted butter: Make sure it's soft at room temp for the creamiest base possible
- Light brown sugar: Gives that distinctive molasses hint and perfect dough texture
- Granulated sugar: Works with the brown sugar for that authentic cookie dough flavor
- Vanilla extract: Don't skimp with imitation stuff for best results
- Heavy cream: Makes everything smoother than regular milk would
- Salt: Brings out sweetness and makes all flavors pop
- Mini semi-sweet chocolate chips: The tiny ones work better than big chips in these small bites
- Dark chocolate melting wafers: They melt super smooth for dipping without any fuss
- Milk chocolate melting wafers: Adds a sweeter contrast for pretty decoration lines
How To Make Them
- Fix the flour:
- Lay flour flat on a parchment-covered baking sheet and bake at 300°F for 5-7 minutes. This kills any harmful bacteria in the raw flour. Let it cool all the way down before you move on or your dough will get too warm.
- Mix up your base:
- Beat butter, both types of sugar, and vanilla until it's super fluffy—go for about 3-4 minutes. This puts air in there for the right texture. Add heavy cream slowly while mixing on low until it's nice and smooth.
- Mix in dry stuff:
- Slowly add your cooled flour and salt while mixing on low. Do it bit by bit so you don't make a flour cloud mess. The dough should come together but still feel soft to touch.
- Put in chocolate chips:
- Use a wooden spoon to mix mini chocolate chips into your dough. Just mix until they're spread out evenly but don't overdo it or the dough will warm up. The small chips are key for the right bite.
- Roll and cool:
- Make 1-tablespoon balls by rolling the dough between your hands. Put them on parchment and stick them in the fridge for 10-15 minutes until they're firm. Proper cooling helps them keep their shape when dipped.
- Cover with chocolate:
- Melt dark chocolate wafers in the microwave at half power, stirring often. Dunk each cold dough ball completely, lift it out with a fork, tap off extra chocolate, and set on parchment. Work with small batches so your dough stays cold.
- Add pretty lines:
- Melt milk chocolate wafers and put in a small plastic bag with corner snipped. Squiggle lines over set truffles to make them look fancy and taste even better. Chill briefly until chocolate hardens.
The most fun part for me is making those fancy chocolate drizzle patterns on top. These days my little girl joins me in the kitchen, and we try to outdo each other with our designs—somehow she always gets voted the winner.
Keeping Them Fresh
These little treats stay perfectly delicious when you keep them in the fridge in an airtight container with parchment paper between the layers so they don't stick together. They'll be good for about 5 days this way. When you want to eat them, let them sit out for around 10 minutes first—that way the centers get just soft enough for the best creamy bite.

Mix It Up
The basic dough gives you tons of ways to get creative. Try mixing in crushed Oreos instead of chocolate chips for a cookies and cream version. If you love peanut butter, just add 2 tablespoons of the creamy kind to your dough. During Christmas or other holidays, throw some colorful sprinkles into the dough or on top of the wet chocolate drizzle to make them festive.
Fixed Common Problems
If white marks show up on your chocolate after it hardens, don't worry—it's just bloom from temperature changes. It's totally safe to eat. To avoid this, make sure your truffles are really cold before dipping and don't move them between hot and cold places too quickly. If your dough feels too sticky when you're trying to roll it, put it back in the fridge longer instead of adding more flour, which can dry out your truffles.
Frequently Asked Cooking Questions
- → How can I safely prepare the flour?
Warm the flour on a baking sheet lined with parchment at 300°F for about 5-7 minutes and watch it doesn't get too dark. Let it cool all the way before you start using it.
- → Would standard sized chocolate chips work fine?
The tiny chocolate chips blend better throughout the mixture. Bigger chips might mess up how smooth your truffles feel.
- → What's a good technique for melting the chocolate wafers?
Put your wafers in a bowl that's microwave-safe and heat at half power, making sure to stir after every half minute until it's all smooth.
- → Any tricks to keep the dough from getting stuck to my hands?
Just get your hands a little wet with water and the dough won't stick while you're rolling it into balls.
- → What's a nice way to package these as presents?
Pop your finished truffles into pretty boxes or tie them up in clear wrap with some nice ribbons when giving them as gifts.