
 Save
Save
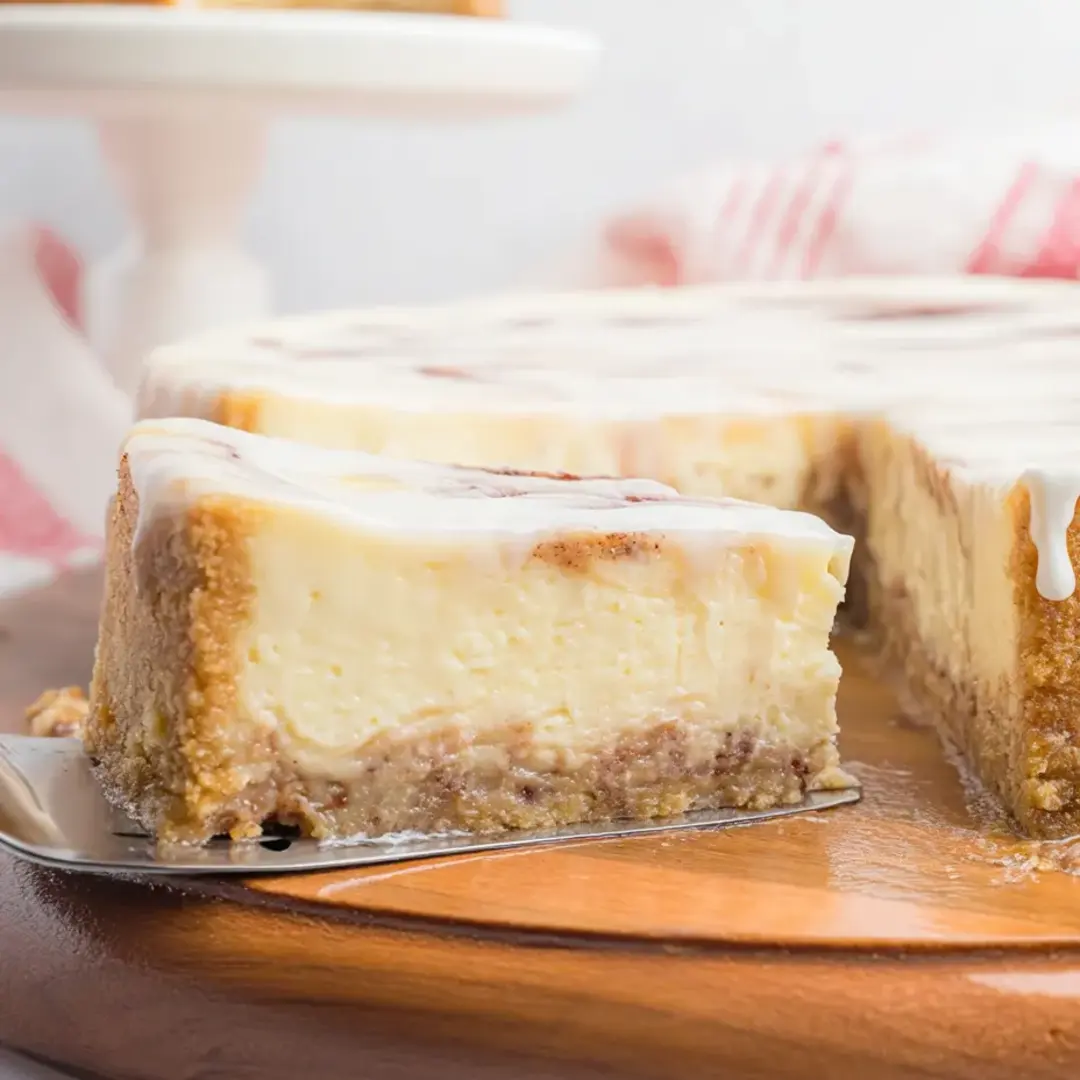
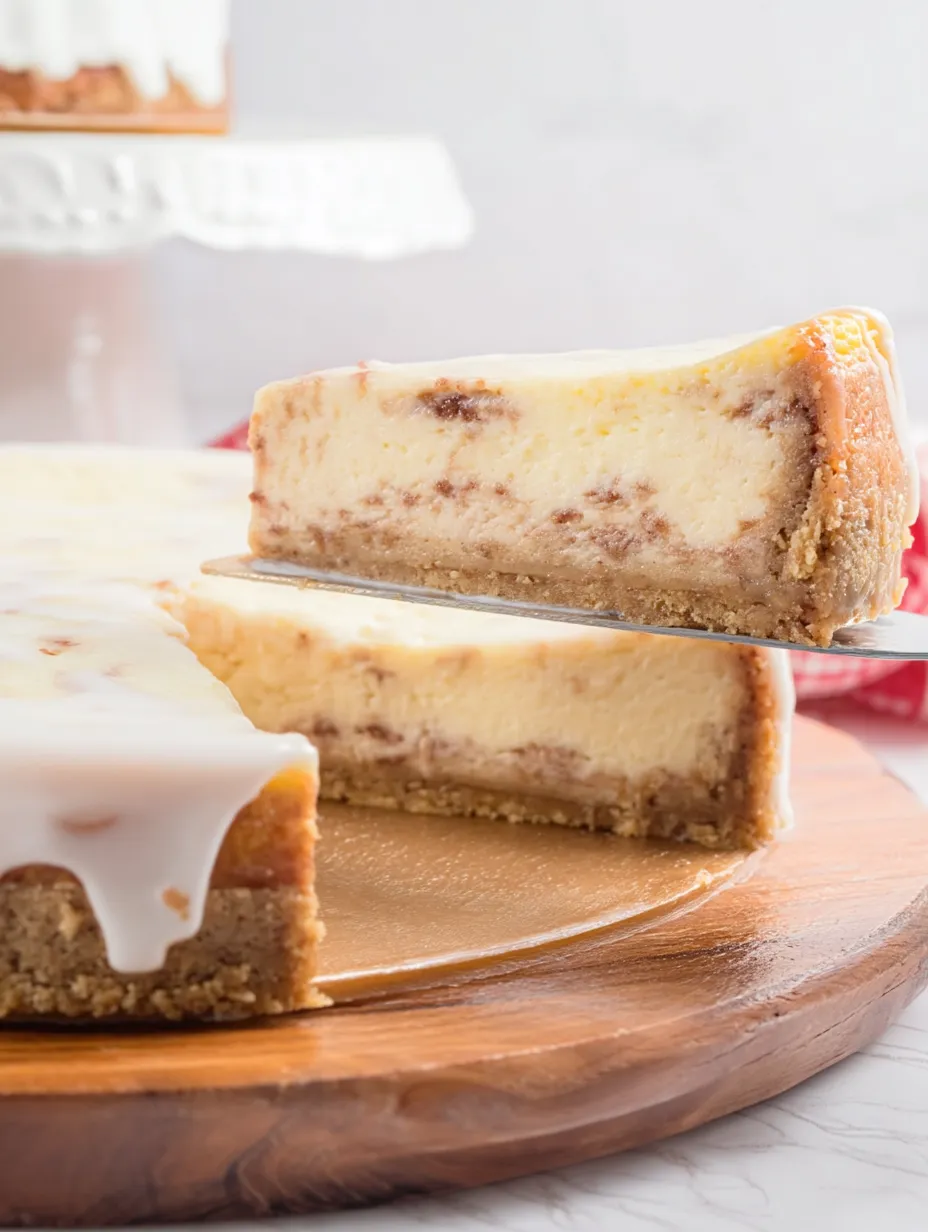
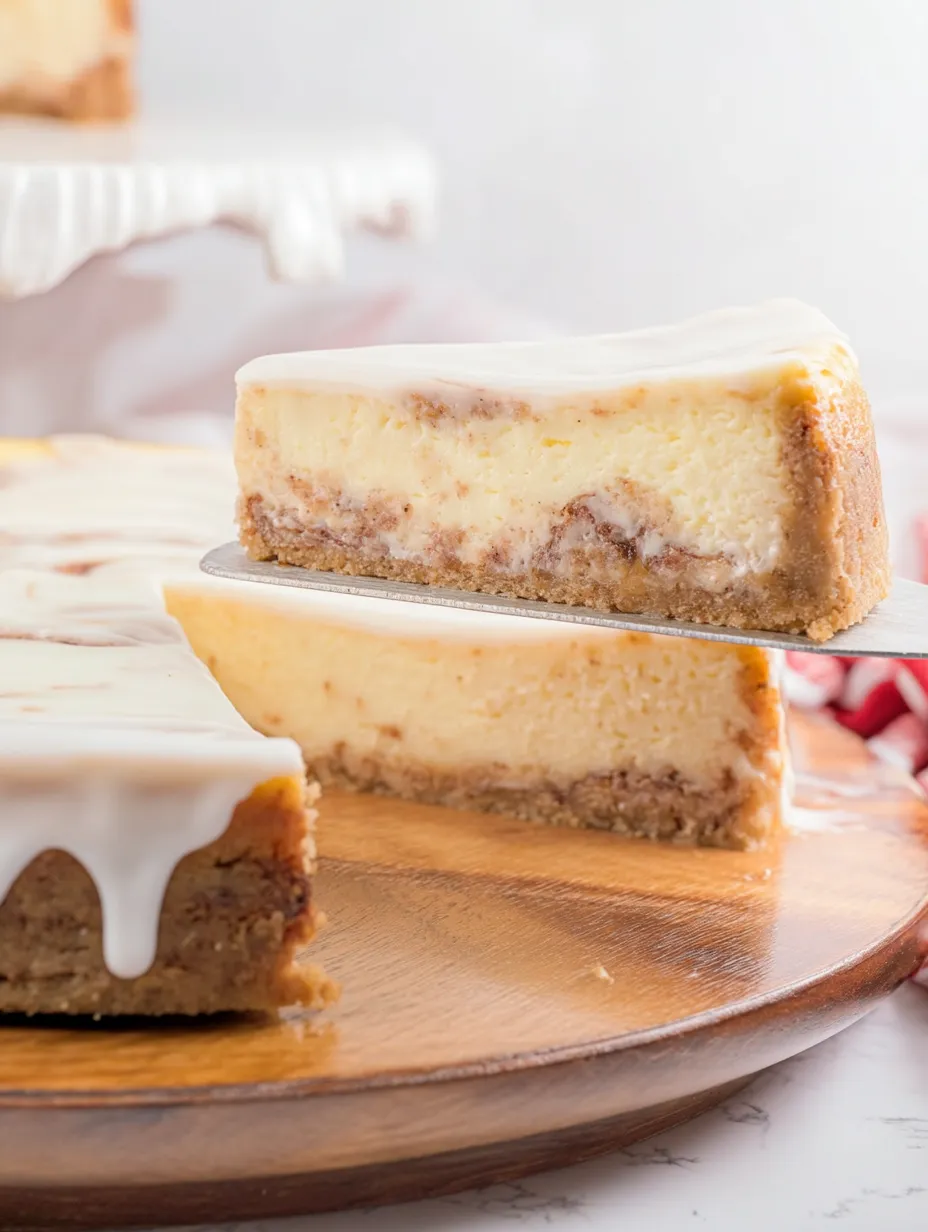
This divine honey bun cheesecake blends two favorite sweets into one amazing treat. The crumbly vanilla wafer base works perfectly with the decadent, honey-filled cheesecake, while cinnamon swirls and sweet topping bring that honey bun taste to every mouthful.
I whipped this up for my sister's birthday once, and now it's what everyone begs for at family get-togethers. There's something about mixing that familiar honey bun flavor with creamy cheesecake that takes everybody back to their childhood days.
Ingredients
- Nilla Wafers: Give a yummy, vanilla-rich base that works wonders with the filling
- Cream Cheese: Forms the tangy, rich foundation - works best when it's full-fat and not cold from the fridge
- Honey: Brings natural sweetness and real honey bun taste - grab the good stuff for best flavor
- Ground Cinnamon: Shows up in the crust and swirl, adding warmth and that signature honey bun kick
- Sour Cream: Makes the cheesecake extra smooth and velvety compared to just using cream cheese
Step-by-Step Instructions
- Prepare the Crust:
- Crush Nilla wafers until they're super fine and sandy using your blender or food processor. Mix them thoroughly with melted butter and cinnamon, making sure all crumbs get coated. Push the mixture firmly into your springform pan, covering the bottom and going halfway up the sides. A measuring cup works great for pressing it down tight. Stick it in the fridge while you work on the filling to let it set up nicely.
- Create the Filling:
- Mix cream cheese and sugar on low until it's totally smooth and fluffy, but don't whip in too much air. Add your eggs one by one, waiting until each disappears before adding another. Fold in sour cream, honey, vanilla, and flour just until everything comes together. You want a silky mix with zero lumps, which is why room temp ingredients matter so much.
- Layer and Swirl:
- Pour half your cheesecake mix onto the cold crust and spread it flat. Sprinkle half your cinnamon-brown sugar blend across the top. Carefully add the rest of the batter without messing up your layers. Scatter the leftover cinnamon-sugar on top. Take a knife and make some gentle swirls by pulling through both mixtures, but don't go crazy. Just 4-5 passes will make pretty patterns.
- Water Bath Baking:
- Set your springform pan inside a bigger pan and pour hot water halfway up the sides. This creates steam that stops cracks and cooks everything evenly. Bake until the edges set but the middle still jiggles slightly. Turn the oven off, open the door a crack, and let the cheesecake cool slowly for 45 minutes. This gradual cooling also prevents cracking.
- Glaze and Serve:
- After cooling in the fridge for at least 4 hours, mix up the glaze by stirring powdered sugar, milk, and vanilla until smooth. Take the cheesecake out of the pan by sliding a warm knife around the edges. Pour your glaze over the top, letting it run down the sides. The glaze will firm up a bit in the fridge before you serve it.
The honey really shines in this dessert. I found that picking up quality local honey instead of the regular store stuff makes the taste so much better. My family can always tell when I've splurged on the fancy honey from our local farmers market.
Mastering the Water Bath
Don't let the water bath scare you off. It's the key to getting your cheesecake just right. Wrap your springform pan in foil before putting it in the water bath so water doesn't leak in. The steam during baking keeps everything moist and stops that big crack that often shows up in homemade cheesecakes. If you're worried about spilling hot water, you can put the springform in the bigger pan first, put both in the oven, then carefully pour hot water into the outer pan.
Make Ahead Magic
This cheesecake actually tastes better after a day or two, which is great when you're busy. You can make it up to two days before you need it and keep it covered in your fridge. The flavors mix together wonderfully over time, making everything taste even better. Just add the glaze right before serving so it looks fresh. This timing trick makes the honey bun cheesecake perfect for holidays or special events when you don't want to do all the work on the same day.
Serving Suggestions
Take this already yummy dessert to the next level with some simple extras. Try a drizzle of warm honey, some crunchy toasted pecans, or a dollop of fresh whipped cream to bring out the flavors even more. For that restaurant look, run your knife under hot water and wipe it dry between each slice to get clean cuts. This dessert goes great with a cup of coffee or a glass of sweet Moscato wine.
Frequently Asked Cooking Questions
- → How do I stop my cheesecake from cracking?
Mix your room temp ingredients gently and don't overbeat them. You can also try baking in a water bath to help the heat spread evenly.
- → Can I make the bottom layer ahead?
You bet! You can get the crust ready and keep it in your fridge up to a day before you need it.
- → What honey should I pick for this treat?
Go for a soft, light honey that won't take over the lovely creamy taste of your cheesecake.
- → How can I get those pretty swirls?
Take a knife and lightly drag it through the cinnamon-sugar mix and filling. Don't mix too much or you'll lose the marble look.
- → What's the best way to keep leftovers?
Cover it well and stick it in the fridge. It'll stay tasty for about five days.
- → Is it OK to freeze this dessert?
Sure thing! Just wrap it tight in plastic and then foil. It'll keep for three months frozen. Let it thaw in the fridge when you're ready to eat it.