
 Save
Save
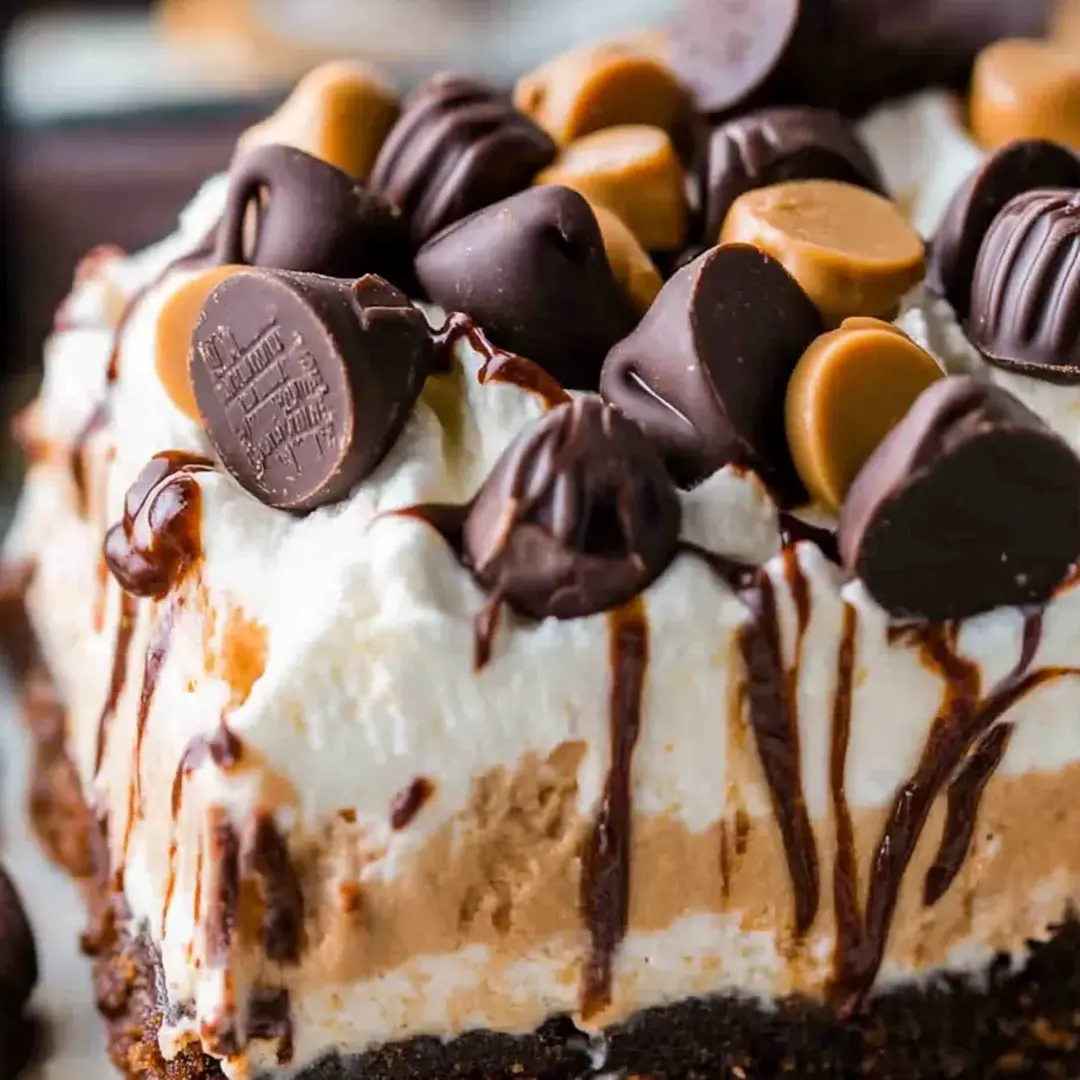
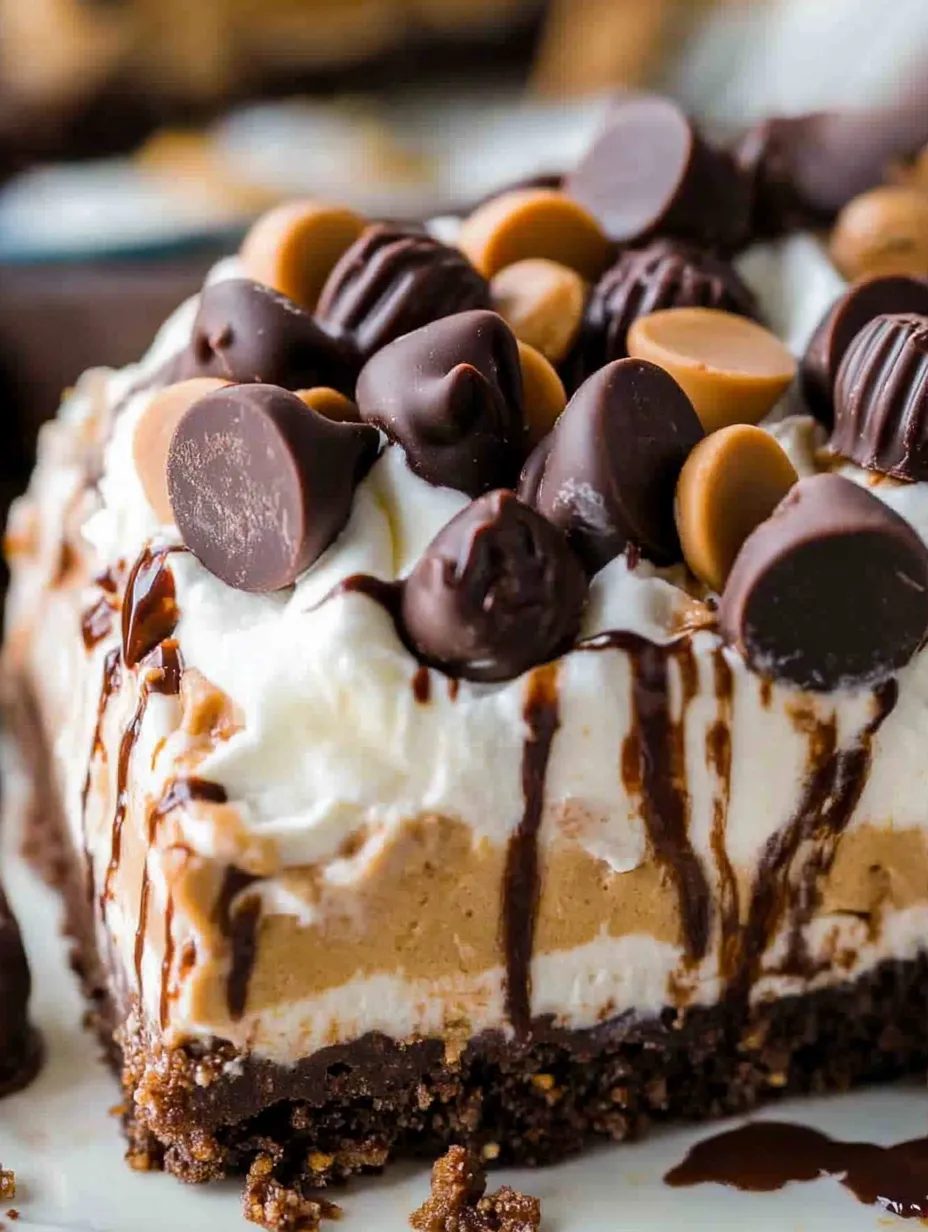
This no-bake peanut butter and chocolate layered treat combines two perfect flavor buddies in a simple dessert that's become a go-to for family get-togethers and shared meals. With its Oreo base, smooth peanut butter middle, rich chocolate pudding and fluffy topping, this sweet creation never sticks around long when I put it out.
I whipped this up for my boy's birthday when we were dealing with 95-degree weather outside. Everyone loved the cool, creamy layers so much that now they ask for this instead of regular cake at practically every family party.
Ingredients
- Oreo cookies: Make a tasty chocolate foundation that works wonderfully with the peanut butter
- Cream cheese: Adds a rich zesty base for the peanut butter section that cuts through sweetness
- Creamy peanut butter: Stick with familiar brands like Skippy or Jif to get the right texture in this dish
- Powdered sugar: Mixes perfectly into the peanut butter layer without any sugar grains
- Instant chocolate pudding mix: Cuts down prep time while giving you deep chocolate goodness
- Whipped topping: Such as Cool Whip makes everything light and airy - swap in real whipped cream if you want
- Mini Reese's Peanut Butter Cups: Give it a pretty look and extra chocolate-peanut butter kick
Step-by-Step Instructions
- Create the Oreo Crust:
- Crush cookies until you've got fine bits with no chunks left. Stir well with melted butter until it looks like damp sand. Pack it down firmly in your pan using a measuring cup bottom for an even layer. Don't skip the freezer time - it helps your base get solid before you add wet stuff on top.
- Prepare the Peanut Butter Layer:
- Make sure your cream cheese isn't cold at all to avoid bumps. Mix the cream cheese, peanut butter and milk until it's totally smooth and puffy, which needs about 2 minutes on medium. Add powdered sugar bit by bit, around 1/4 cup each time so it blends nicely. Gently fold in whipped topping with a rubber spatula to keep it as fluffy as possible.
- Mix the Chocolate Layer:
- Beat the pudding mix and milk hard for a full 2 minutes. We're using less milk than the box says to make it thicker so it sits well between layers. Don't forget to scrape down your bowl sides to catch all the pudding mix for a smooth result.
- Assemble the Final Layers:
- Spread whipped topping evenly using an angled spatula for a nice finish. Scatter toppings all over the top and add chocolate syrup in zigzags if you want. You can't rush the chilling time - it's needed for everything to set right and taste its best.
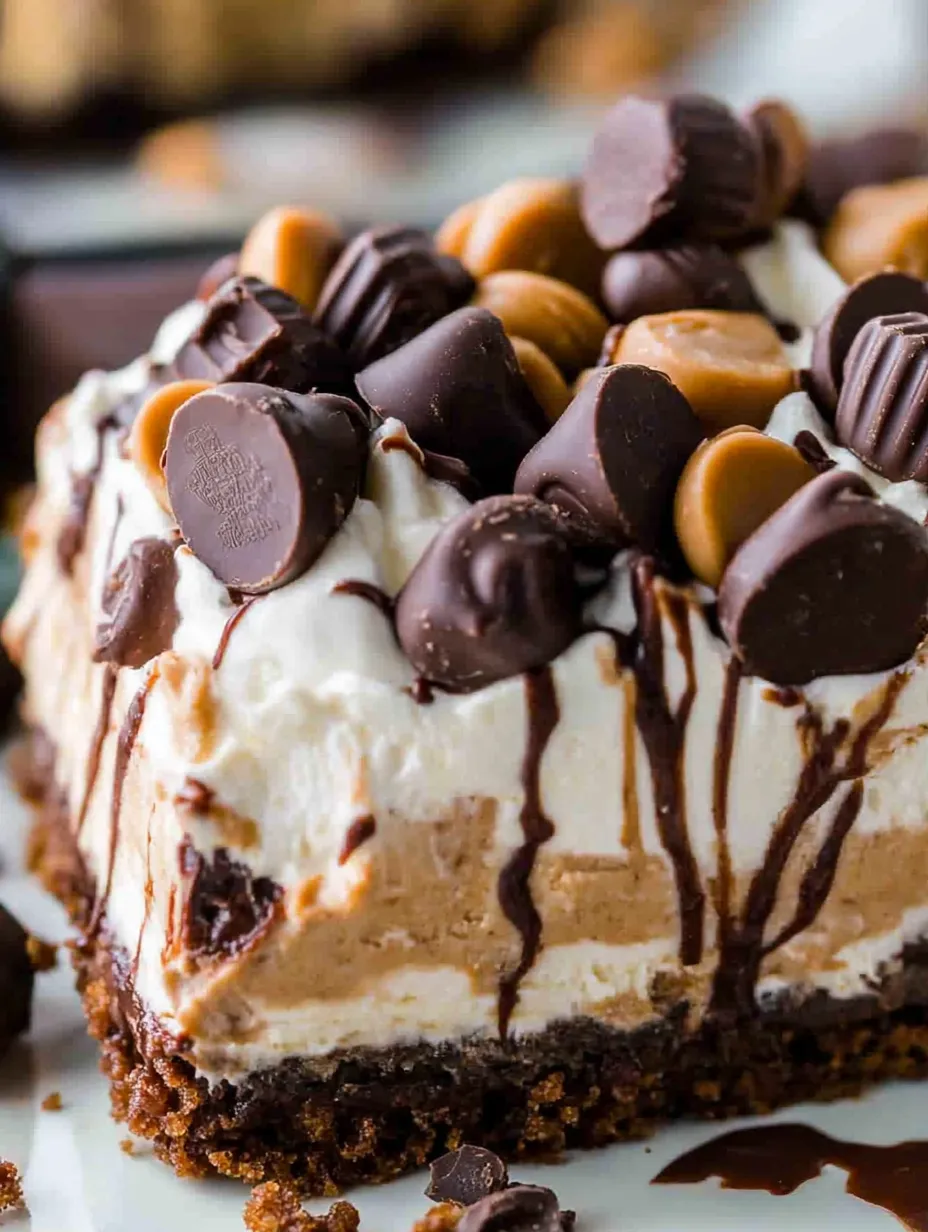
What really makes this dessert pop is how the textures play against each other. I found that quickly freezing each layer before adding the next one gives you cleaner, sharper layers that look amazing when cut. My family can't get enough of the crunchy Reese's pieces against all those smooth, creamy layers.
Storing Leftovers
This peanut butter treat stays good in the fridge for up to 5 days, though we usually finish it way before then. Cover it tightly with plastic wrap pushed right against the top to stop it drying out or picking up fridge smells. It actually tastes better after a day as the flavors mix together and the crust gets slightly softer. For the best experience, let it sit out about 15 minutes before eating so it's not too cold.
Smart Substitutions
The classic recipe uses Oreos for that chocolate base, but you can try different cookies too. Nutter Butters make an extra peanut buttery bottom, while chocolate graham crackers work as a lighter option. If you want less sugar, go for sugar-free pudding and light cream cheese - you'll still get that rich feel. People with peanut allergies can swap in almond or sunflower seed butter, though it will taste a bit different.
Serving Suggestions
This dessert looks best cut into squares and placed on small plates with a little extra chocolate sauce drizzled on top. For fancy dinner parties, try cutting with a warmed knife for clean edges and add a fresh mint leaf. During hot months, serve with some raspberries or strawberry slices to balance the richness. For a special touch, warm up extra peanut butter and pour it over individual pieces just before serving.
Frequently Asked Cooking Questions
- → Can I use a different cookie for the crust?
Absolutely, try graham crackers, chocolate wafers, or any crunchy cookie you like instead of Oreos.
- → How long should I refrigerate the dessert?
Make sure to chill it at least 3 hours so all the layers firm up and you can cut clean slices.
- → Can I substitute Cool Whip with whipped cream?
You can definitely swap in freshly whipped cream for the Cool Whip in both the peanut butter mixture and the top layer.
- → How can I make this dessert gluten-free?
Just pick gluten-free cookies for your base and double-check that all other ingredients don't contain gluten.
- → What other toppings can I use?
Go wild with your favorites like drizzled caramel, crushed nuts, or colorful sprinkles for extra crunch and flavor pop.