
 Save
Save
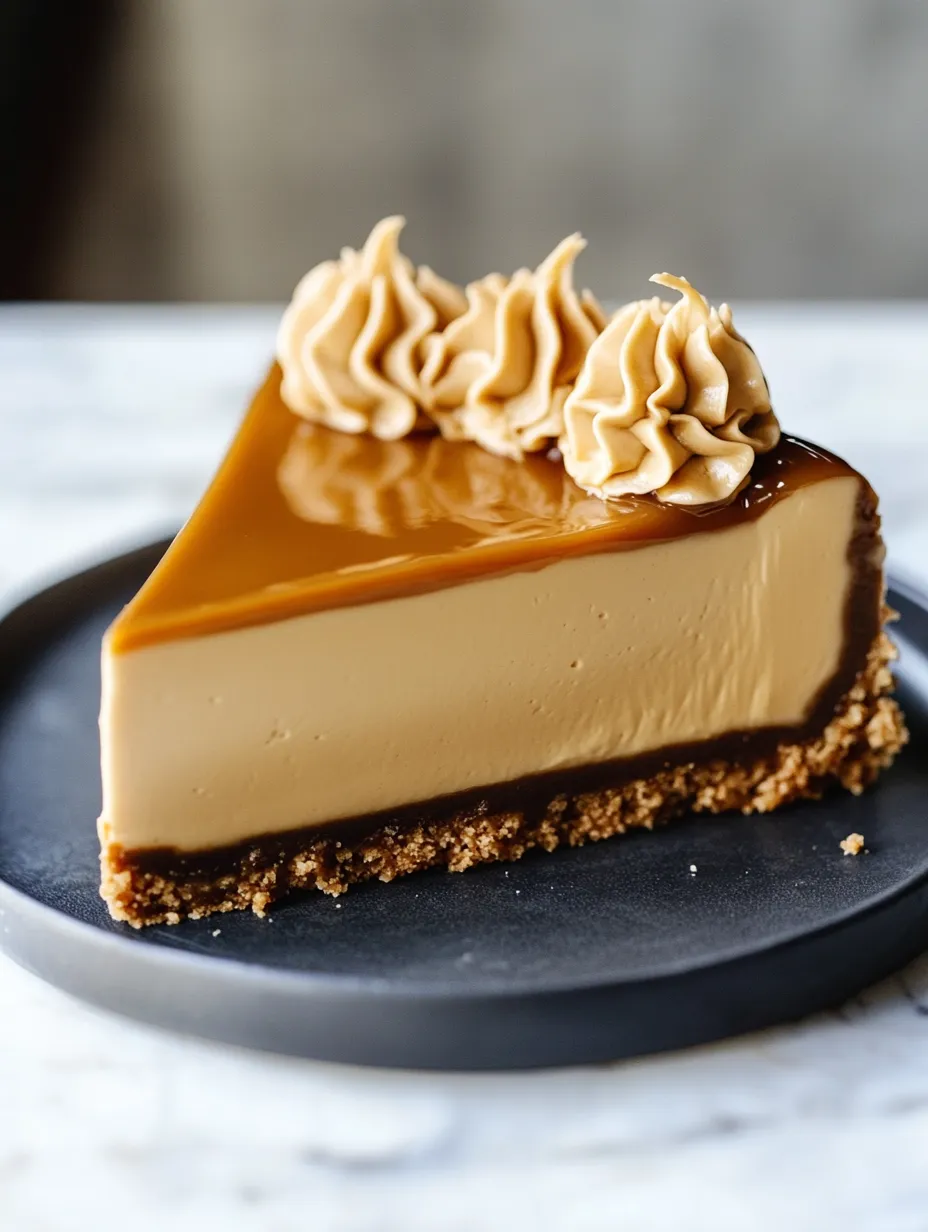
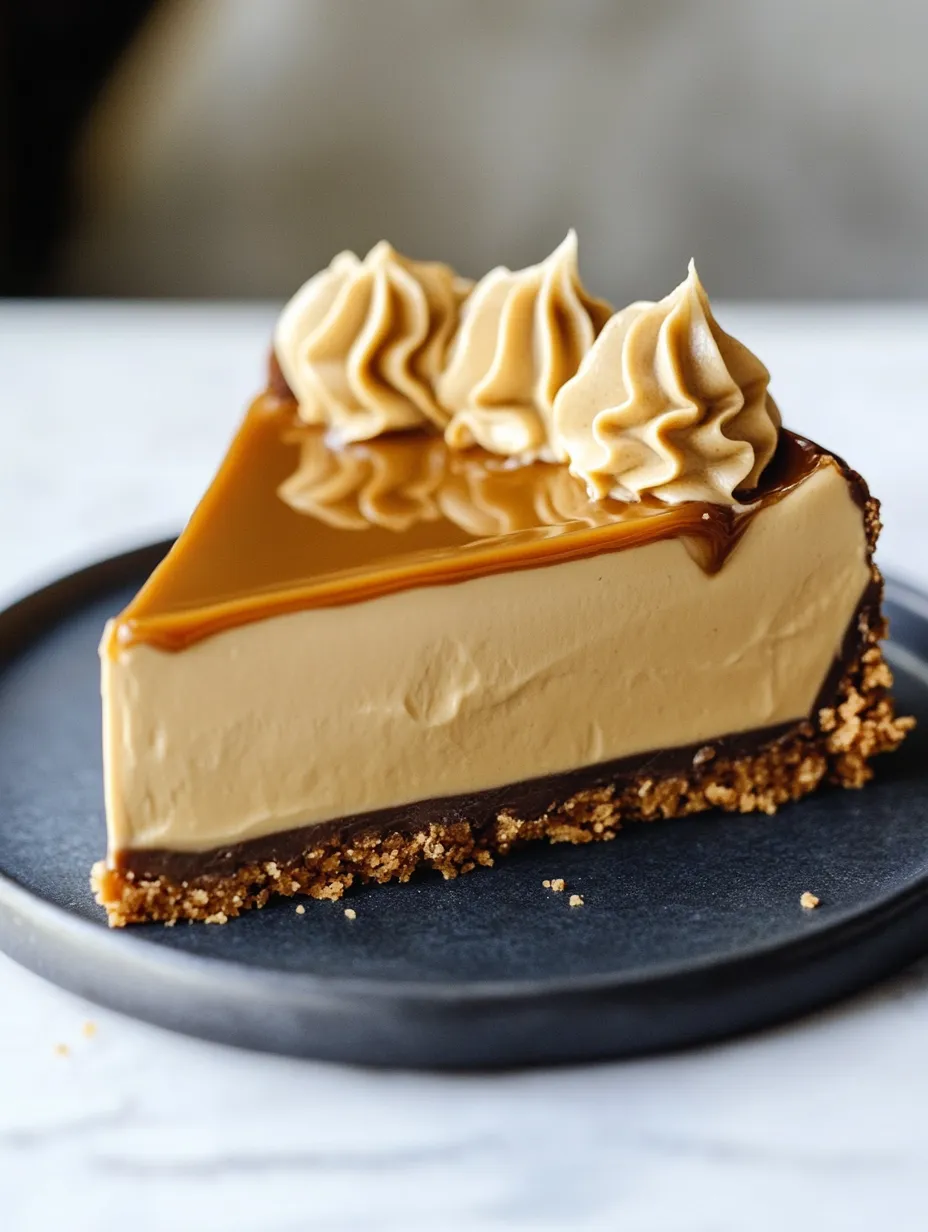
This butterscotch cheesecake blends the indulgence of brown sugar, smooth texture of cream cheese, and delightful butterscotch chips for a treat that feels like comfort in every bite. The mix of crunchy graham cracker base, silky filling, and shiny butterscotch topping creates a stunning dessert perfect for celebrating special moments.
I whipped up this cheesecake for my mom's birthday when she wanted something other than her regular chocolate cake. When she tried her first taste, she closed her eyes in total enjoyment, and it's been what we make for family celebrations ever since.
Ingredients
- Graham cracker crumbs: create the tasty foundation with their honey-like sweetness that works perfectly against the smooth filling
- Unsalted butter: holds the crust together while adding flavor—try getting fancy butter for extra richness
- Brown sugar: brings those lovely caramel undertones that boost the butterscotch taste—go for dark brown for stronger flavor
- Cream cheese: delivers that classic tangy smoothness—always go full-fat and let it warm up for the best results
- Sour cream: gives moisture and slight tartness to balance the sweetness
- Butterscotch chips: pack every mouthful with sweet buttery goodness—look for ones with real butter listed
- Heavy cream: makes a velvety butterscotch topping—the fattier the better
Step-by-Step Instructions
- Prepare the Crust:
- Mix graham cracker crumbs, melted butter, and sugar until everything looks wet. You should be able to squeeze it and have it stick together without feeling too greasy. Push it firmly into your springform pan, using a measuring cup to flatten it with slightly higher edges. When it turns golden brown after baking, you'll know the sugars have caramelized just right.
- Make the Filling:
- Mix cream cheese and brown sugar until it's completely smooth without any lumps, about 3-4 minutes on medium. It should look light and fluffy. Add your eggs one by one, mixing just enough after each. Don't mix too much now or you'll get too much air and end up with cracks. Gently fold in butterscotch chips with a rubber spatula to keep that fluffy texture.
- Create the Water Bath:
- Wrap your springform pan twice with sturdy aluminum foil, making sure there aren't any spots where water could get in. Set it in a roasting pan with hot water halfway up the sides. This gentle, moist heat keeps the top from cracking and helps everything bake evenly.
- Bake to Perfection:
- Your cheesecake is ready when the edges look set but the middle still jiggles a bit when you shake it gently. If you stick a knife about 1 inch from the edge, it should come out clean. Cooling it slowly is super important to avoid cracks, so don't try to rush this part.
- Add the Topping:
- Let your butterscotch topping cool until it gets a bit thicker but still pours easily. If it's too hot, it'll soak into the cake; too cool and it won't spread right. Pour from the middle outward, using a spoon to guide it toward the edges in a pretty pattern.
The butterscotch chips really make this treat special. I found out how amazing they are while trying different flavors for my bakery's changing menu. The way they melt into tiny pockets of sweet, buttery goodness throughout makes an ordinary cheesecake into something you'll remember. My customers would often close their eyes during that first bite, just like my mom did.
Avoiding Those Annoying Cracks
Using a water bath is your best bet against those frustrating surface cracks. The damp heat helps the cheesecake cook slowly and evenly. If you still end up with cracks despite trying your best, don't worry! The butterscotch topping will hide most flaws, and it'll taste just as good. Another reason cracks happen is mixing too much after adding eggs, which puts too much air in the batter. Just mix until combined at that point for best results.
Put Your Own Spin On It
This cheesecake works great as is, but you can change it up lots of ways. Try adding a bit of rum extract to the filling for a butterscotch rum flavor. Sprinkle some toasted pecans on top for a nice crunch and nutty taste that goes great with butterscotch. If you love chocolate, drizzle some melted dark chocolate over the butterscotch topping for a pretty swirled look and tasty flavor combo.
Tasty Ways To Serve It
This cheesecake tastes amazing by itself, but for a fancy touch, serve slices with a spoonful of lightly sweetened whipped cream and a few butterscotch chips. For a restaurant-style look, swipe some butterscotch sauce across each plate before adding the cheesecake slice. If you're having a party, try cutting it into tiny squares and putting them on a platter with fresh berries for a pretty dessert table.
Where It Comes From
Butterscotch started in Doncaster, England back in the 1800s, where they made it with butter and "scotched" or burnt brown sugar. While cheesecake goes all the way back to ancient Greece, this butterscotch version is a modern American twist on these classic desserts. The rich, sweet flavor has become really popular in the American Midwest and South, where comfort foods with deep, caramelized flavors are family favorites at get-togethers.
Frequently Asked Cooking Questions
- → How do I keep my cheesecake from cracking?
Try baking with a water bath for steady moisture and heat. Don't mix the batter too much and let it cool down slowly after baking.
- → Can I swap out the graham cracker crust?
Sure thing. Try using smashed digestive cookies, oreos, or shortbread for a different taste.
- → How many days will this cheesecake stay good?
Keep it in a sealed container in your fridge for about 5 days. Want to save it longer? Freeze it without the top layer for up to 2 months.
- → Is it OK to make this cheesecake before I need it?
Absolutely. Cheesecakes actually get better with time. Let it sit in the fridge overnight, or freeze it without the topping if you need it later.
- → What can I use instead of butterscotch topping?
You can go with caramel sauce, a dollop of whipped cream, or some melted chocolate drizzled on top.