
 Save
Save
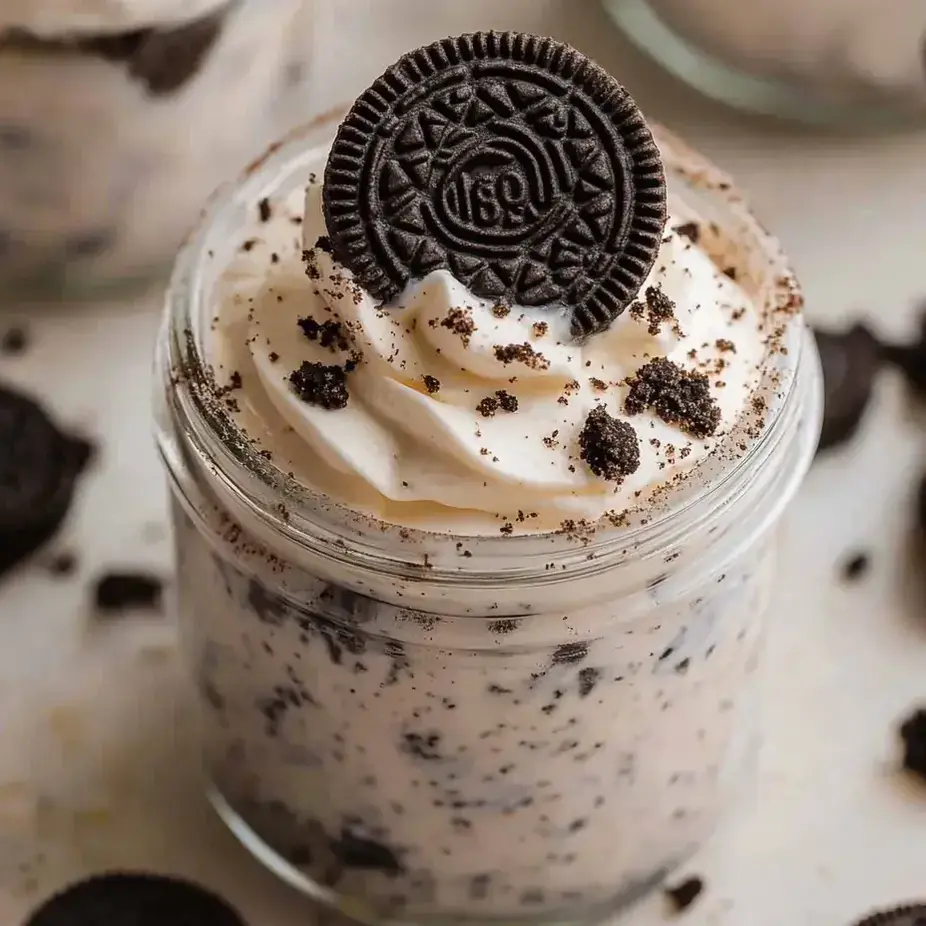
These no-bake Oreo cheesecake cups turn basic ingredients into a mouthwatering treat that works perfectly for summer parties or when you want something sweet without much fuss. I've whipped these up countless times when I need to wow everyone without breaking a sweat.
These cups have turned into my go-to dessert at family events. Last year, I brought them to our family get-together and before everyone finished eating, three of my cousins were already asking how to make them.
Ingredients
- Cream cheese: This forms the creamy base of our dessert go for full fat to get the creamiest result and let it soften completely for a bump-free mixture
- Cool Whip: Gives you that airy, light texture without having to whip cream yourself
- Powdered sugar: Blends in perfectly with no graininess for just the right amount of sweetness
- Vanilla extract: Brings that familiar warmth that makes both the creamy base and cookie bits taste even better
- Oreo cookies: These cookies work double duty creating the base and adding that iconic cookies and cream flavor throughout
Step-by-Step Instructions
- Prepare the Oreo Base:
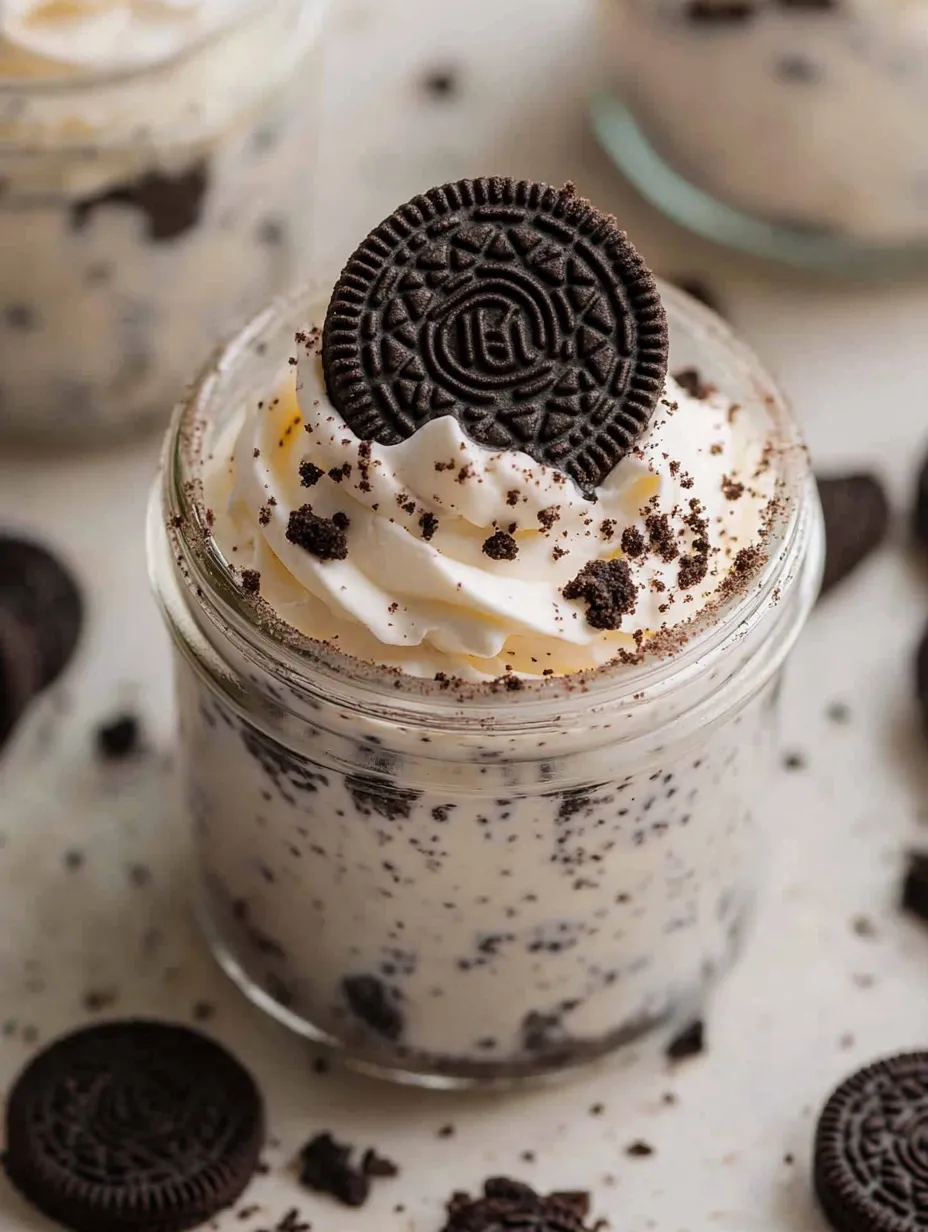
- Break down the Oreo cookies into chunks but don't pulverize them completely. You'll want some texture. Add about 2 tablespoons of crushed cookies to the bottom of each serving container. This gives you the right balance between base and filling.
- Create the Cheesecake Filling:
- Beat the room temperature cream cheese with powdered sugar for around 2 minutes until it's totally smooth with zero lumps. You want it airy and soft. Mix in the vanilla until it's fully blended.
- Combine with Cool Whip:
- Carefully fold the Cool Whip in using a spatula with gentle movements. Don't overmix or you'll lose all that wonderful fluffiness. Afterward, fold in the remaining Oreo pieces, keeping some visible chunks for texture and looks.
- Assemble and Chill:
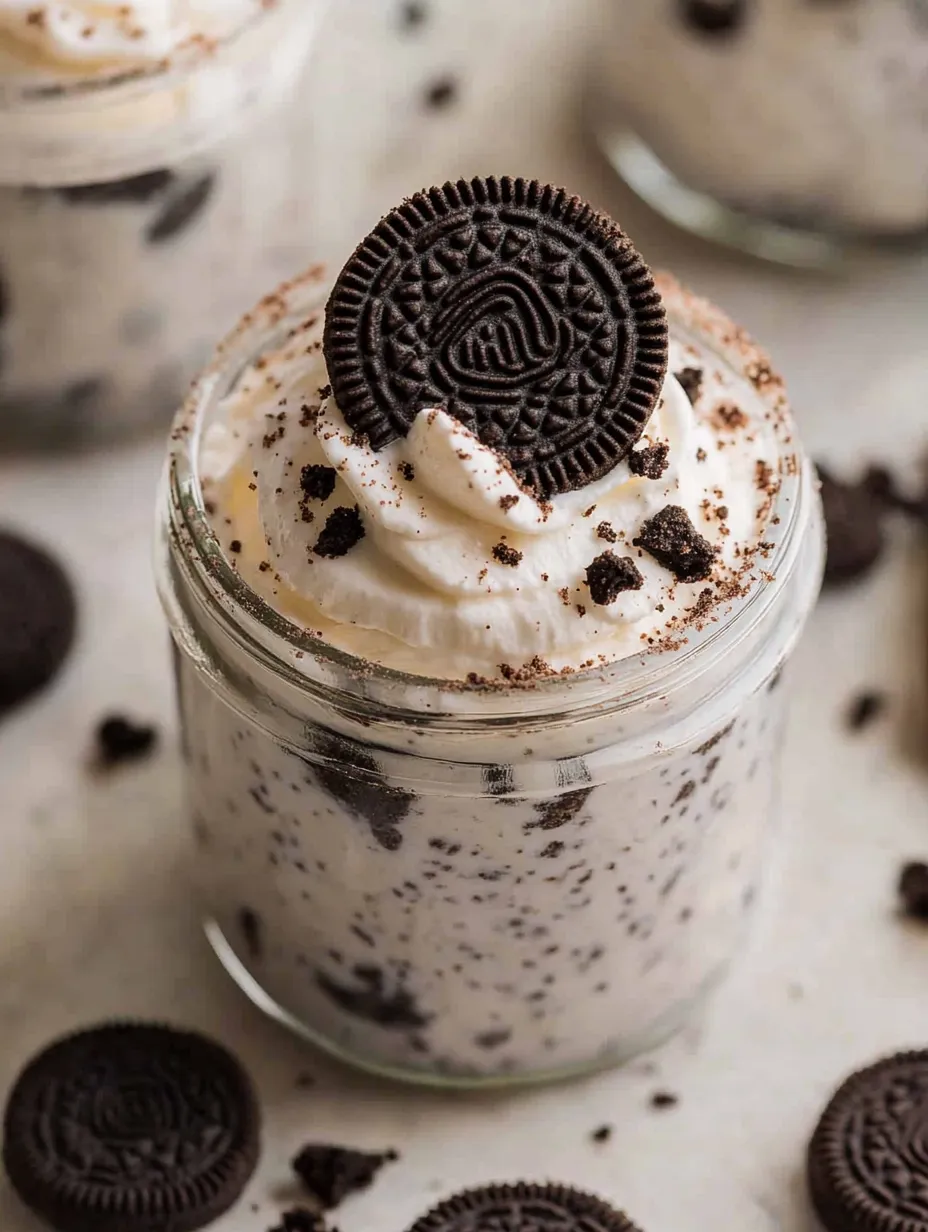
- Spoon equal amounts of the mixture into your dishes, softly pressing onto the Oreo base. Use a spoon back to smooth the top surface. Let it sit in the fridge for at least 30 minutes, though waiting an hour gives better results.
I first created these when our oven broke down during my daughter's birthday. They were such a hit that she's asked for them instead of cake every birthday since then. There's something truly magical about that cookies and cream combo.
Make It Your Own
Don't hesitate to try different Oreo flavors. I once used birthday cake Oreos for a special occasion, and the colorful bits in the cookies made everything look extra festive. Going with golden Oreos creates a tasty vanilla version, while the mint ones add a cool, refreshing kick.
Storage Tips
These cups stay fresh in the fridge for up to 3 days. Wrap each one with plastic to keep them from taking on other food smells. They actually taste best on the second day when the cookies have softened a bit and melded with the creamy parts.
Serving Suggestions
To make them look fancy, add a dollop of fresh whipped cream and sprinkle more crushed Oreos on top just before serving. A little chocolate sauce drizzled over makes them company-worthy. In summer, serve with some fresh berries on the side their tartness cuts through the sweetness nicely.
Frequently Asked Cooking Questions
- → Can I use a different type of Oreo for this dessert?
For sure! Any Oreo flavor works great in this sweet treat. Have fun trying out different kinds to see what you like best.
- → Can I make these ahead of time?
You bet! Get them ready a day early, keep them cold in your fridge, and save the extra cookie crumbs and whipped cream topping for right before you serve them.
- → How can I make a mint variation of this dessert?
For a cool minty version, mix in 1/2 teaspoon of peppermint extract with your cheesecake stuff and grab some mint Oreos instead of regular ones.
- → What if I don't have small dessert dishes?
No problem! Just put everything in one big dish with nice layers like a parfait, then scoop out portions when it's time to eat.
- → How do I make the Oreo base finer or chunkier?
Want chunky bits? Smash those Oreos in a plastic bag with a rolling pin. If you'd rather have fine crumbs, toss them in your food processor and give them a quick spin.