
 Save
Save
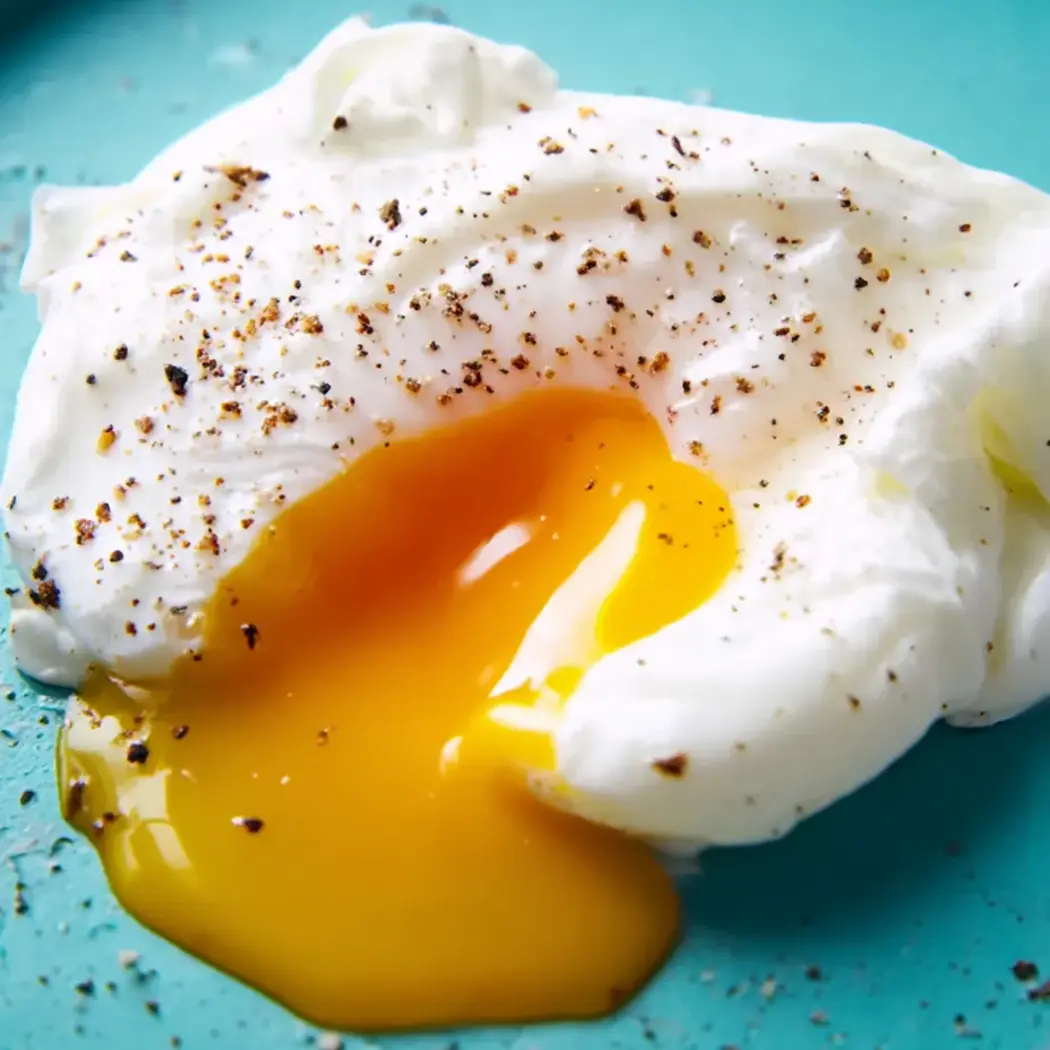
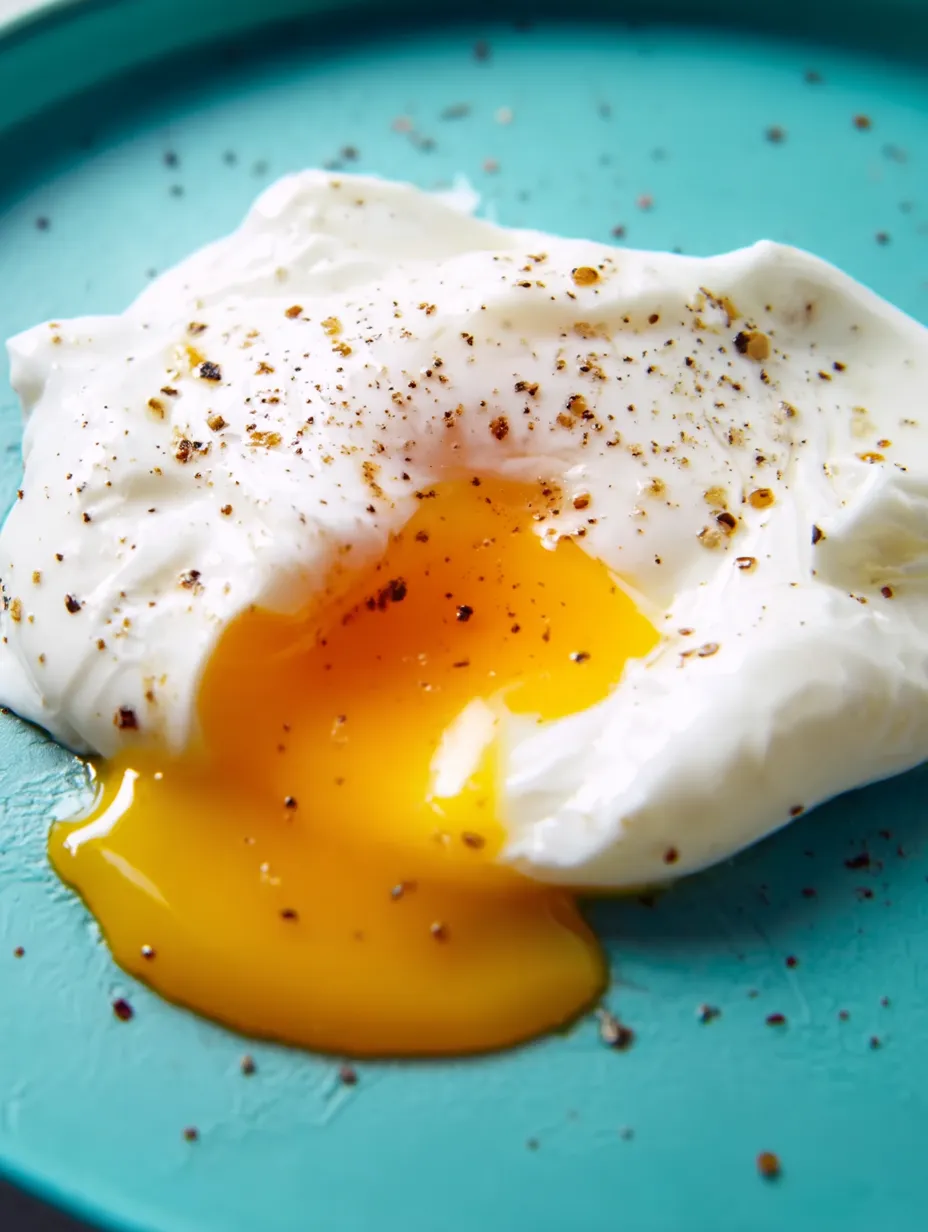
This super easy microwave poached egg approach gives you fancy restaurant results without the fuss. I stumbled on this trick during a hectic week when I wanted eggs benedict but couldn't spare the time for traditional methods. It's now my favorite way to whip up eggs with firm whites and runny centers in just minutes.
At first I wasn't sure microwave poaching could match traditional methods, but after tweaking this approach, I've come to like it better for my everyday breakfasts. You get much more reliable results thanks to the precise heating.
Ingredients
- Water: forms the gentle cooking bath needed for proper poaching
- Vinegar: makes the egg whites firm up quickly so they stay together
- Kosher salt: boosts taste and helps proteins come together
- Large fresh egg: works best because newer eggs maintain their shape better while cooking
Step-by-Step Instructions
- Get Your Poaching Liquid Ready:
- Mix water, vinegar, and salt in a microwave-safe container until fully combined. This mixture helps the egg hold its shape nicely without spreading all over.
- Warm the Water:
- Put the liquid in the microwave for roughly 4 minutes, stopping every minute to check, until it reaches 209-212°F. Getting this temperature just right ensures your egg cooks perfectly.
- Put the Egg In:
- Take the hot bowl out carefully using oven mitts or a towel, then slowly slide the cracked egg into the hot water. Going slow keeps the yolk intact and stops the whites from spreading.
- Cook the Egg:
- Put the bowl back in the microwave and cook at 80% power for about 1 minute and 20 seconds. The lower power gives you the gentle heat that makes for perfect poaching.
- Get Ready to Serve:
- While cooking happens, lay a paper towel on your plate to soak up extra water after you take the egg out.
- Take Out and Enjoy:
- Lift the egg gently with a slotted spoon so water drains away. Place it on your paper towel, trim any stringy bits if you want, and eat right away while it's still warm.

Vinegar is the real game-changer here. I worried it would make the eggs taste funny, but the tiny amount just helps the whites set without adding any flavor. I've tried several types and rice vinegar seems the mildest, though any light vinegar works fine.
Getting the Perfect Yolk
What we're all after is that magic balance - fully set whites with gloriously runny yolks. If your first try gives you hard yolks, cook for 10-15 seconds less next time. If your whites seem too soft, add another 10 seconds. Each microwave works a bit differently, so jot down your ideal time once you nail it.
Creative Serving Ideas
Turn these easy poached eggs into a full meal without much work. They're amazing on avocado toast with a dash of red pepper flakes, dropped into a bowl of ramen for extra richness, or paired with cooked greens and crusty bread. For a classic breakfast, try making eggs benedict - these microwave poached eggs make the whole process way easier.
Troubleshooting Common Issues
When egg whites spread out too much, your eggs probably aren't fresh enough. Try keeping eggs in the fridge with the pointy end down to center the yolk. If your yolk breaks while cooking, your water might be too hot or you're cooking too long. Keep in mind eggs keep cooking a bit after you take them out, so it's better to undercook slightly than go too far.
Frequently Asked Cooking Questions
- → Which vinegar should I pick?
Go with any light vinegar like rice, white wine, or apple cider vinegar for best results.
- → How can I make sure my egg cooks properly?
Warm the water to 209–212ºF first, then add your egg and cook at 80% power so it cooks all the way through.
- → Can I swap kosher salt for regular table salt?
Sure, just use half the amount since table salt packs more punch than kosher salt.
- → What's the trick to keeping the yolk runny?
Watch the time closely and cook in short bursts to keep the yolk nice and soft.
- → Do I really need to trim the egg whites?
Nope, it's just for looks - totally up to you if you want to clean up the edges.