
 Save
Save
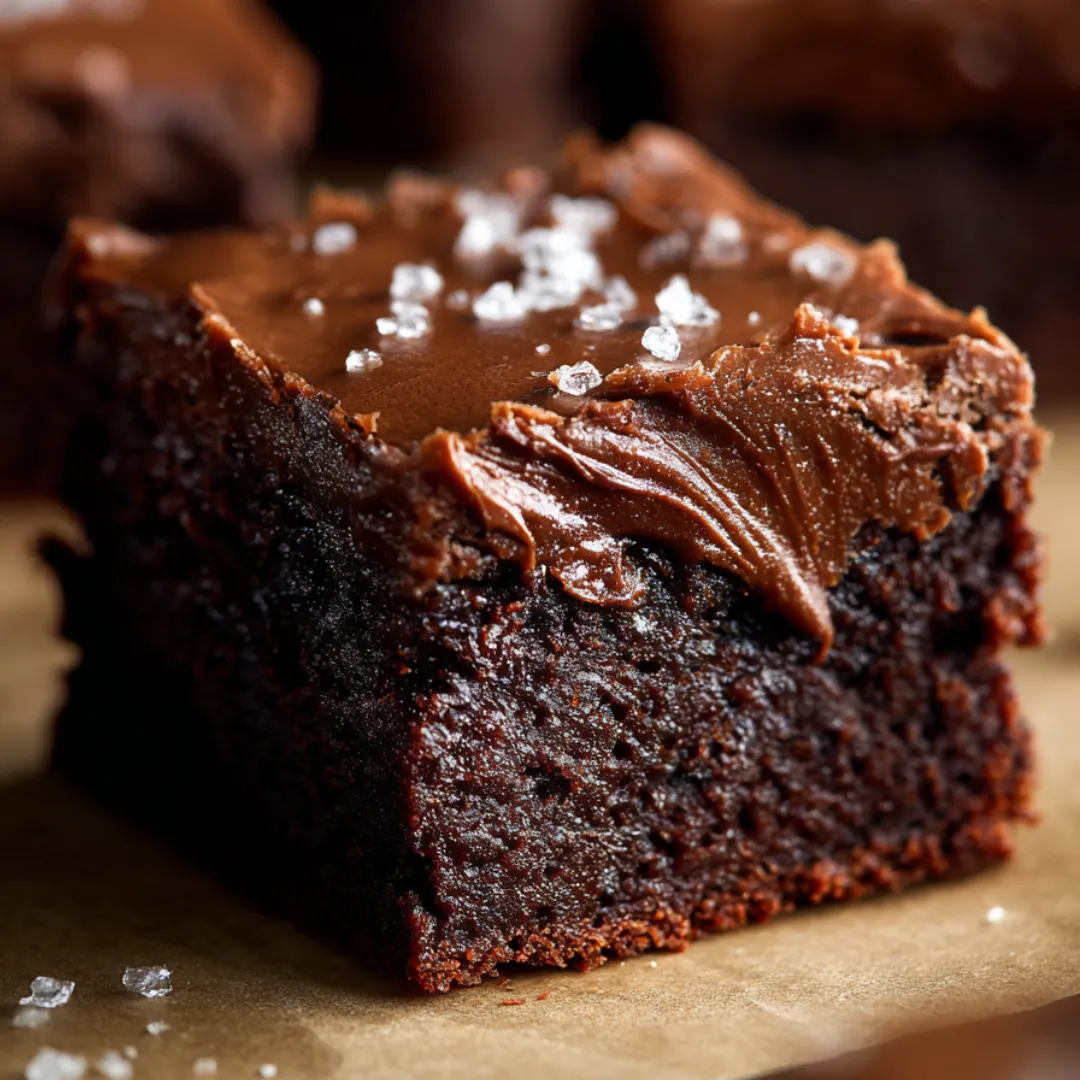
The sharp crack of the fudge topping always meant something awesome was happening. I can picture myself hanging out in grandma’s kitchen, smelling all that warm, chocolatey goodness as she let the shiny glaze slip onto the fresh brownies. It’s not just dessert—it’s slow, happy moments with family baked right in.
I found out how awesome the cooked frosting could be after a winter day when my quick icing slid right off my cake. Grandma had me boil sugar and milk, then toss in chocolate chips at the end—it was a game-changer. The brownies got a stable, shiny top and tasted decadent.
Luscious Ingredients
- Unsalted butter (room temp): This stuff pulls double duty—use it in the brownies and the fudgy top; look for soft, pale sticks—they’re the freshest.
- Granulated sugar: Brings sweetness and helps the brownies hold together; make sure it’s loose—no hard clumps.
- Large eggs (room temp): These hold things together and give lift; let them come to room temp for a blend that’s smooth and fluffy.
- Pure vanilla extract: Brightens up the cocoa; pick a deep-smelling one for extra cozy vibes.
- Milk (whole or 2%): Adds plushness and makes everything moist; the more fat, the creamier the frosting turns out.
- Unsweetened cocoa powder: Dutch-process if you want mellow, smooth chocolate in every bite.
- All-purpose flour: This keeps it together—fresh flour gives you the best bounce.
- Salt: Turns up the chocolate flavor—don’t skip it.
- Milk chocolate chips: Melt into the topping for extra gooey-ness; grab good-quality chips—they melt smoother and taste stronger.
When you’re shopping, peek at those expiration dates on butter and cocoa—old stuff really takes the spark out of brownies.
Step-By-Step Guide
- Get the Brownie Pan Ready – Laying the Groundwork:
- Line a 9x13 baking dish with parchment and a quick spray. Let extra parchment hang over the edges—you’ll thank grandma for this trick when you go to cut them cleanly.
- Beat Butter and Sugar – Creamy Foundation:
- Mix the butter and sugar until they’re pale and fluffy. Don’t rush! The sugar starts to melt in and sets you up for super-moist bars.
- Stir In Eggs and Vanilla – Bringing Flavors Together:
- Drop eggs in, one after the other, scraping as you go so everything gets silky. Vanilla is what makes brownie flavor pop.
- Combine Dry Stuff and Milk – Building Layers:
- Gently fold in cocoa, salt, flour, and milk (yep, take it slow). Doing this part easy keeps your brownies cakey, not tough.
- Oven Time – Bake to Perfection:
- Bake about 30 minutes. You want the toothpick to show a few sticky crumbs—not dry, not raw. Overdo it and you lose the fudge, underdo it and it’s goo central.
- Make the Topping – That Fudgy Shine:
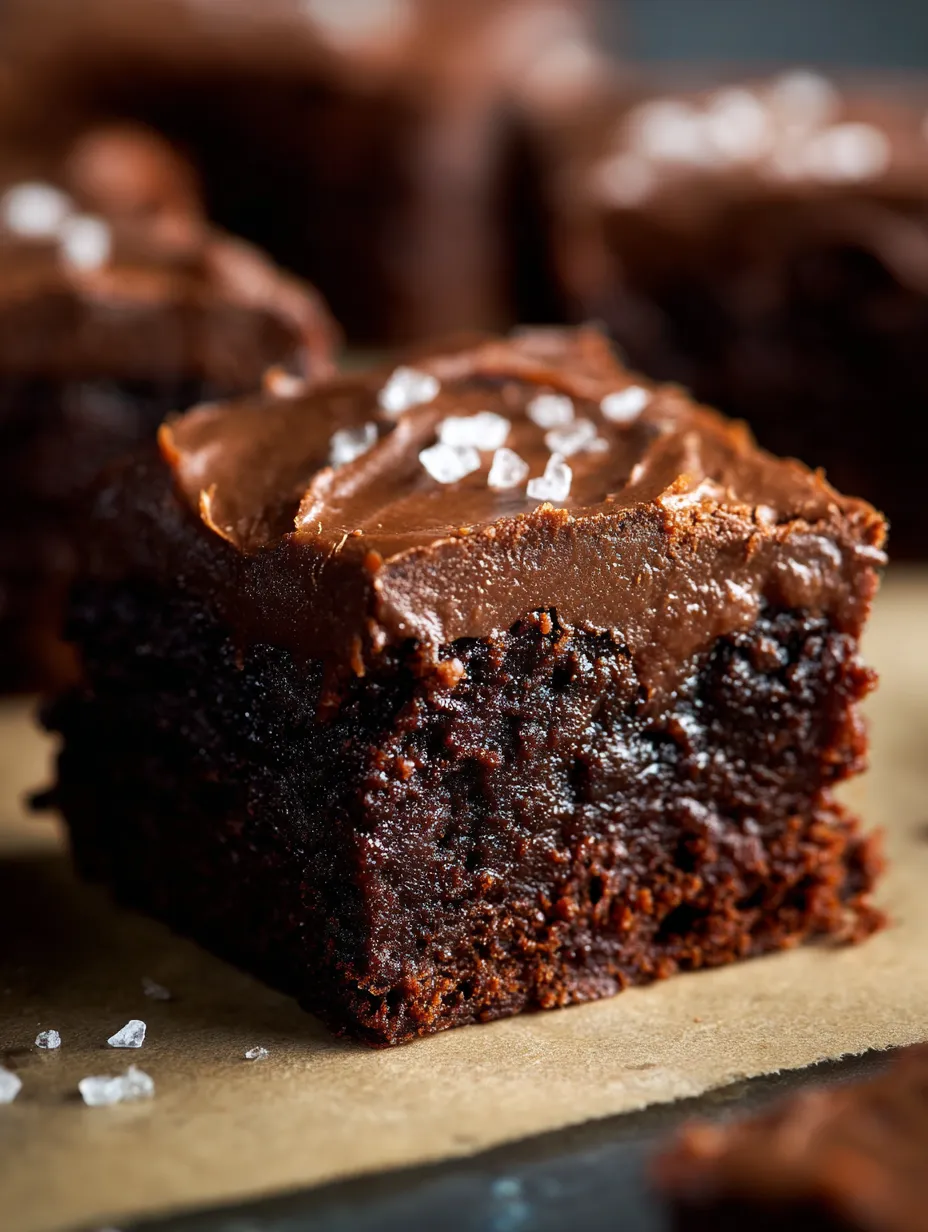
- Let butter, sugar, and milk roll to a full boil, counting 60 seconds. Kill the heat, toss in salt and chocolate chips, whisking till glossy. Pour it on the hot brownies fast for that classic crackled lid.
- Cool Down – Wait For It:
- Spread that fudge fast before it’s too thick, then let everything chill for an hour. Try to resist cutting too early or you’ll get a mess! Waiting means clean, gooey-centered squares.
Top Perks
- Loaded with calories, so a little goes a long way—awesome for parties or cozy nights.
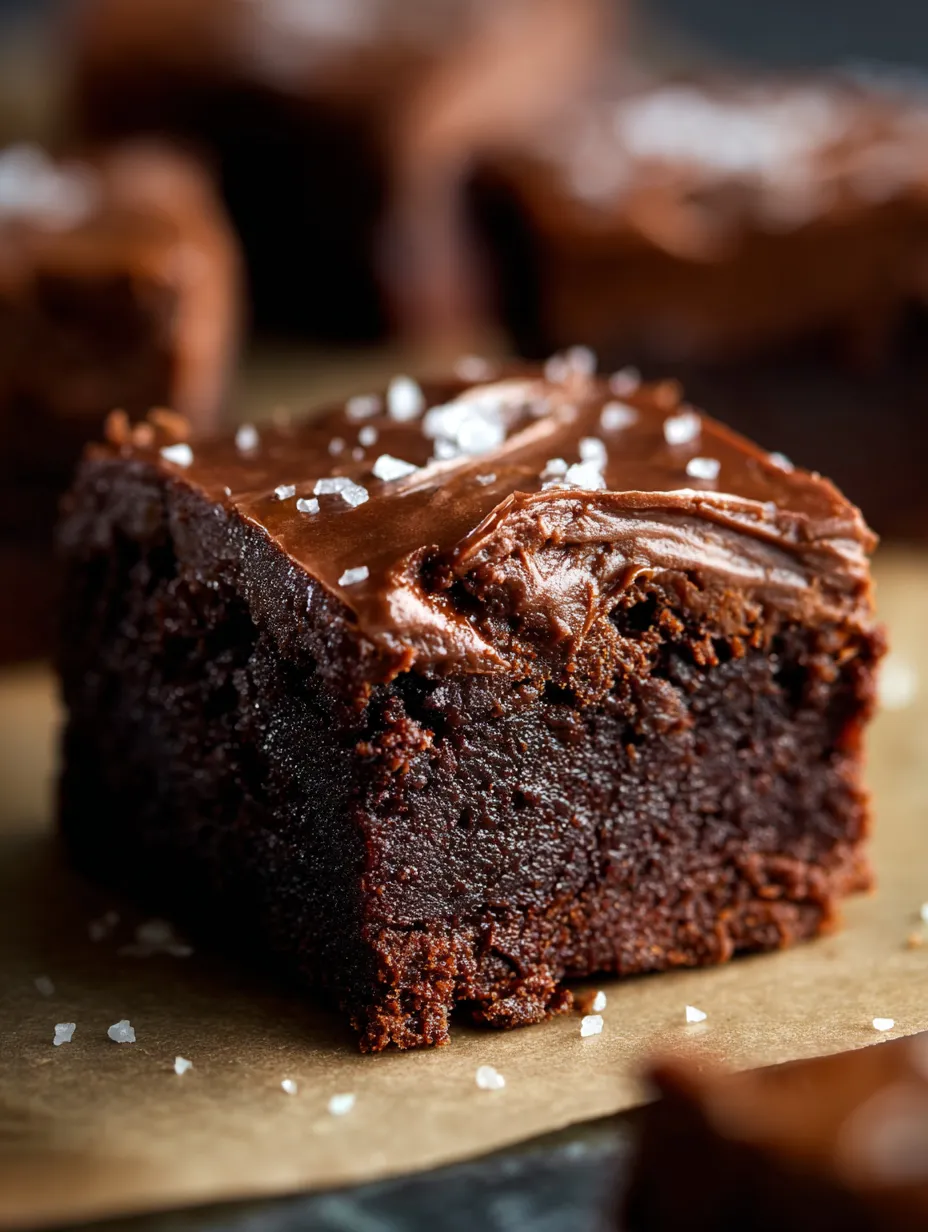
- It’s like you get the best of both worlds—cakey and fudgy—every bite is unique.
- The glossy fudge on top is crazy-rich, and the crackle finish makes it special.
Once, I put the fudge on after the brownies cooled and learned fast it doesn’t spread right—no shine, kinda clumps. Always frost them while warm. I also tried dark chocolate chips for a bold twist—tastes epic but sets fast, so you’ve gotta sprint to spread it.
Make Ahead Tips
Stays tasty in a sealed container at room temp for three or four days, or tucked in the fridge for up to a week. In a pinch, I freeze them—just wrap up tight and let thaw overnight. Don’t freeze the frosted ones for more than three months though; after that, the texture goes off. Bring back to room temp before serving to get that gooey magic again.
Flavor Switch-Ups
A tiny scoop of instant coffee kicks up the chocolate flavor. If you want something fun, sprinkle crushed peppermint over the top before the fudge sets, or drop peanut butter swirls into the batter right before baking—mega peanutty.
Must-Have Tools
A stand mixer with a paddle gets your butter and sugar super light; if you don’t have one, a strong hand mixer is fine. An angled spatula is a lifesaver for pushing out the frosting fast—seriously, you don’t want to mess around since it sets up quick.
Insider Tricks
- Don’t cut corners on creaming butter and sugar—it makes brownies fluffy and moist.
- Bake so the center’s set but still a little sticky on the tester—never dry! They keep cooking as they cool down.
- Cover with fudge while the brownies are still hot and move quick—the crackle only happens while it’s warm and soft.
There’s something sweet about waiting for chocolate treats, and every time I make these, I remember to slow down, enjoy the kitchen, and then celebrate with a square (or two).
Frequently Asked Cooking Questions
- → What gives these brownies their rich, fudgy feel?
They're packed with butter, cocoa powder, and just the right amount of sugar to stay dense and moist instead of cakey.
- → Is it okay to switch up the milk for the frosting?
Whole milk or 2% works best for smooth, creamy frosting but you can use lower fat milk if you want it lighter.
- → How do I keep the brownies fresh the longest?
Store them in a sealed container at room temp for about 3-4 days, pop them in the fridge for up to a week, or freeze for as long as 3 months to keep them tasty.
- → Why frost the brownies when they're still warm?
Spreading frosting on warm brownies helps melt the chocolate chips in the frosting so it goes on smooth and creamy.
- → Can I change the pan size without messing up the brownies?
If you use a bigger pan, brownies will be thinner and bake quicker but they'll still have a great dense, fudgy texture.