
 Save
Save
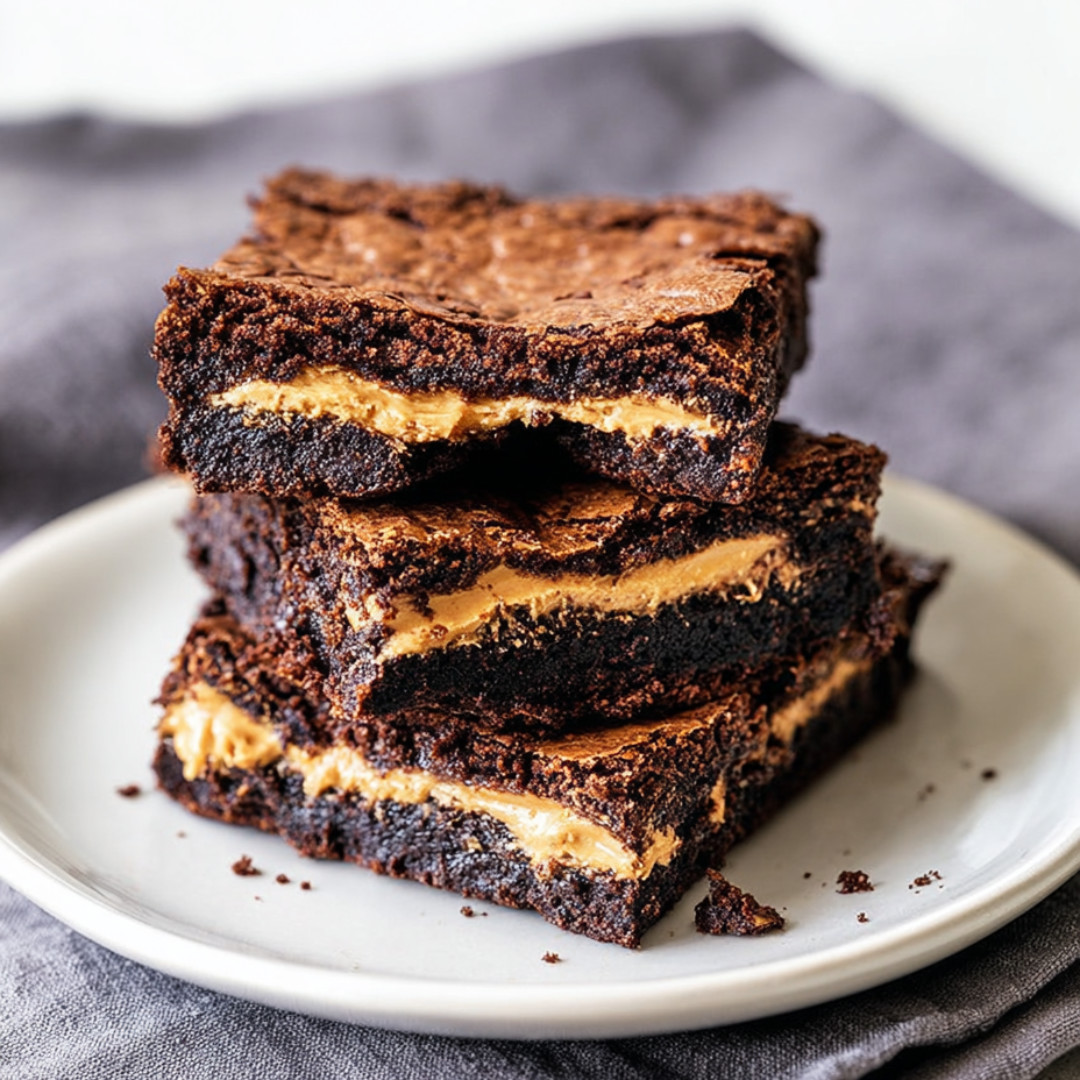
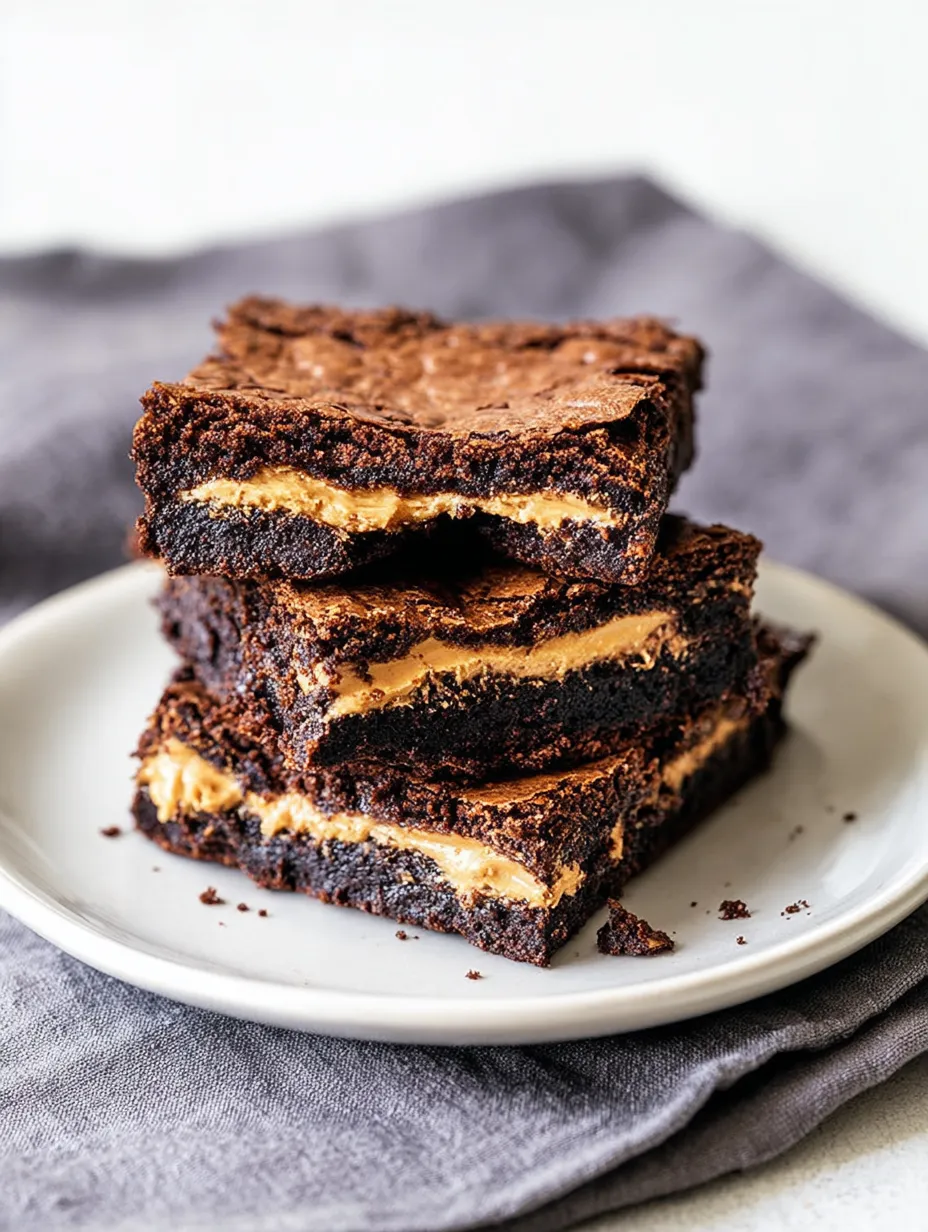
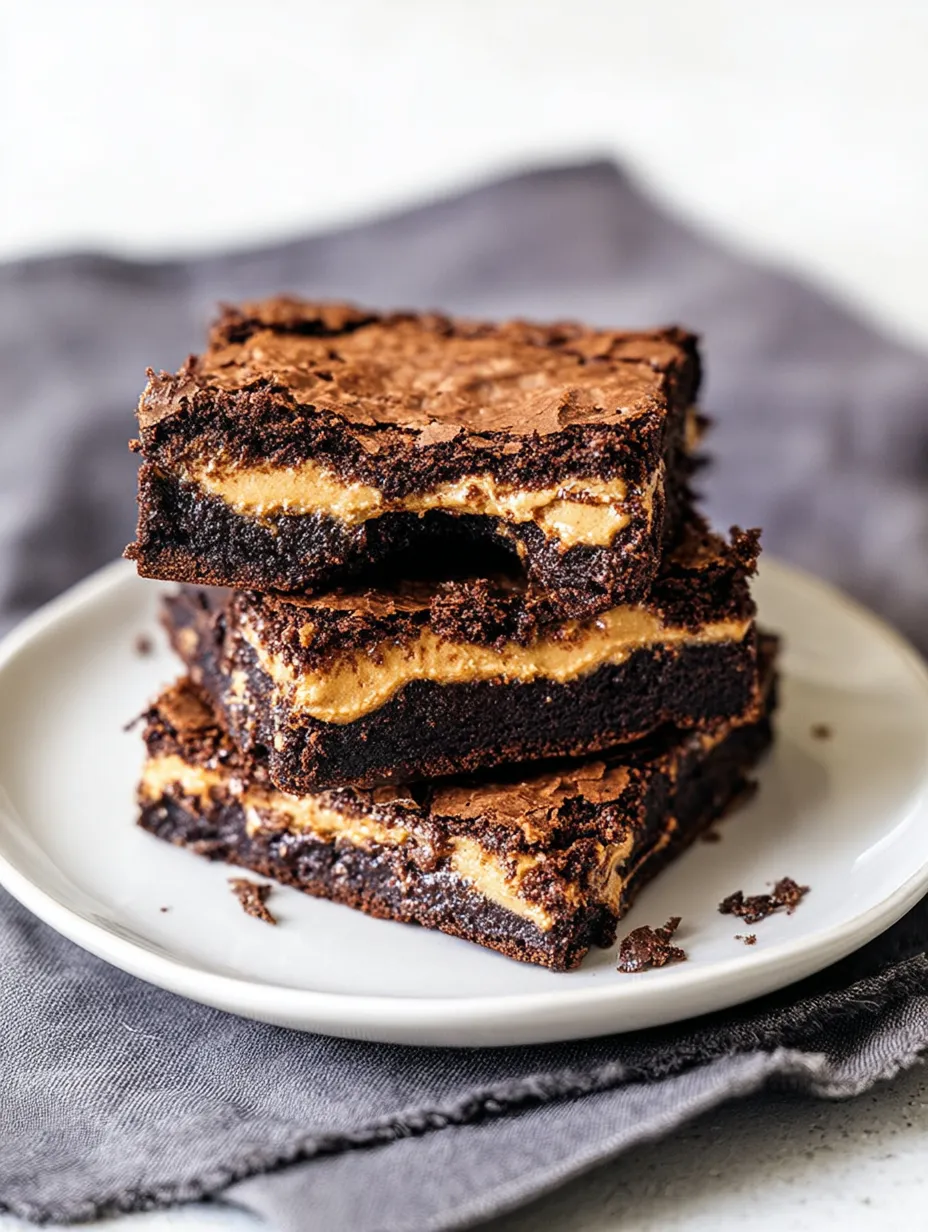
If you're wild about chocolate and peanut butter, these brownies are where it's at. You get rich, thick chocolate squares with a surprise creamy middle that stays soft and peanut buttery. Sink your teeth into bakery-worthy bars—trust me, they'll disappear before you know it.
I made my first batch when my brother came home on break. He finished them in minutes, so I ended up making more the next day. Even now, pulling out the pan brings back those happy, joke-filled afternoons together.
Tasty Ingredients
- Fine salt: amps up all the flavors so nothing's too sweet
- Unsweetened cocoa powder: brings deeper chocolatey goodness Dutch process works best
- All-purpose flour: adds just enough hold sift if yours is clumpy for the softest brownies
- Vanilla extract: ties everything together use pure if you can for better flavor
- Large eggs plus an extra yolk: creates chewy, rich brownies adding extra oomph
- Granulated sugar: pops in the sweetness and helps make the brownies fudgy
- Semisweet baking chocolate: makes the chocolate taste bold grab a bar instead of chips for smoother melting
- Unsalted butter: puts in extra richness go for the freshest if you can
- Creamy regular peanut butter: classic sweet-salty flavor use something like Skippy or Jif (skip the natural ones so the texture stays right)
Deliciously Easy Steps
- Bake and Cool:
- Place your pan in a hot oven at 350 and bake for about half an hour. Peek early if you want super-gooey centers. Leave them in the pan for about thirty minutes, then lift the whole block out with the paper and let it finish cooling before slicing for the sharpest edges.
- Assemble the Layers:
- Start by pouring half the brownie batter into your lined pan, then grab that cold peanut butter layer from the freezer and put it right on top. Spread the rest of the batter gently over that slab and smooth everything out so you cover the peanut butter completely.
- Fold in Dry Bits:
- Sprinkle in your sifted cocoa, flour, and salt, and use a spatula to gently fold everything together. Mix just enough so there aren't streaks but stop before it gets tough, or you'll miss that fudgy magic.
- Add in Eggs and Vanilla:
- Pop in the eggs and that extra yolk, pour in vanilla, and whisk hard for about a minute. Giving it a good mix here means your brownies get that shiny top and chewy bite.
- Add Sugar, Then Cool:
- Once the chocolate and butter are fluid and hot, mix in the sugar with a whisk until it looks even. Let the mixture sit for a while to cool down so your eggs won't scramble next.
- Melt Your Chocolate and Butter:
- Chuck the butter and chopped chocolate in a microwave bowl, then heat in short bursts, stirring every time so nothing burns. Keep going until it's smooth and glossy for deep flavor.
- Get the Peanut Butter Ready:
- Microwave your creamy peanut butter until you can pour it, but it's not hot—about thirty seconds. Spread it into a lined 8-inch square pan so it hits the corners, then freeze it until solid, roughly an hour. Doing this keeps the peanut butter thick in the brownies.
Anything with peanut butter calls my name, so I always grab a corner brownie before they're cool. That chocolate and peanut butter combo feels just like old school bake sales all over again.
Storing Your Treats
Pop brownies in a sealed container and they'll last at room temp for about three days. Want them super fudgy? Stick them in the fridge and snack within five days. If you stash individual pieces in the freezer and wrap them tight, they'll taste fresh even after a few weeks—just thaw before you dig in.
Swaps for Ingredients
Using natural peanut butter? Stir like crazy to mix up the oils, but the middle might be a bit softer. For dairy free, use plant-based butter and chocolate. Need gluten free? Use your favorite blend, but keep an eye on the bake time as it might shift a bit.
Serving Ideas
Eat these on their own with a big glass of milk. Or, make them a fancy dessert with vanilla ice cream and a splash of warm chocolate syrup. They're sturdy enough for a picnic or wrapping them up as a homemade surprise.
Sweet Backstory
Chocolate and peanut butter have been paired together in American baking since the days of boxed mixes. Layered, filled brownies like these started turning heads because they're dramatic and always crowd-pleasing. Simple stuff coming together for unforgettable squares.
Frequently Asked Cooking Questions
- → Can I swap in crunchy peanut butter for the filling?
Creamy, classic peanut butter just spreads easier and keeps the layers neat. Crunchy works too if you want bits of nuts and a ton of crunch, but it might not go on as smooth.
- → How do I tell when the brownies are finished baking?
They'll look firm at the sides and still kind of soft in the middle. Stick a toothpick in; you want it to come out with little crumbs on it, not runny batter.
- → Should I keep these brownies in the fridge?
They do just fine at room temp in a sealed container for up to 3 days. Stash ’em in the fridge and they’ll hang on for 5 days, plus they taste even more fudgy cold.
- → How can I make these brownies taste less heavy?
Easy—just cut down on the peanut butter filling. Try using 3/4 cup or maybe 1 cup instead of the full amount if you want something lighter.
- → Is doubling the batch an option?
Yep! Grab a 9x13 inch pan and use the same bake time as the normal batch, but check with a toothpick so you don’t overdo it.
- → How do I slice brownies and keep the edges neat?
Wait until they're totally cool. Use a sharp blade and clean it off after every cut for the neatest squares.