
 Save
Save
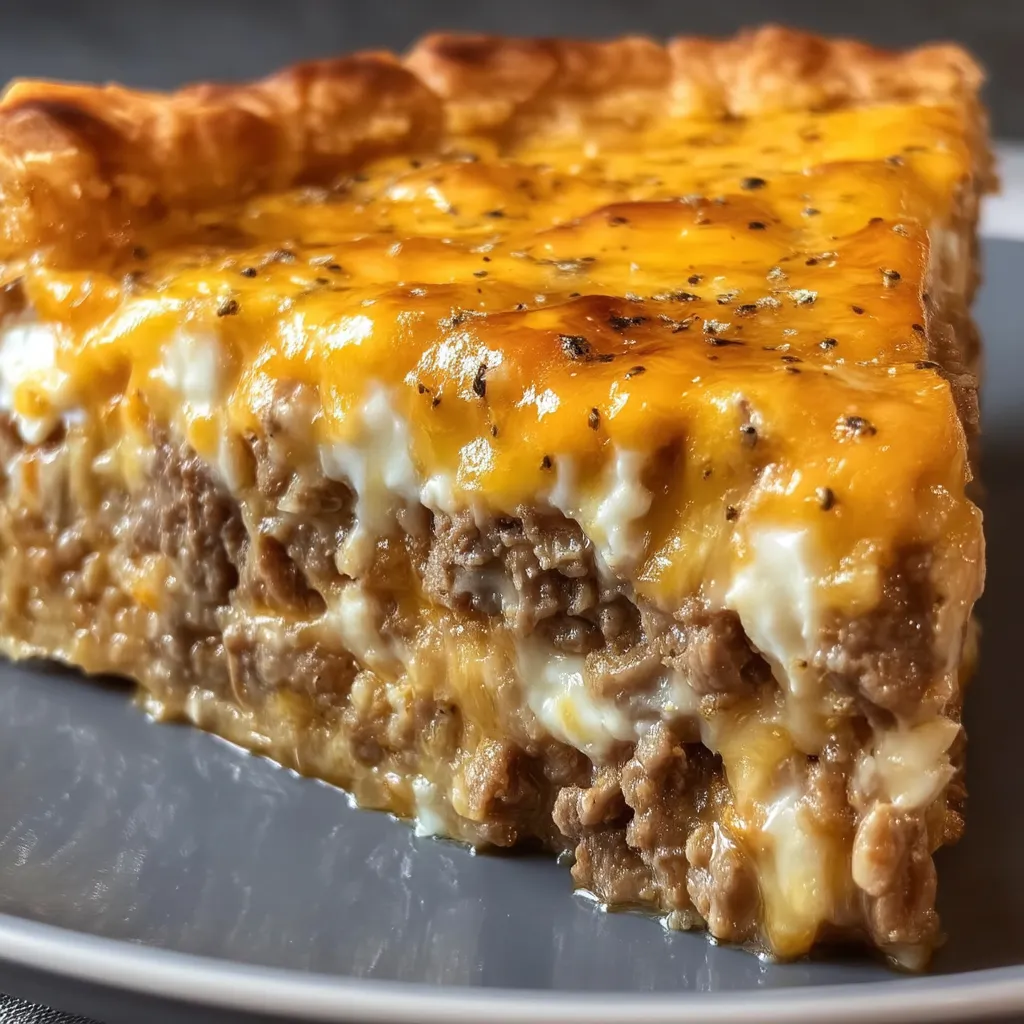
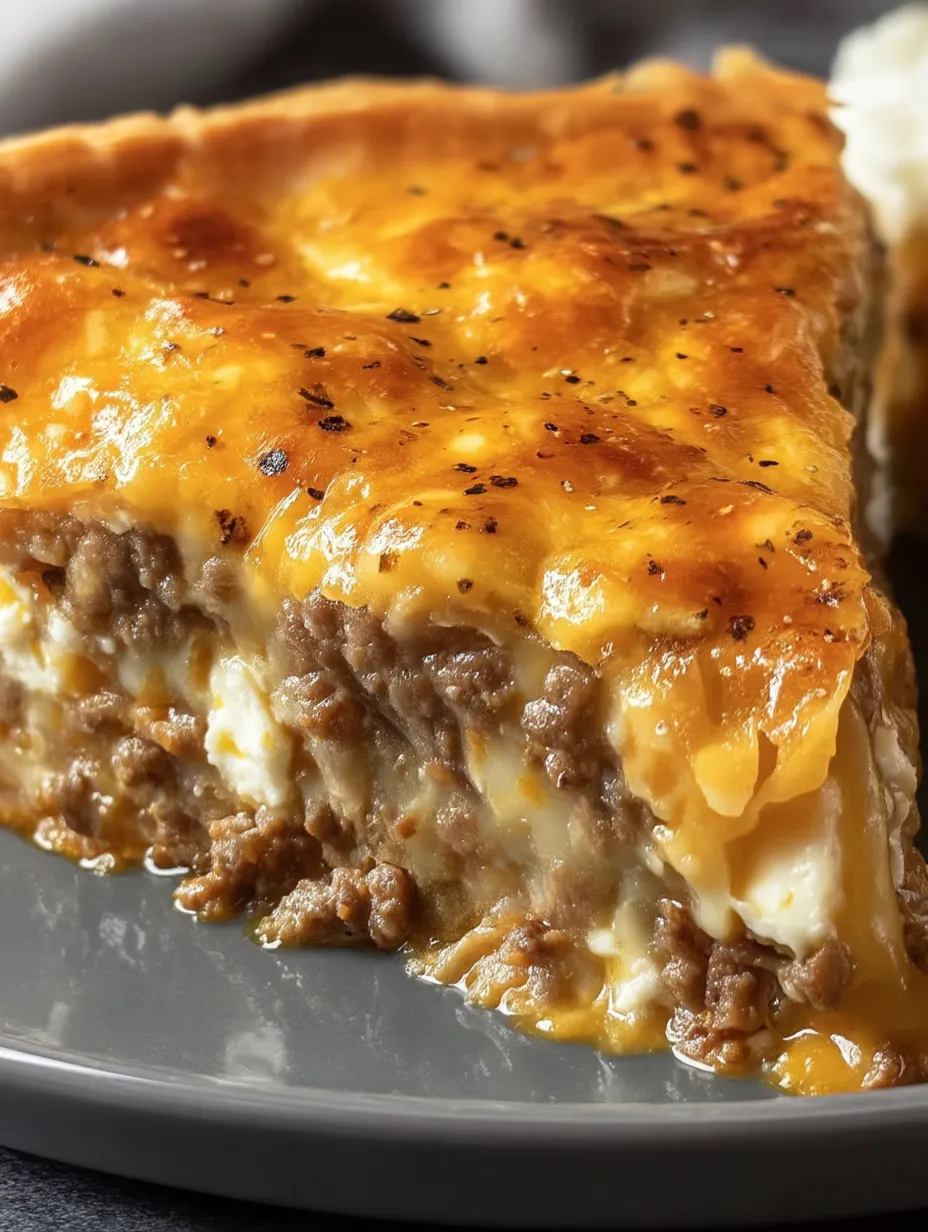
This filling cheeseburger bake brings together all the tastes of your favorite drive-thru meal in a cozy, home-cooked dish ready in less than 60 minutes. My kids named this our "busy night savior" because it makes everyone happy while giving me a break from fancy cooking steps.
I started cooking this during a crazy time when my children joined several sports teams. This dish rescued our family meals many times, and now they ask for it at least twice every month, especially when they want something warm and filling.
Ingredients
- Ground beef: Go for 80/20 meat to fat mix for best taste and moisture
- Large onion: Gives a nice sweet undertone to the meat base
- Cheddar cheese: Pick extra sharp for that real burger kick
- Bisquick mix: Makes a wonderful crust on top without needing separate pastry
- Whole milk: Helps create a thick and tasty batter that firms up nicely
- Eggs: Help the topping rise and hold its shape
- Salt and pepper: Basic flavorings that make everything taste better
- Garlic powder: Not required but really adds a nice savory touch
Step-by-Step Instructions
- Get Your Oven Ready:
- Warm your oven to 400°F which works best for getting that nice golden top while cooking everything inside properly. Coat a 9inch glass pie dish with butter or oil so nothing sticks. Glass dishes let you check if the bottom has cooked right.
- Start With Flavor:
- Cook your diced onion in a big skillet until it turns clear and gets a bit soft around 3 minutes. This builds the taste base for your pie. Keep the onions soft but not brown since brown ones can taste bitter.
- Cook The Meat:
- Put your ground beef in with the soft onions breaking it up with your cooking tool. Cook until you don't see any pink about 10 minutes stirring now and then. Pour off any extra fat after cooking so your pie isn't greasy.
- Build Your Base:
- Put the beef and onion mix into your greased dish spreading it flat across the bottom. Scatter the grated cheddar evenly over the meat. The cheese will melt into a gooey layer that helps hold everything together.
- Mix Your Topping:
- In another bowl stir together the Bisquick milk and eggs until smooth without any lumps. It should look like pancake mix. Pour this mix evenly on top of the beef and cheese making sure it covers everything.
- Bake It Up:
- Put your filled dish in the hot oven and bake for 2025 minutes. You'll know it's done when the top turns golden and a knife stuck in the middle comes out clean. Let it sit for 5 minutes before cutting so it can set up right.
Using real Bisquick in this dish is my special trick. My grandma showed me how to use it years ago, and I've never found anything else that gives the same soft texture. When I make this for family get-togethers, someone always brings up the time my uncle ate almost half the pie before we even called everyone to the table!
Tasty Variations
This dish is easy to change based on what your family likes. Try adding a row of sliced tomatoes before the cheese for something fresh, or mix in some cooked bacon with the beef for extra flavor. My children go crazy when I add a layer of pickle slices under the cheese – it really brings out that burger taste they love.
Storage and Reheating
This burger pie stays good in the fridge for up to 3 days. Wrap it with plastic or put slices in sealed containers. For best results, warm single slices in a 350°F oven for about 10 minutes instead of using the microwave, which can make the top part soggy. I often cook two pies at once, eating one for dinner and cutting the other for quick lunches during the week.
Delicious Pairings
Enjoy this rich pie with a basic green salad with tangy dressing to balance the flavors. In summer months, fresh corn makes a great side that fits the all-American meal theme. For a fun twist kids adore, serve pieces with small dishes of ketchup, mustard, and pickle relish for dipping – making mealtime more fun.
Frequently Asked Cooking Questions
- → Can I swap the cheese type?
Absolutely, try Colby Jack, Pepper Jack, or Gouda for a different taste adventure.
- → How can I make this keto-friendly?
Just use a keto baking mix instead of Bisquick for a carb-smart option.
- → Is it okay to make this earlier?
You can put everything together and keep it in the fridge. Just pop it in the oven when you're ready to eat.
- → What extras taste good in this?
Try adding diced pickles, cooked mushrooms, or crispy bacon bits for more flavor.
- → What's the best way to keep leftovers?
Store in your fridge for up to 3 days. Warm it up in a 350°F oven until it's hot through.