
 Save
Save
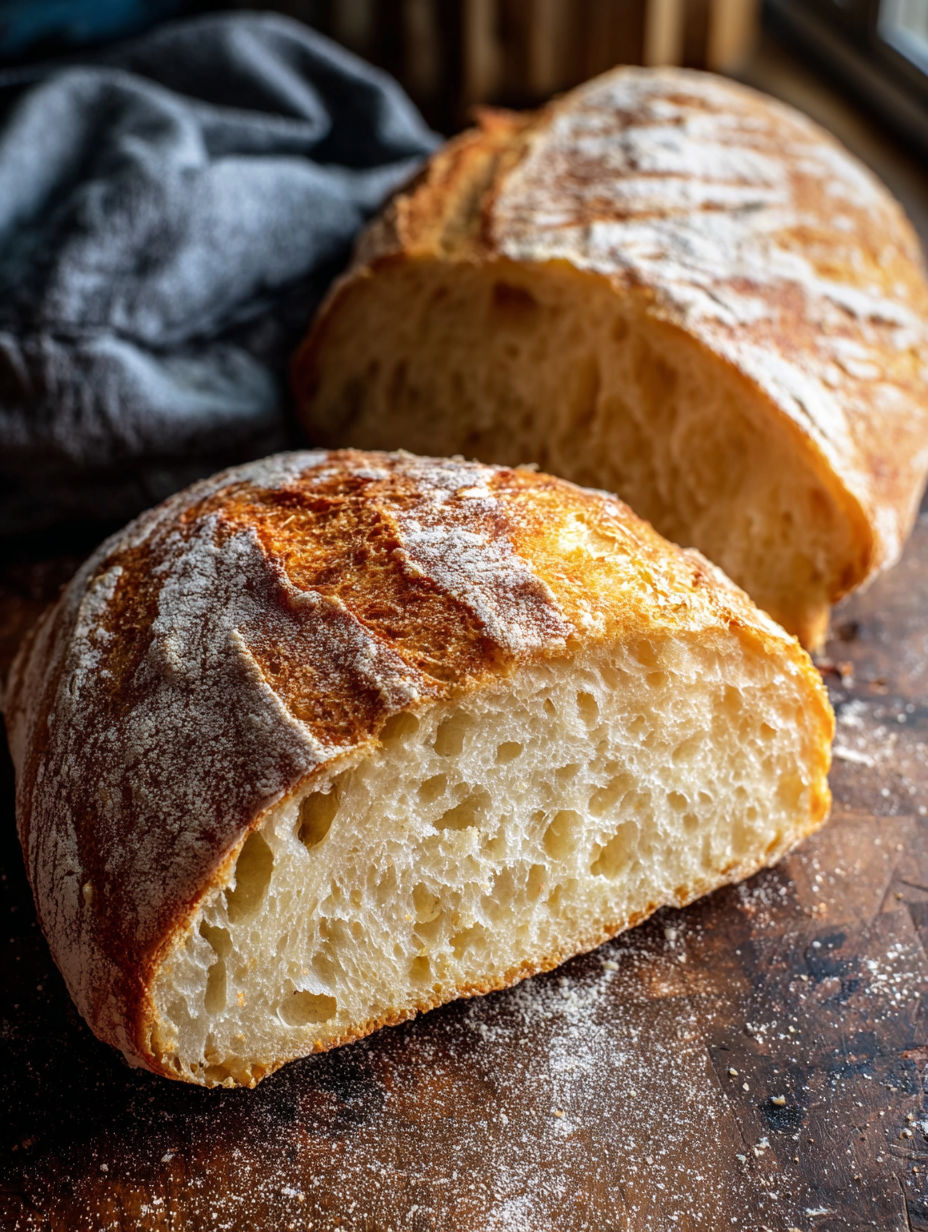
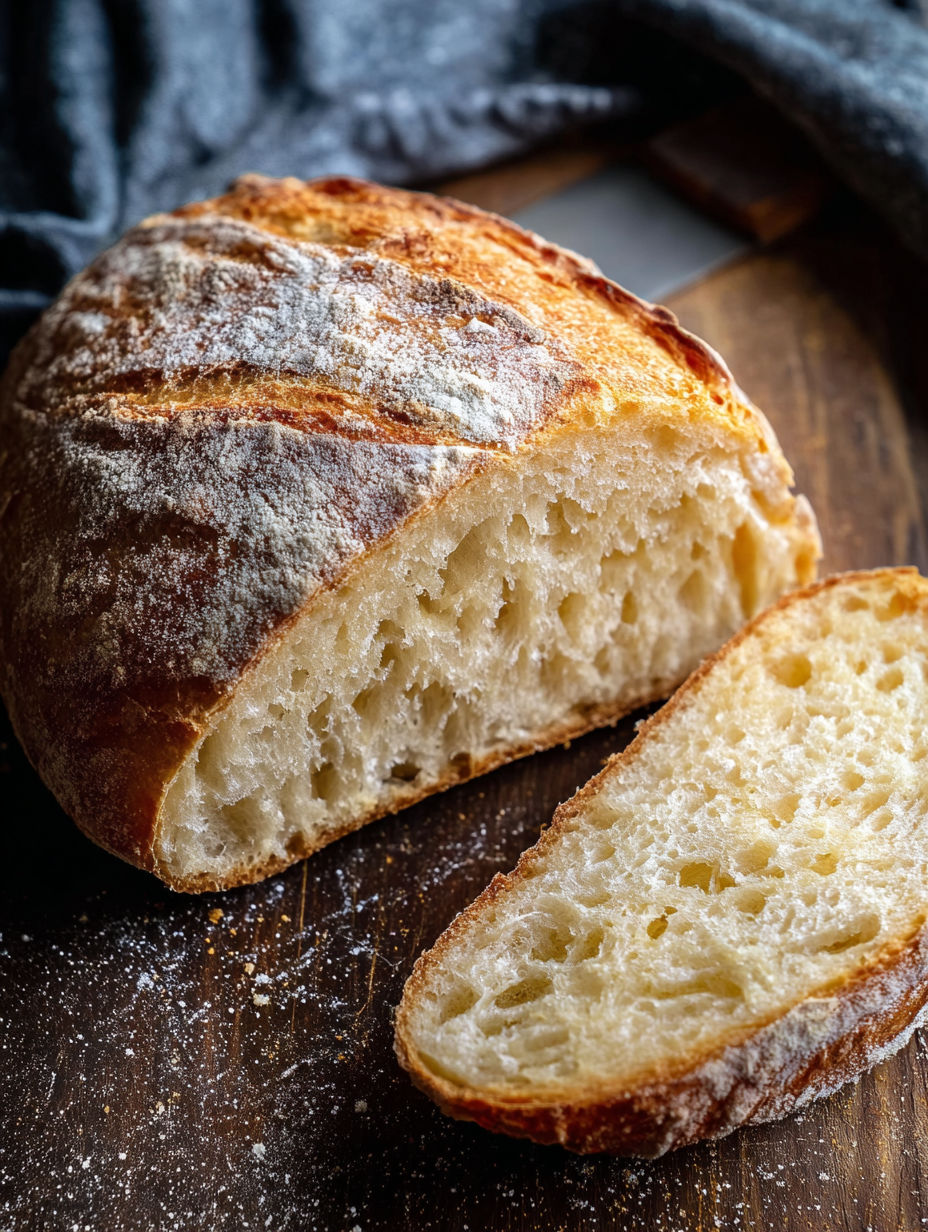
If you’re craving a homemade loaf with a crunchy outside and soft, airy middle, this old-school French bread’s got you covered. Made from simple stuff, it’s cozy enough for dinners but easy enough for everyday baking.
I whipped this up one afternoon when fresh bread was calling but I didn’t want hassle. The long wait really boosts flavor, and you can't beat the crunchy crust.
What You Need
- Warm water 1 1/4 cups: should be between 105 and 115°F to wake up the yeast; too hot or too cold slows or kills it
- All-purpose flour 3 1/4 cups: gives the dough structure; better flour means better crumb and rise
- Active dry yeast 1 1/2 teaspoons: makes the dough rise and feel light; fresh yeast works best
- Sugar 1 teaspoon: helps feed the yeast so it works well
- Salt 1 teaspoon: boosts taste and strengthens gluten to hold the bread together
How To Make It
- Get Yeast Ready:
- Put the yeast, sugar, and warm water in your mixer bowl. Let it sit for five minutes till it gets foamy on top so you know the yeast is ready.
- Mix And Knead:
- Stir in half your flour and all the salt. Attach the dough hook and knead on medium-low speed, adding the rest of the flour gradually. Keep going till the dough sticks a bit but holds together. That sticky feel helps make soft bread inside.
- Let Dough Rise First:
- Dust a big bowl with flour and pop your dough in. Cover with a towel to keep it warm and humid. Let it rest for two hours without poking. This slow rise adds loads of flavor.
- Shape And Rest Again:
- Flour your surface or use parchment. Gently make the dough into a smooth round loaf and dust some flour on top. Cover with a big bowl to keep moisture in and let it sit for 30 more minutes.
- Heat Oven And Dutch Oven:
- Turn your oven to 425°F and let a Dutch oven (lid on) heat inside for 20 minutes. The hot pot traps steam and makes a crispy crust. No Dutch oven? Use a baking tray instead.
- Cut And Bake:
- Use a sharp knife to make shallow cuts on top so the bread can expand without cracking. Carefully move the dough (with parchment) into the hot Dutch oven. Bake 30 minutes with the lid, then 10 minutes without for a golden crust. If using a tray, bake for 35 minutes.
- Cool Then Serve:
- Take the bread out and let it cool on a rack completely before slicing. This keeps the inside from getting gummy. Keep leftovers in a bag on the counter for up to 3-5 days.

The kicker with this bread is the crisp crackle when you slice it. It reminds me of mornings in France eating fresh baguettes straight from the bakery.
How To Store
Keep your bread at room temp wrapped loosely in a paper bag or bread box to keep the crust crunchy. Skip plastic bags if you want crusty bread. For longer keeping, slice and freeze wrapped tight in foil or freezer bags. Toast frozen slices right away for best taste.
Swaps You Can Try
Swap in bread flour instead of all-purpose if you want more chew. Use instant yeast mixed right into flour for a speedier rise. Adding a tablespoon of olive oil softens the crust a bit.
Ways To Eat
This loaf goes great with butter, jam, or bold cheeses. It’s awesome for big sandwiches or dipped in olive oil and balsamic. Toast for breakfast then add eggs and avocado for a quick meal.
This bread blends a classic approach with handy tips to bring a bit of France right into your kitchen.
Frequently Asked Cooking Questions
- → What's up with the dough being sticky after kneading?
It stays sticky because of how much water’s in there and how the gluten's forming. Letting it rise properly and handling it right will give you a loaf that’s soft but holds its shape.
- → Why bake in a dutch oven?
The dutch oven holds steam inside, which helps make the crust nice and crispy while keeping the bread soft and moist inside.
- → How do I know the bread is done baking?
Use a thermometer to check the temperature inside. When it reads about 210°F, your bread is ready.
- → Why should I cut slashes on top of the bread?
Cutting slashes lets the dough expand without cracking in random spots and makes it look way nicer.
- → Can I bake the bread without a dutch oven?
You can bake it on a sheet pan but it’ll take a bit longer and might not have as crunchy a crust since you won’t get the steam a dutch oven traps.