
 Save
Save
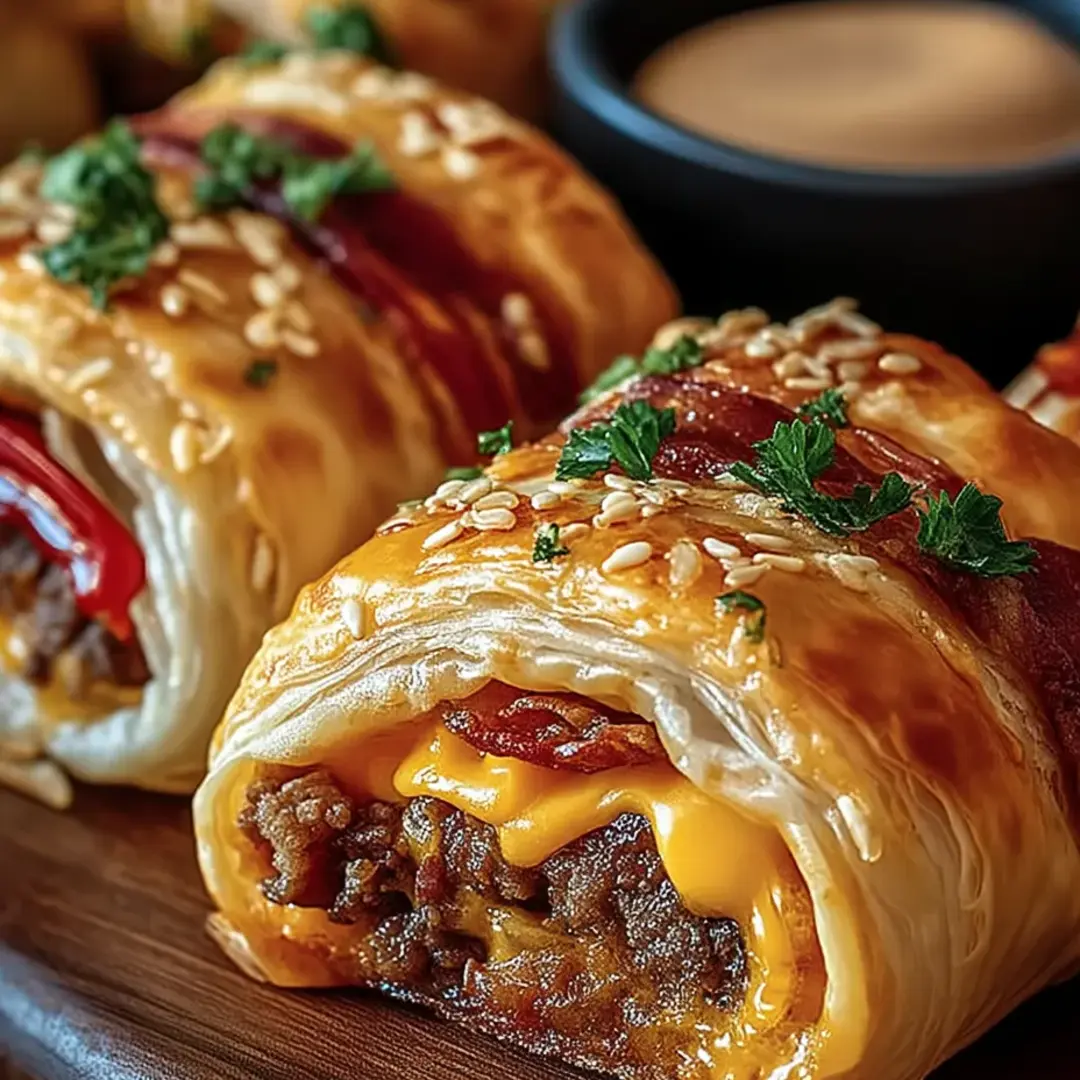
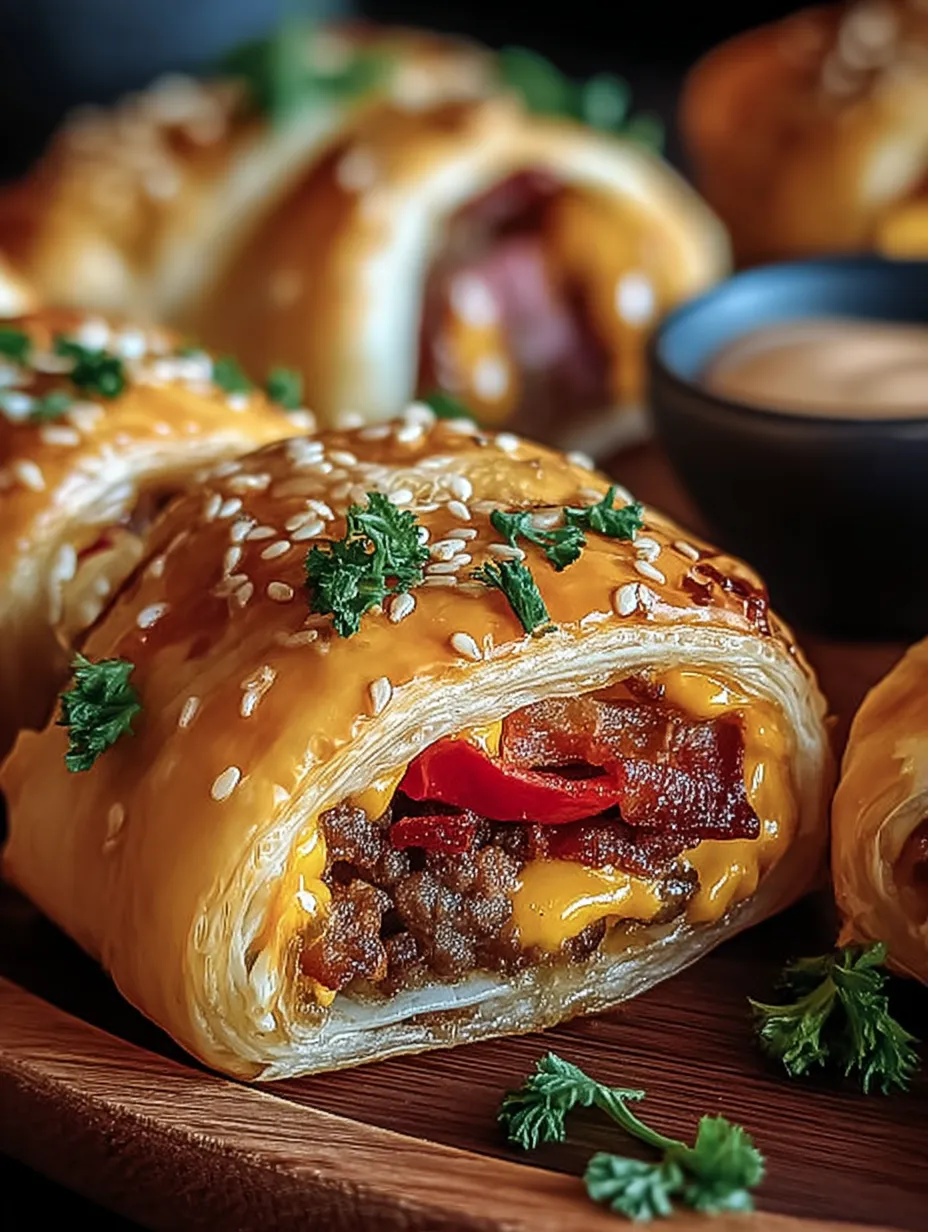
This filling burger wrap snack turns traditional burger tastes into an easy-to-carry, fan-favorite bite that's great for sports viewing, get-togethers, or whenever you want a hefty starter. The mix of flavorful beef, crunchy bacon, and melted cheese tucked into soft pizza dough makes unforgettable nibbles that vanish fast at my gatherings.
These wraps became my go-to party trick after I whipped them up for my kid's soccer team. The grown-ups were scrambling to grab the last ones, and nowadays I'm always asked to bring twice as many to every social.
What You'll Need
- Ground beef: This forms our main burger taste. Go for 80/20 meat-to-fat mix for the most succulent outcome without too much oil.
- Taco seasoning mix: Gives you complete burger flavoring without grabbing tons of separate spices. Pick reduced-salt if you're cutting back.
- Water: Makes sure the spices stick to the meat properly and gets the texture just right.
- Bacon strips: Adds that rich, smoky kick that makes burgers awesome. Cook it crispy beforehand for the best bite.
- Refrigerated pizza dough: The handy outer shell that keeps everything nestled inside. Warm it up for 10 minutes so it's easier to flatten out.
- Shredded cheese: Delivers that must-have melty goodness. Grate it yourself for better melting than store-bought shredded stuff.
- Unsalted butter: Creates our garlic butter topping. Going unsalted lets you manage how salty the final product is.
- Garlic cloves: Gives the butter its amazing smell and taste. Real minced garlic works way better than the powdered kind.
- Fresh parsley: Brings a splash of green and freshness. Not required but makes them look prettier.
How To Make Them
- Cook the Meat:
- Heat the ground beef in a pan on medium-high, breaking it into tiny bits as it cooks. This usually takes around 5-7 minutes until it's fully browned. Pour off the extra grease through a strainer to keep your wraps from getting soggy. Put the meat back in the pan, add taco seasoning and water, and keep stirring until everything's thick and the meat's fully coated, about 5 minutes. Let it sit to cool a bit so it won't melt your cheese too early during assembly.
- Get the Dough Ready:
- Heat your oven to 375°F and put parchment on a baking tray for simple cleanup. Sprinkle some flour on your counter to stop sticking. Roll the pizza dough into a big rectangle roughly 10×15 inches. Try for the same thickness all over so it'll cook evenly. If the dough keeps shrinking back, leave it alone for 5 minutes then try again.
- Add the Stuffing:
- Spread your cooled meat mix across the dough, leaving a half-inch space all around the sides. This edge helps everything stay sealed up. Scatter bacon pieces all over the meat, then top with an even layer of cheese. Press everything down gently into the dough so it stays put when you roll it up.
- Roll It Up:
- From one of the long sides, carefully roll the dough into a tight cylinder, kind of like you would for cinnamon rolls. Keep it snug as you go to avoid gaps inside. When you reach the other side, pinch the edge firmly against the roll to close it up. Put the log seam-side down and cut it into 1-inch slices. A bread knife works great for clean cuts without squashing your roll.
- Bake Until Done:
- Place the cut pieces on your baking sheet, keeping about an inch between them for expansion room. Mix melted butter with chopped garlic in a small cup, then brush this all over the tops and sides of each piece. This gives you a tasty, golden crust. Bake for 15-20 minutes, turning the pan halfway, until they're deep golden brown and cheese is bubbling at the edges.
Good To Know
- You can put these together a day early and bake them when you need them
- Just double everything when cooking for bigger crowds
- Each wrap gives you about 15g of protein so they're pretty filling
- They freeze great for up to 3 months whether cooked or uncooked
The bacon truly makes these wraps stand out in my household. My grandma used to throw bacon into everything and called it her magic touch for making folks happy. Whenever I cook these wraps, I remember her kitchen and how she showed me that tasty food brings everyone closer.
How To Keep Them Fresh
These burger wraps stay amazingly tasty when stored properly. After they've cooled down completely, store them in a sealed container with paper towels between layers to soak up any moisture. They'll stay good in the fridge for up to 3 days. To warm them up, pop them in a 350°F oven for 5-7 minutes instead of using the microwave, which can make the dough chewy. If you want to save them longer, freeze the baked wraps separately on a cookie sheet until hard, then dump them in a freezer bag. They'll taste great for up to 3 months.
Mix It Up
The standard version tastes amazing, but you can easily change these wraps to match whatever burger style you love most. For a mushroom Swiss twist, cook 8 ounces of sliced mushrooms till golden and swap the cheddar for Swiss cheese. Want BBQ bacon flavor? Mix 2 tablespoons of BBQ sauce into your meat and add some crunchy onion bits before rolling. Veggie eaters can enjoy them too by using plant-based ground instead of beef and veggie bacon - they'll still taste fantastic.

Dips That Go Great With Them
While these wraps taste awesome by themselves, adding the right dip turns them into restaurant-quality bites. A quick mix of equal parts ketchup and mayo with a splash of pickle juice makes the ultimate burger sauce. Ranch dressing mixed with some buffalo sauce gives you a tangy kick that goes great with the savory filling. For something fancier, try a horseradish dip made from 1/2 cup mayo, 1 tablespoon prepared horseradish, and a splash of Worcestershire sauce.
Frequently Asked Cooking Questions
- → How do I keep the rollups from coming apart while baking?
Roll the dough really tight and press the edges down firmly. Put them on the baking sheet with the seam facing down to stop them from opening up.
- → Can I make these rollups ahead of time?
Sure thing, you can get them ready through the rolling part, wrap them well, and stick them in the fridge for a couple hours before cooking. Just add the garlic butter right before they go in the oven.
- → What sauces go well with these rollups?
Try them with fan favorites like ranch, marinara, or BBQ sauce. Want something with a kick? Spicy mayo or chipotle aioli will take them to the next level!
- → How can I switch up the filling?
Throw in some pickles, chopped onions, or jalapeños for extra punch. Don't be afraid to try different cheeses too – mozzarella or pepper jack can really change things up.
- → What's the best way to save leftovers?
Just pop any extras in a sealed container and keep them in the fridge for up to 3 days. When you want them again, warm them up in the oven or air fryer to get that crunch back.