
 Save
Save
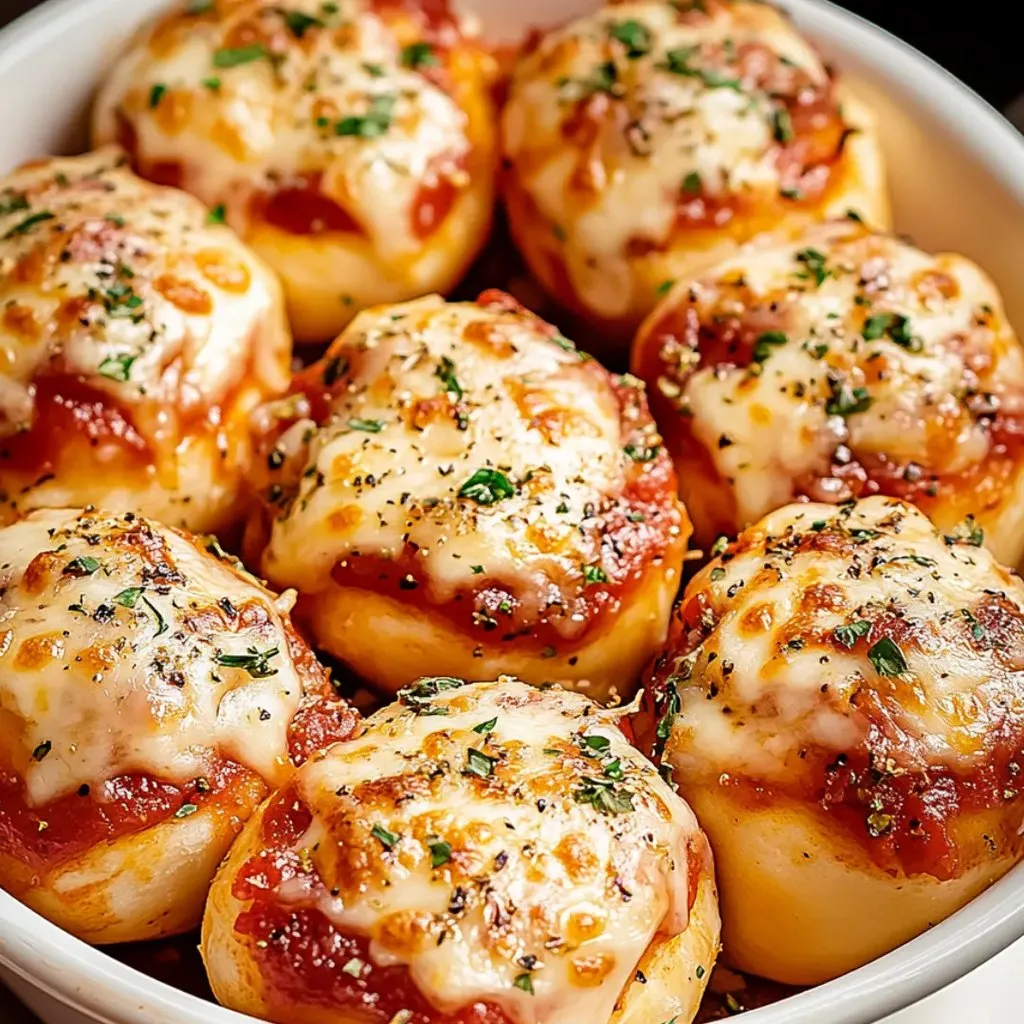
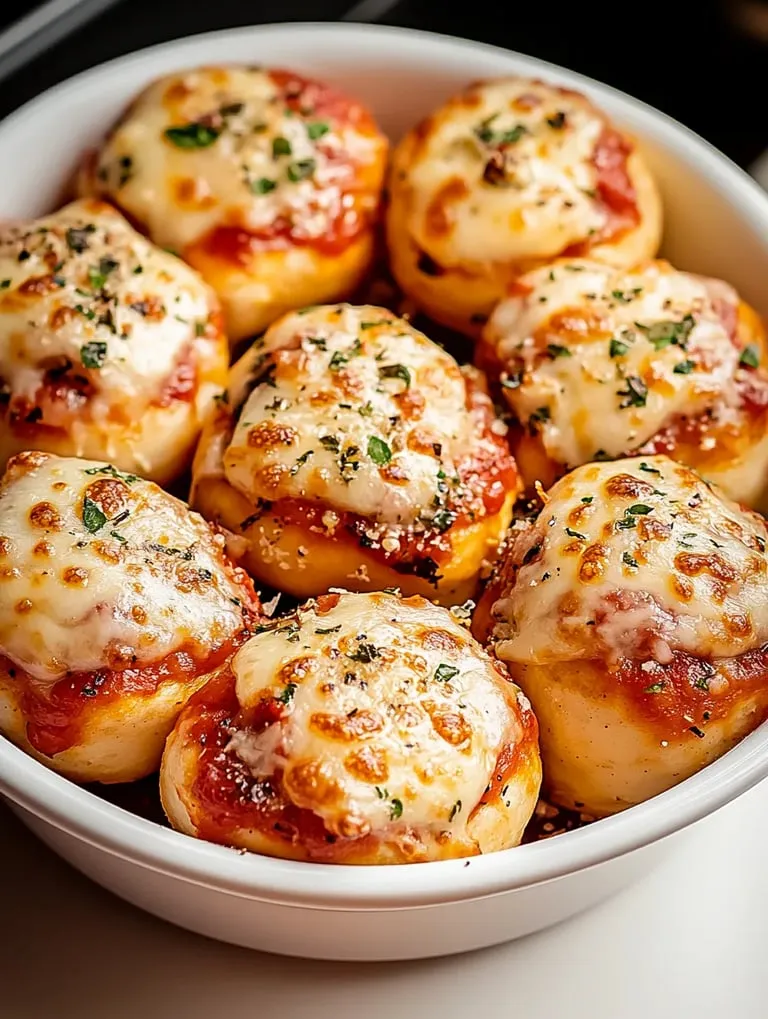
These Tasty Pizza Bites pack all the beloved pizza flavors into small, irresistible morsels that work great for gatherings, sports events, or casual family dinners. They come with a crunchy outside and melty cheese inside, giving you every bit of pizza goodness in one little bite.
The first batch I whipped up for my kid's party vanished in minutes and I had to rush making more! Even the fussiest little eaters kept sneaking back for extras. Now I can't show up anywhere without bringing them - from neighborhood meetings to weekend game watches.
Key Components
- Canned biscuit dough: Simple foundation (1 can, 8 count)
- Mozzarella cheese: Gooey filling (1 cup cubed)
- Pepperoni: Traditional pizza kick (½ cup diced)
- Parmesan cheese: Tasty outer layer (½ cup grated)
- Italian seasoning: Extra punch (1 tbsp)

Preparation Guide
- Step 1: Get ready
- Warm oven to 375°F, coat baking sheet with oil
- Step 2: Prepare stuffing
- Combine mozzarella bits, pepperoni chunks, and 1 tsp Italian seasoning
- Step 3: Form balls
- Push biscuits flat, drop filling in center, seal edges together
- Step 4: Add coating
- Dip balls in butter, then roll in parmesan-herb mixture
- Step 5: Cook them
- Bake for 15-18 minutes until brown and bubbly inside
- Step 6: Enjoy
- Eat while warm with heated marinara sauce
Mouthwatering Results
The real wow factor happens as cheese melts inside the dough pocket, making that awesome stretchy texture. For the best outcome, stick with cold cheese straight from your fridge - it'll keep its shape while you're putting them together and melt just right in the oven.
Tasty Alternatives
- Chicken BBQ: Mix in cooked chicken with barbecue sauce
- Vegetarian: Throw in chopped peppers and mushrooms
- Loaded: Combine sausage bits, olive pieces, and onion chunks
- Classic Italian: Add fresh basil leaves and tomato chunks
I found out through trial and error that warm cheese makes everything leak! Now I keep all ingredients cold until I'm ready to assemble for perfect sealed pockets every single time.
What began as just using up odds and ends in my fridge has turned into the snack everyone asks for. I love watching friends bite in and see that perfect cheese pull happen. Then comes the inevitable question about how to make them!
Frequently Asked Cooking Questions
- → Can I use different fillings for these pizza poppers?
- For sure! Mix it up with whatever pizza toppings you love - try cooked sausage, ham bits, crispy bacon, chopped mushrooms, diced peppers, or sliced olives. Just remember to cook any meat beforehand and cut all veggies into tiny pieces.
- → Can I make these pizza poppers ahead of time?
- You bet! Get them ready up until they need to go in the oven, then stick them in the fridge for a few hours. When you're ready to bake, you might need to add an extra minute or two if they're cold from the fridge.
- → Can I freeze these pizza poppers?
- Definitely! After they've baked, let them cool down completely, then put them on a baking sheet and freeze them separately. Once they're frozen solid, toss them into a freezer bag. When you want to eat them, warm them up in a 350°F oven for around 10 minutes straight from frozen.
- → What can I serve with pizza poppers?
- They taste amazing dunked in hot marinara sauce, creamy ranch, or melted garlic butter. For a fuller meal, throw in a simple side salad to balance things out.
- → Can I use homemade dough instead of refrigerated biscuits?
- Absolutely! Your own pizza or bread dough works great instead of the store-bought biscuits. Just cut it into similar-sized chunks and follow the same steps as the original recipe.