
 Save
Save
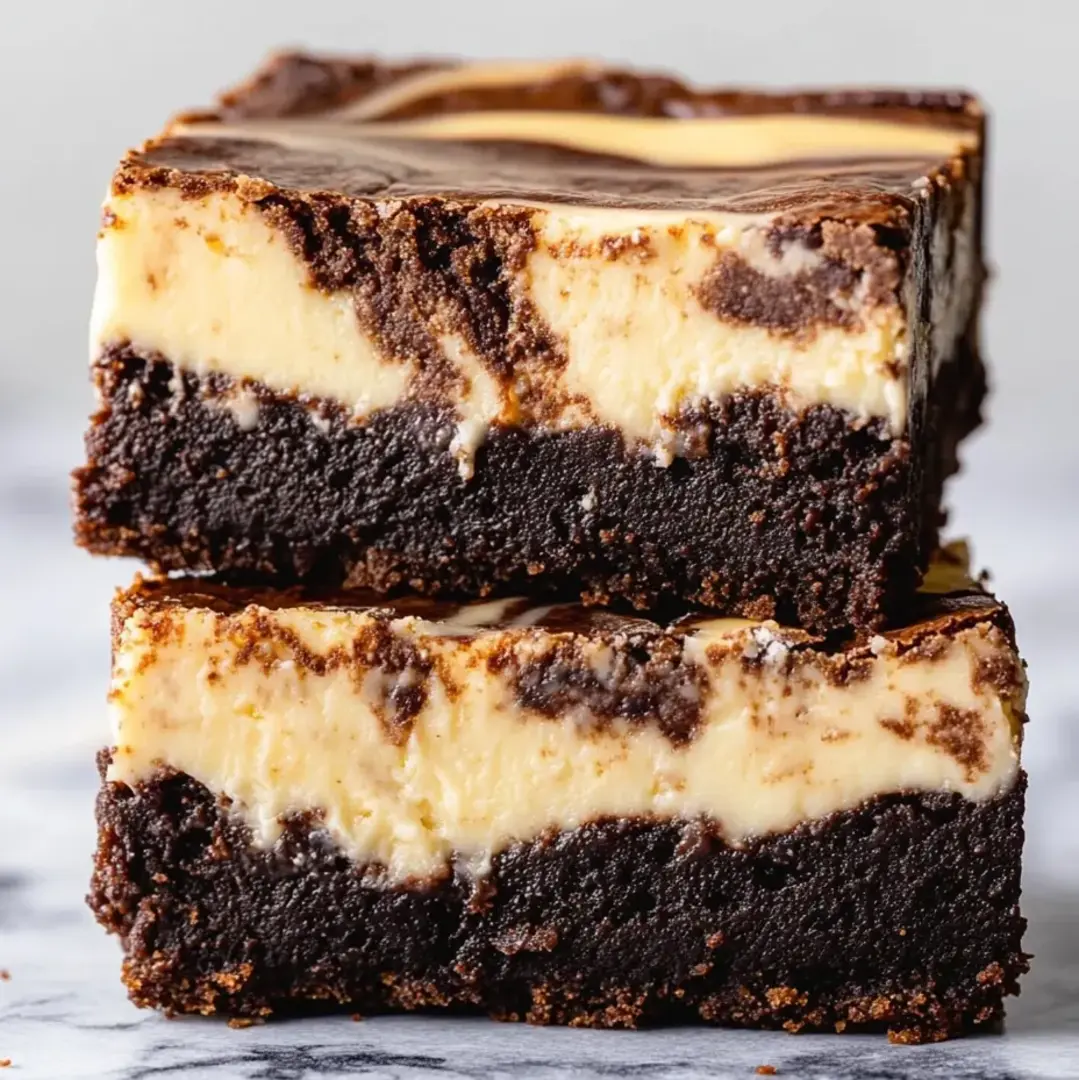
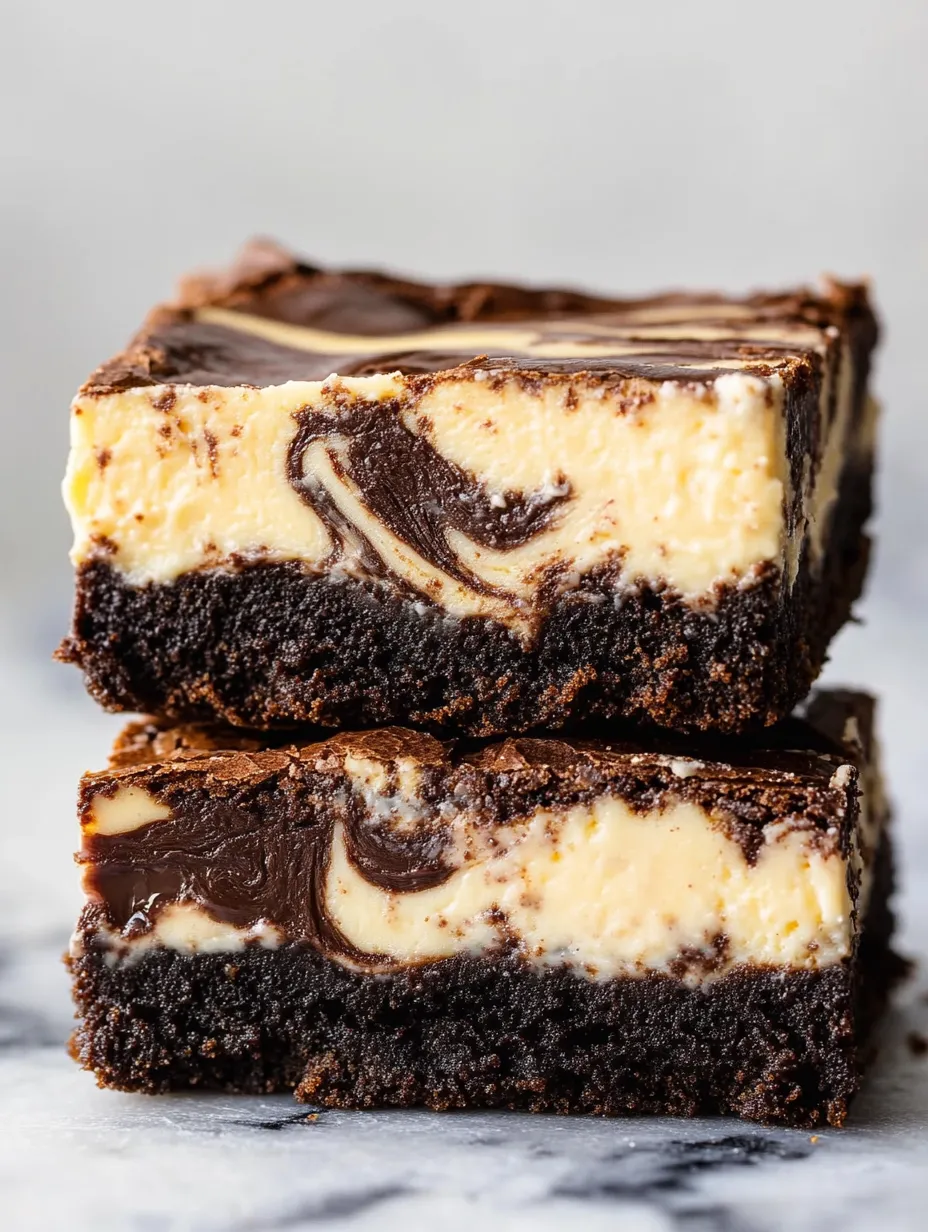
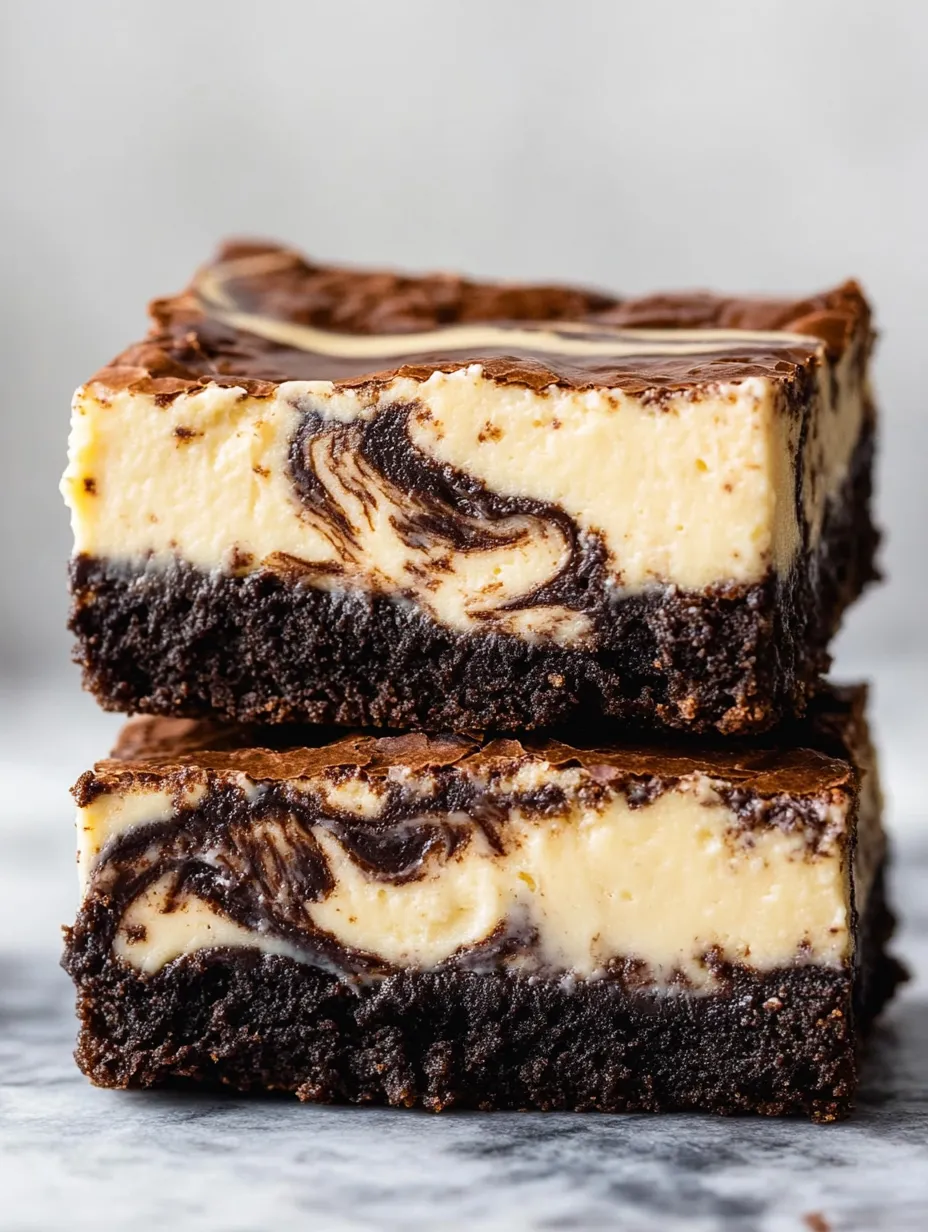
Cheesecake brownies are the best of both treats. They've got a gooey chocolate base with tangy, creamy swirls on top. These loaded squares look impressive and always disappear fast.
This all started when my daughter wanted something fun and chocolatey with a creamy swirl. We had so much fun marbling the layers—now that's the part everyone fights over!
Incredible Ingredients
- All purpose flour: adds just enough structure. Either bleached or unbleached types work.
- Salt: brings out deeper flavors. A fine sea salt mixes in smoothly.
- Eggs: hold everything together. Let them come to room temp so mixing's easier.
- Cream cheese: gives that signature creaminess. Always use full-fat blocks, and leave it out to soften.
- Sour cream: gives a light tangy kick. Thick and creamy ones swirl best.
- Unsweetened baking chocolate: the main chocolate punch. Bars that snap when you break them are perfect.
- Granulated sugar: sweetens every bite. A finer grain melts in quickly.
- Unsalted butter: gives a rich fudgy finish. Quality butter makes a difference.
- Unsweetened cocoa powder: deepens the chocolate flavor. Use Dutch-processed for a smoother taste.
- Vanilla extract: balances the sweetness. Real vanilla gives a warmer flavor.
Effortless Step by Step
- Chill before serving:
- Pop them in the fridge for at least four hours. That way the layers firm up and you get those clean sharp slices everyone loves.
- Bake:
- Set your oven to three hundred fifty and bake for fifty or fifty five minutes. You’ll want the top to puff a bit and no longer look shiny. Look for slightly golden edges. Let them cool to room temperature before you move on.
- Layer and swirl:
- Spread the cheesecake mixture over your brownie batter. Grab a knife or skewer and gently swirl the two together. Don’t mix too much if you want those nice marbled stripes.
- Mix in cheesecake add ins:
- Add eggs one by one and blend in sugar and vanilla. Don’t stop until it’s silky smooth or you’ll see streaks later.
- Beat cheesecake layer:
- Break out a hand or stand mixer. Whip cream cheese and sour cream until they’re totally smooth—no lumps allowed!
- Add flour:
- Gently stir in the flour until it’s just come together. Don’t overwork it or the brownies turn tough. Spread your batter into the pan nice and even.
- Mix in brownie ingredients:
- Now add in sugar and cocoa powder to the melted mix. Stir with a wooden spoon or spatula. Slowly beat in eggs and vanilla. Toss in salt. It’ll look a bit odd at first but keep going—it smooths out.
- Melt chocolate and butter:
- Put chocolate (broken up) and butter in a big bowl for the microwave. Heat for thirty seconds at a time, stirring in between, until it’s creamy and glossy.
- Prep the pan:
- Line a nine inch square pan with foil then spritz with nonstick spray. This makes it easy to lift out and less mess later.
I still grin when it’s time to swirl. Every time comes out totally different—like marble art you can eat. Even after so many pans, my kids beg to help with that step.
Smart Storage Advice
Keep any extras in a tight container in the fridge for three days tops. If you don’t want the pieces to stick, use parchment between layers. Want to store longer? Wrap each bar snug in plastic wrap and freeze. I love sneaking one cold straight from the fridge—so good!
Swap Ideas
If sour cream’s out, plain Greek yogurt or mascarpone will do great—just match the same thickness. Got gluten issues? Use your favorite cup-for-cup gluten free blend. Don’t pick whipped cream cheese for the topping though—it wrecks the texture.
Serving Magic
Chill these bars well for the best bite. They’re awesome plain, but extra fun with berries on the side. Celebrating? Top with whipped cream and chocolate curls. Wrapped up in parchment, they make cute little gifts too!
Tasty Traditions
Cheesecake brownies took off in American bakeries back in the late 1900s when folks started combining classic desserts. That cool swirl look? It comes from an old European cake technique. Swirling batter is part of the fun and makes every single piece one of a kind.
Frequently Asked Cooking Questions
- → How can I make those cheesecake swirls look just right?
Let your cream cheese and eggs warm up to room temp before using. Pour the cheesecake mix carefully, then swirl through with a butter knife so both layers get mixed without over-blending.
- → Is it okay to swap in semi-sweet chocolate instead of unsweetened?
Totally, just cut down the sugar a bit since semi-sweet’s already got more sweetness than the plain stuff.
- → Why do you need to chill the bars before cutting?
A trip to the fridge helps everything firm up and makes slicing way easier. The flavors come together better too.
- → What’s the best way to stash these bars?
Keep them in an airtight box in the fridge for about three days. Or freeze if you need them to last longer.
- → Which pan should I pick for the nicest texture?
Using a nine-inch square pan gives you bars with just the right thickness and makes sure they bake evenly all the way through.
- → How do I melt chocolate and butter so nothing burns?
Pop them into the microwave in short bursts of thirty seconds. Stir in between until smooth and melted, and you’re good.