
 Save
Save
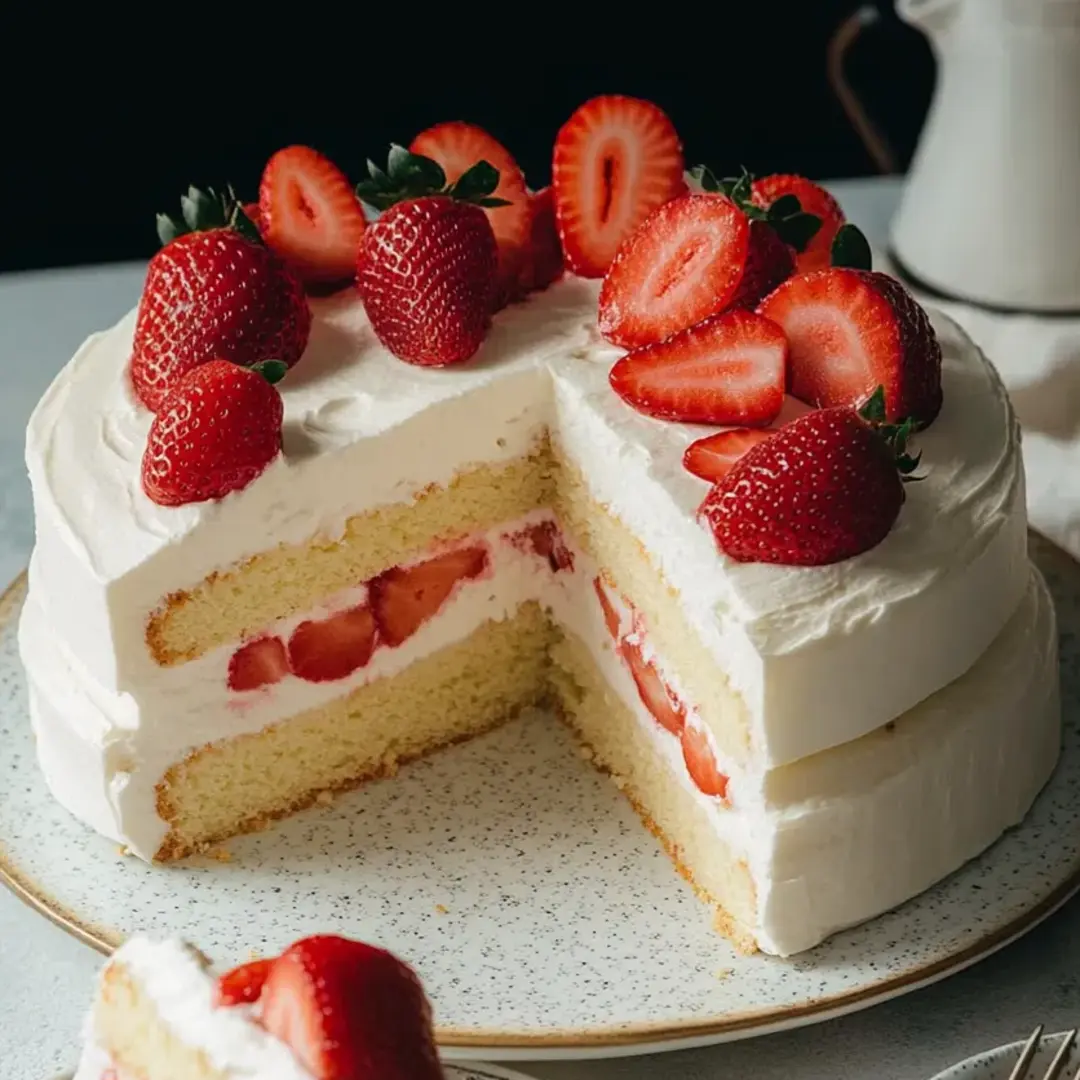
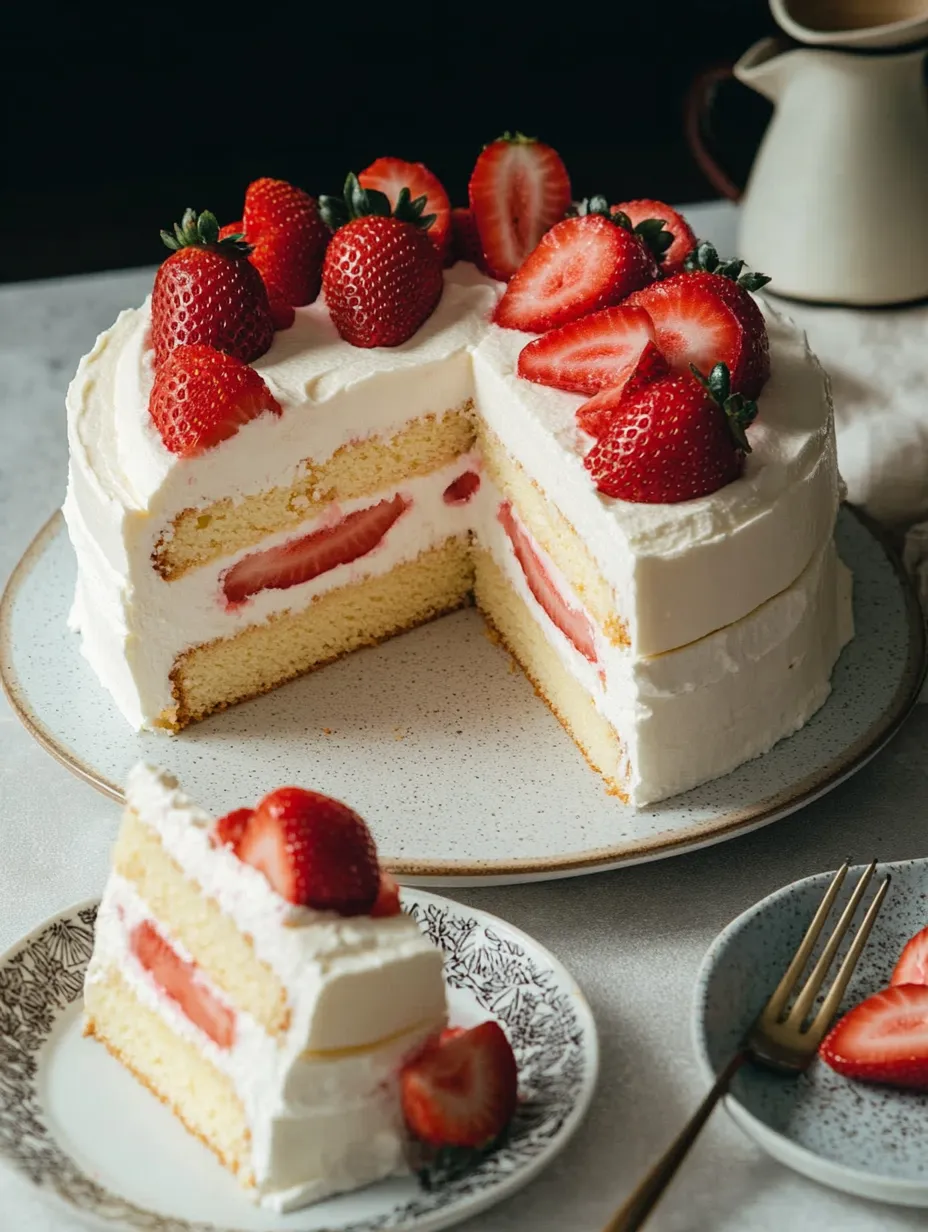
Throwing a get-together? This Japanese strawberry delight brings fluffy layers, airy whipped cream, and sweet berries in every bite. You’ll find this light-as-a-feather treat in Japanese bakeries, but it’s totally doable at home. It’s awesome for spring parties, birthdays, or whenever you’re in the mood for something cheery and delicious.
I whipped this up for a buddy’s birthday once, and the way everyone grinned on that first bite still sticks with me. Now, it’s my pick for special occasions—it always knocks the socks off kids and grown-ups.
Dreamy Ingredients
- Strawberries: These shine here—pick sweet, fragrant ones during berry season if you can
- Sugar: Sweetens just right; superfine or caster sugar melts smoothly into the batter
- Confectioners sugar: This keeps the whipped topping smooth and adds lift—sift to nix lumps
- Cake flour: Gives the insides a fine, light feel—sift for best fluffiness
- Heavy whipping cream: Look for at least 36% fat so the cream holds shape and whips up dreamy
- Egg yolks and whites: Split these for a fluffy base—room temp eggs beat way easier
- Whole milk: Brings extra moisture and softness to the mix
- Unsalted butter: Boosts richness without taking over; European style if you can swing it
- Gelatin (optional): If you want firmer whipped cream, toss it in—or skip it for softer clouds
- Sugar and hot water for syrup: This combo gives moisture and a touch more sweetness
- Picking the best stuff: Go for deeply colored, unbruised berries, room temp fresh eggs, and cake flour sifted well—that’s how you get a feather-light result
Step-by-Step Instructions
- Decorate and Set:
- Swirl a final thin layer of cream over everything, then slather a bit more over the sides and top. Pipe extra cream or just use a spoon. Arrange your last strawberries like a pro. Pop it in the fridge for half an hour (if you used gelatin), or serve right away if you didn’t.
- Assemble and Layer:
- Cut the cooled cake in half. Place one slice down, brush on that syrup, layer whipped cream, then cover with sliced berries. Top with the other half, repeat the cream and berries, and finish off with a fluffy crown of cream.
- Whip the Cream:
- If you’re stabilizing with gelatin, let it sit in water then melt it down. Add a spoonful of cream to the melted gelatin, then put it all back into your main bowl and whip until softly peaky. Otherwise, just whip the cream and sugar until medium-firm and skip the gelatin.
- Prepare the Cake Syrup:
- Stir sugar into hot water so it disappears. Add some juice from your macerated berries if you want extra berry oomph.
- Prepare the Strawberries:
- Slice your strawberries and toss them with a bit of sugar. Let ‘em hang out for an hour or two so they get juicy. Hang on to any juices—they’ll come in handy.
- Cool and Remove:
- When the cake pulls away from the edges, run a knife around and flip it upside down on a rack so it stays sky-high instead of caving in.
- Bake the Cake:
- Gently place the filled pan into the water bath. Pour in hot water about an inch high. Bake for an hour and a half—no peeking, or it might fall.
- Fill and Prepare the Pan:
- Pour your batter into the lined pan. Tap the pan a couple times to pop pesky bubbles. This helps keep the crumb even.
- Incorporate the Egg Whites:
- Start by folding just one scoop of whipped whites into the yolk-batter mix to loosen things up, then gently mix it all together—don’t overdo it or you’ll lose that airiness.
- Whip the Egg Whites:
- Beat the egg whites until foamy, then slowly sprinkle in the sugar. Keep mixing until you see shiny, fluffy peaks that hold their shape but aren’t too stiff.
- Mix in the Cake Flour and Yolks:
- Sift the flour in to avoid clumps and stir it smooth. Add the yolks, mixing until it turns even in color and texture.
- Melt the Butter and Milk:
- Combine butter and milk in a heat-safe bowl and microwave until just melted. Give it a good stir so they mix completely for a smooth blend with flour.
- Create the Water Bath:
- Get a big baking pan and pour in boiling water until it comes about an inch up the sides of your cake pan. This keeps the cake from overcooking and helps it bake gently so it stays extra soft.
- Prepare the Cake:
- Put parchment paper in your cake pan for super easy removal and heat your oven up to 325 F. This step ensures the cake won’t stick and you’ll get smooth edges.

Honestly, nothing beats using super ripe strawberries—the whole kitchen smells amazing and I always think of summers picking berries with my grandma. It’s those sweet fresh berries that make this cake next-level.
Chill Storage
Keep your finished cake loosely covered in the fridge so the cream doesn’t soak up weird fridge smells. It’s tastiest within a day for the fluffiest bite. If it’s just the cake alone (no cream), you can wrap, freeze, and thaw when you’re ready to fill it up.
Swaps You Can Make
No cake flour? Use all-purpose mixed with a big spoonful of cornstarch per cup. Skim milk is okay, but expect a less tender crumb. Going dairy-free? Sub with coconut whipped cream and skip the gelatin altogether.
Enjoy It Like This
Go wild and pile on more fresh berries or drizzle leftover syrup on each slice. Fresh mint looks pretty and tastes great too. Have it with chilled green tea or even bubbly wine for a real Japanese-style treat.
Sweet Backstory
Japanese strawberry shortcake is the classic pick for birthdays and big days in Japan. It takes cues from European sponge cakes but skips the buttercream for whipped cream and keeps things barely sweet. It’s all about fun, happiness, and the start of spring.
Frequently Asked Cooking Questions
- → How does the cake stay so soft and airy?
If you gently blend in the whipped egg whites, the batter stays nice and delicate. Baking it in a pan of water keeps everything moist and fluffy.
- → Is it fine to swap stabilized cream for plain whipped cream?
You sure can if you'll eat it soon. But add a little gelatin if you want the cream to hold up nicely for longer without drooping.
- → How can I stop my cake from shrinking or falling flat?
Be gentle with mixing so you don't lose the fluff. Leave the oven shut for the first stretch. Right after baking, run a knife around the sides to let it release cleanly.
- → Do strawberries have to be macerated first?
Letting them sit with sugar pulls out juices and boosts the sweet flavor. If you like things tangy, you can skip that and use fresh strawberries instead.
- → What's the easiest way to cut nice, clean slices?
Chill the cake for a bit before slicing, and grab a serrated knife for neat pieces and tidy edges.
- → Can I prep this dessert ahead of time?
Bake and cool the actual cake a day in advance if you want, but save the layering with cream and strawberries for the day you're going to serve it. That keeps it fresh and soft.