
 Save
Save
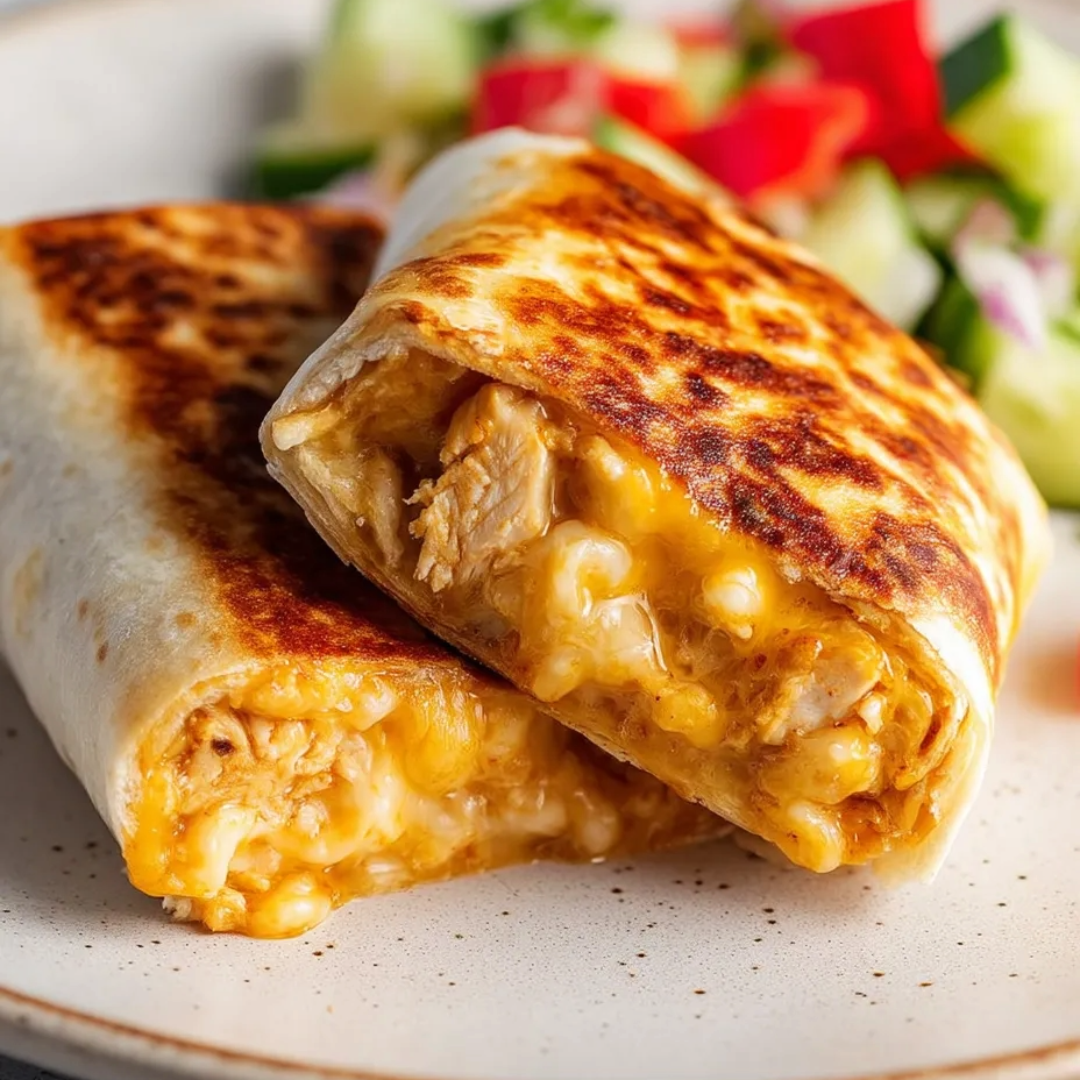
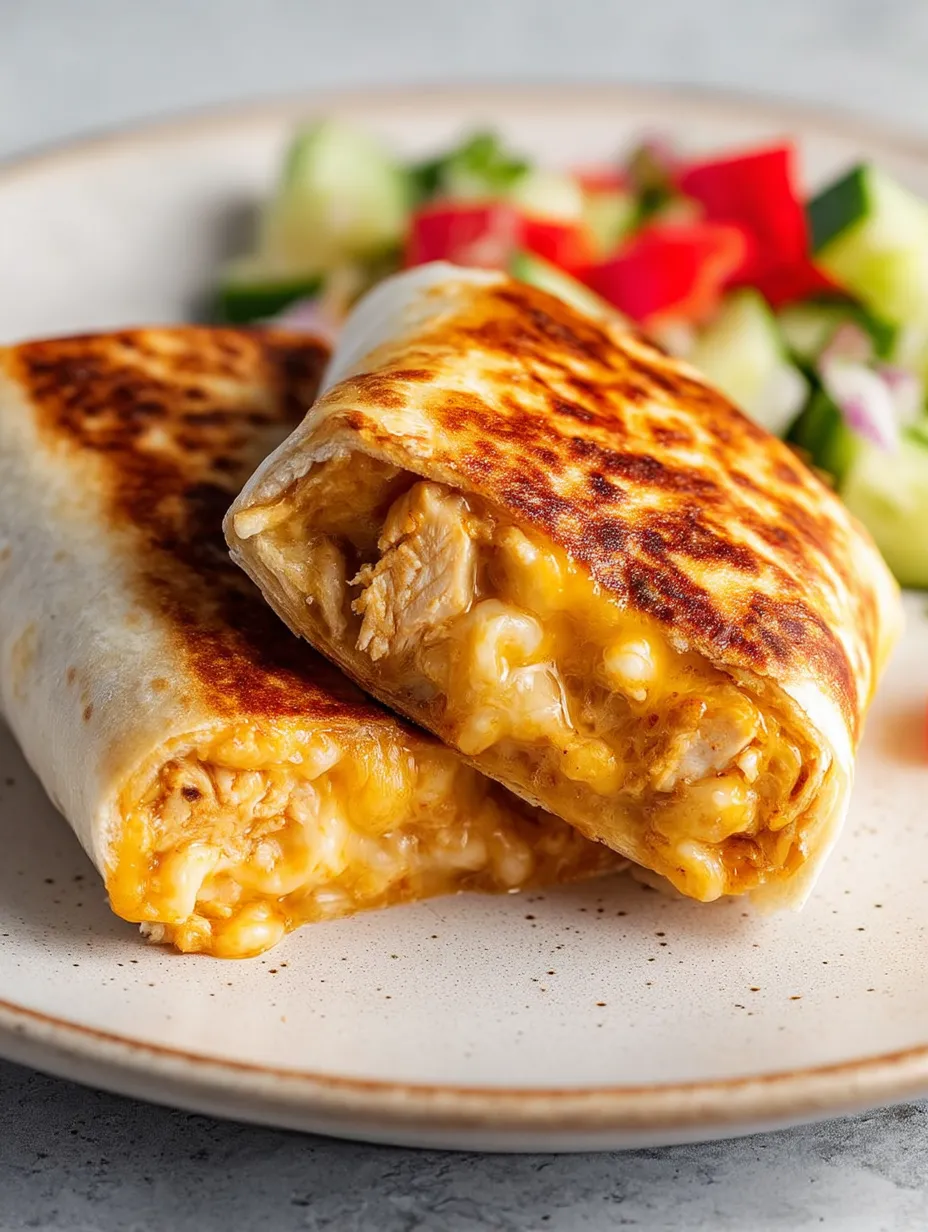
I love these cheesy garlic chicken wraps because they’re easy to whip up after a long day. That golden cheese inside and the outer tortilla crunch just hits the spot. The simple filling feels kinda special, even though it’s a breeze to throw together. Clean-up’s a snap, too, so I’m not stuck with a mountain of dishes when dinner’s over. Perfect for a boost of protein and a little comfort.
First time I ever made these, I just tossed together some leftover grilled chicken and whatever tortillas I had. The minute we tasted that hot, cheesy, garlicky middle, everyone was hooked. Nowadays, it’s exactly what my crew begs for on rushed work nights or lazy Fridays.
Irresistible Ingredients
- Olive oil spray: Helps the wraps crisp on the outside without getting stuck in the pan just a quick spritz of decent olive oil gets you a little extra flavor
- Green onion: Brings a nice crunch and a pop of freshness pick ones that look firm and green
- Grated cheese: Cheddar melts like a dream a bit of sharpness is nice but use any melty cheese you love
- Salt: Makes all the flavors pop fine salt mixes in super well
- Hot sauce: Cranks up the flavor use your top pick and add a splash or two more if you like a kick
- Light Greek yogurt: Gives a tangy zip and helps bind it all together go for a thick, plain kind
- Light mayonnaise: Makes it creamy inside richer mayo turns out even better if you’ve got it
- Fresh garlic: Brings loads of flavor grate or mince tightly packed cloves avoid any that look shriveled or sprouting
- Cooked chicken: Use anything from roasted to rotisserie even leftover grilled chicken works and saves loads of time
- Large tortillas: Needs to be sturdy so your wrap doesn’t fall apart thick flour tortillas or your favorite protein-packed choice are both great
Simple Step-by-Step
- Slice and Enjoy:
- Cut the wraps in half on a board. Eat right away while cheese is still gooey and piping hot.
- Crisp It Up:
- Crank a non-stick pan to medium-high. Give it a light mist of olive oil spray. Put wraps in seam down. Don’t move ‘em for three or four minutes. Wait ‘til the bottom gets golden and crispy, then flip. If you want cheesier cheese, pop on a lid for the last minute.
- Wrap Them Up:
- Snugly fold the sides in over the filling. Start at the bottom and roll them up tight, tucking the ends so nothing leaks while they cook.
- Fill Up Those Tortillas:
- Lay out tortillas on the counter, put a thick stripe of cheese near the bottom edge. Scoop about two-thirds cup of chicken mix over the cheese. Drop more cheese and some green onion on top.
- Mix Up the Filling:
- Stir together the chicken, garlic, mayo, yogurt, hot sauce, and salt in a bowl. Mix until every piece is nice and coated and you see garlic bits all around. Taste then fix the heat or salt before moving on.
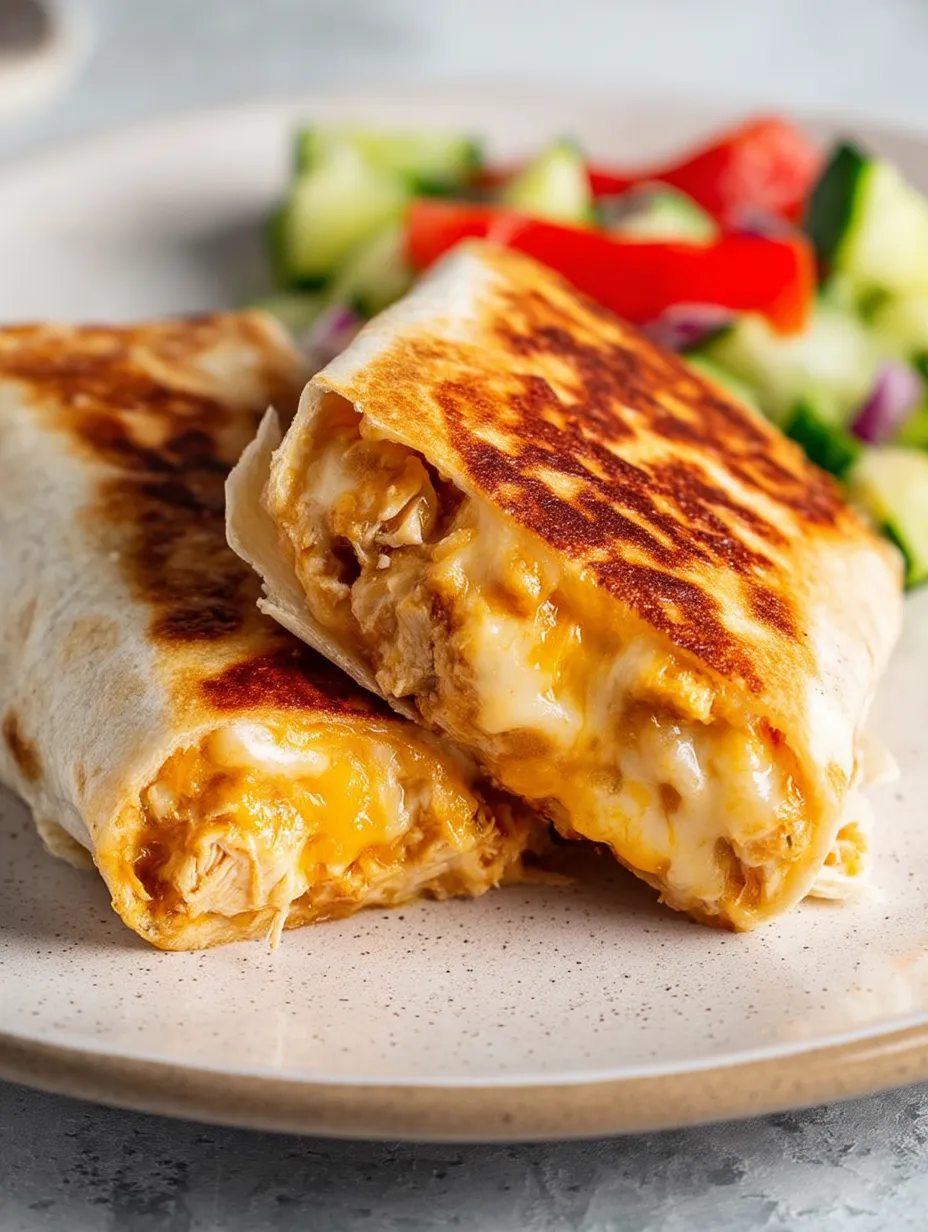
I’m a sucker for sharp cheddar in these wraps. It melts super smooth and you get those awesome cheese pulls with every cut. Some of the best afternoons are out on the porch with my kids eating these. They dip theirs in salsa and somehow there’s never a crumb left.
How to Store
After you cook them, let the wraps cool before sticking them in a lidded container in the fridge. They’ll taste great for up to two days. Warm them back up in a dry pan or air fryer to get back that crunchy bite. Don’t freeze the finished wraps the chicken filling freezes well if you want to make extra for later just thaw in the fridge overnight before you’re ready to use it.
Switch-Ins and Trade-Outs
Rather use vegan mayo? Go for it. Greek yogurt can switch to regular plain yogurt or even sour cream if that’s all you have. Leftover grilled, roasted, or poached chicken — they all work just as great. Use any cheese that melts nicely mozzarella gives a milder taste, pepper jack is perfect for heat-seekers.
Ideas for Serving
Most of the time I eat these just by themselves but they’re tasty with crispy slaw or some roasted veggies. If you want to keep things chill, serve pickles or salsa and a handful of tortilla chips on the side. When it’s party time, cut the wraps into thick slices and pile them on a tray for easy sharing.
A Little Backstory
Wraps started popping up everywhere in the US during the 90s as a fun twist on sandwiches. They take cues from global eats, like Mexican burritos and flatbread wraps from the Middle East. The combo of garlic and cheese is super comforting to me it reminds me a lot of cheesy garlic bread, which always makes me smile.
Frequently Asked Cooking Questions
- → Can I switch up the cheese?
Definitely! Any cheese that melts well, like mozzarella, Monterey Jack, or even spicy pepper jack, is fair game. Mixing a couple types is tasty too.
- → Could I prep these in advance?
You sure can. Make the chicken mix up to three days early and stash it in the fridge. Just put your wraps together and crisp them up when you're ready to eat so they stay tasty.
- → Can I skip pan-frying?
Yep! Air fry at 375°F (190°C) for 6–8 minutes or bake at 400°F (200°C) for 10–12 minutes. Pan-frying gives you the crunchiest outside, but the others do the job too.
- → What should I eat with these wraps?
Try a bright green salad, some roasted veggies, or spoon up extra salsa on the side. Chips and pickles are great add-ons, too.
- → How should I warm up leftovers?
Use a pan or air fryer to crisp them back up. Skip the microwave because they'll turn floppy. You can freeze the filling if you want to save it.