
 Save
Save
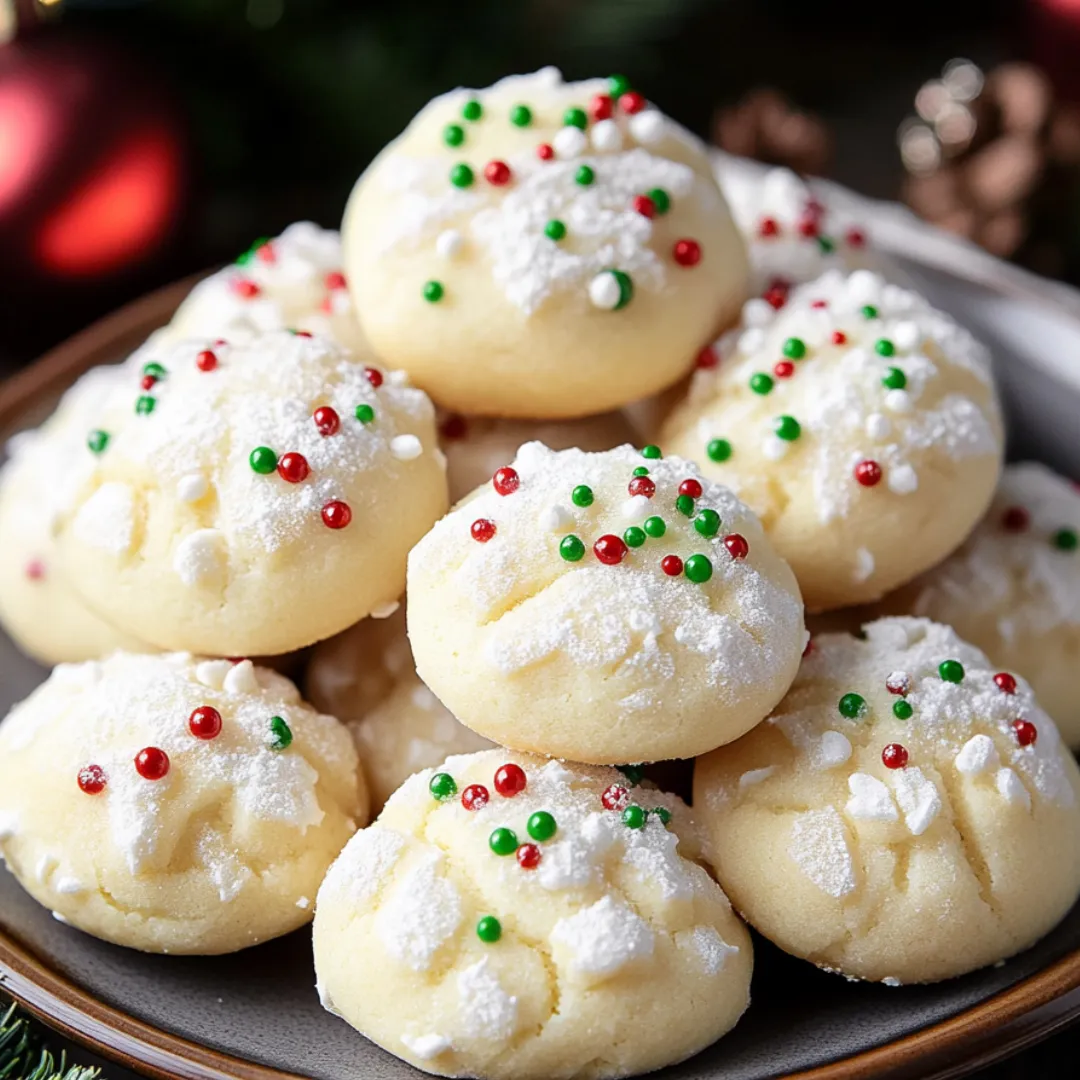
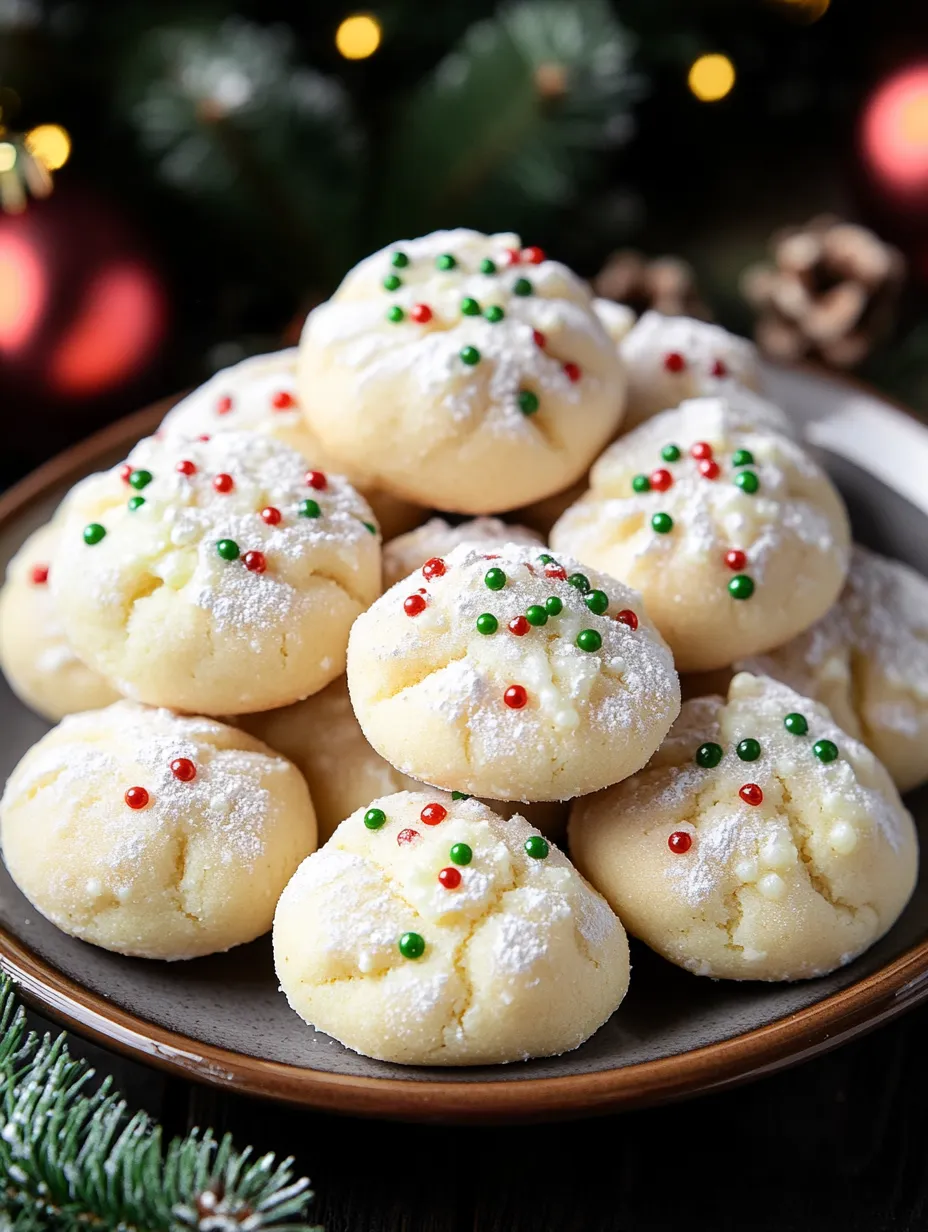
These timeless holiday treats blend simple ingredients into a cherished Italian Christmas delight. Their soft, buttery middles and sweet frosting dotted with bright sprinkles have brought folks together for generations, showing up at family gatherings and cookie exchanges all over.
I learned this recipe while cooking with my grandma from Italy, and now my folks beg for them every Christmas. The vanilla smell that fills the house when they're baking tells everyone that holiday time is just around the corner.
Ingredients
- Eggs: Get them to room temperature so they'll blend better and make your dough airier
- Granulated sugar: Gives just enough sweetness without taking over the gentle flavors
- Unsalted butter: Make sure it's soft before using for that wonderful melt-in-mouth feeling
- Vanilla extract: Adds cozy flavor notes, but you can switch to almond extract if you want something nuttier
- All-purpose flour: Creates the foundation while keeping everything tender
- Baking powder: Helps the cookies rise and stay pillowy
- Powdered sugar: Creates a beautiful topping that hardens nicely
- Nonpareil sprinkles: Add festive flair and a tiny crunch
Clear Directions
- Combine Dry Stuff:
- Mix flour and baking powder in a bowl until completely combined. This step makes sure your cookies puff up evenly without any powder clumps.
- Begin Your Base:
- Whip the butter, vanilla extract, and sugar in a large bowl until it turns light and fluffy. This should take about 3 minutes and adds air bubbles that make your cookies extra soft.
- Add Eggs:
- Drop eggs in one at a time, mixing thoroughly after each addition. Don't hurry this bit. Each egg needs to disappear into the mix before adding the next one for a smooth batter.
- Combine Everything:
- Add your flour mixture to the wet ingredients and stir just until everything comes together. Your dough should feel pliable but not crumbly. Don't overmix or your cookies might turn out hard.
- Handle And Chill Dough:
- Gently knead until the dough feels right - soft but not tacky. Sprinkle tiny amounts of flour if needed. Wrap it up and cool it in the fridge for an hour. This rest lets the moisture spread evenly and firms the butter for easier shaping.
- Shape Your Treats:
- Create whatever forms you prefer - basic 1-inch balls work great, or try making 6-inch ropes and twisting them into swirls for something fancier. Place them on parchment-lined baking sheets, leaving 2 inches between each.
- Bake To Perfection:
- Bake in a 375°F oven for 8-10 minutes. Look for golden bottoms while tops remain mostly pale. This gentle cooking keeps them wonderfully tender.
- Cool Completely:
- Transfer cookies to a cooling rack and wait until they're fully cooled before icing. If you try to glaze warm cookies, the topping will just slide off.
- Add The Finishing Touch:
- Make your glaze by stirring powdered sugar, vanilla, and milk until smooth. Dip the top of each cooled cookie, let excess drip away, then quickly sprinkle before the glaze sets.
Vanilla truly makes these cookies stand out. My grandma always added a splash more than the recipe said, claiming that's why her batch always disappeared faster at family gatherings. That extra dash has become our special family secret.
Staying Soft
Keep these Italian holiday treats in an airtight container at room temperature to maintain their tender texture. They'll remain delicious for about a week, though at our house they rarely last past the third day. For longer storage, put sheets of parchment between layers so they won't stick together. Want to make them way in advance? Freeze them without the glaze, then thaw and top them when you're ready to enjoy.
Fun Variations
This adaptable dough works for countless yummy options. You might throw in some lemon or orange zest for a zingy, fresh flavor. If you're a chocolate fan, fold in mini chocolate chips or drizzle melted chocolate on top instead of the standard glaze. You can also mix in finely chopped pistachios or almonds for extra crunch and taste. During the holidays, a hint of anise creates that real Italian flavor that pairs wonderfully with after-dinner coffee.
Perfect Pairings
These treats match beautifully with holiday drinks. Try them alongside a steaming espresso or cappuccino for an authentic Italian moment. They also taste wonderful with hot chocolate topped with whipped cream since they aren't too sweet. Adults might enjoy them with a small glass of Vin Santo or amaretto. You can also serve these cookies on a dessert tray with fresh fruit and a dollop of mascarpone for an elegant holiday finale.
Cultural Significance
In Italy, Christmas cookies like these represent abundance and celebration. They're known as "biscotti di Natale" in Italy and originated in southern regions where families would gather before Christmas to bake batches of cookies. The colorful sprinkles symbolize joy and festivity, while sharing cookies strengthens community ties. Many Italian American households have different generations working together making these goodies, passing along baking tricks and family tales. These cookies appear simple yet elegant, reflecting how Italians value both beauty and practicality in their food traditions.
Frequently Asked Cooking Questions
- → What flour works best for this recipe?
You can't go wrong with all-purpose flour for these cookies - it gives them that signature softness everyone loves.
- → Can I swap out vanilla for almond extract?
You sure can! The almond flavor adds a wonderful twist. Try using a bit of both extracts for something really special.
- → How much time does the dough need to chill?
Give it at least an hour in the fridge, wrapped up tight. This helps with handling and makes sure your cookies don't spread too much while baking.
- → Are these cookies freezer-friendly?
They definitely are! Just skip the icing and store them in the freezer for up to three months. You can decorate them after thawing when you're ready to eat.
- → How do I get the glaze consistency right?
Start with powdered sugar, then add milk and vanilla bit by bit. It should flow smoothly but not be runny. Too thick? Add a few drops of milk. Too thin? Throw in more sugar.