
 Save
Save
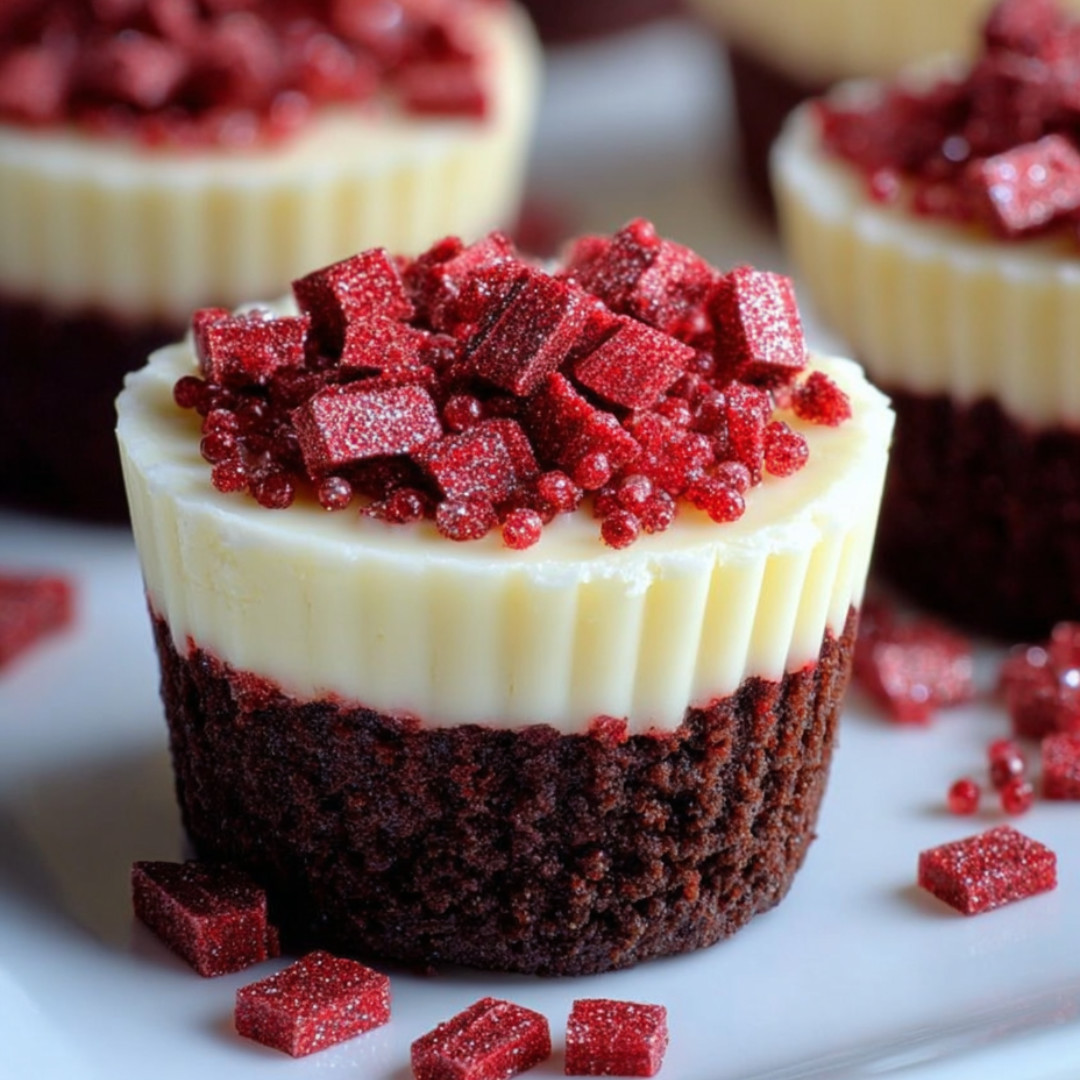
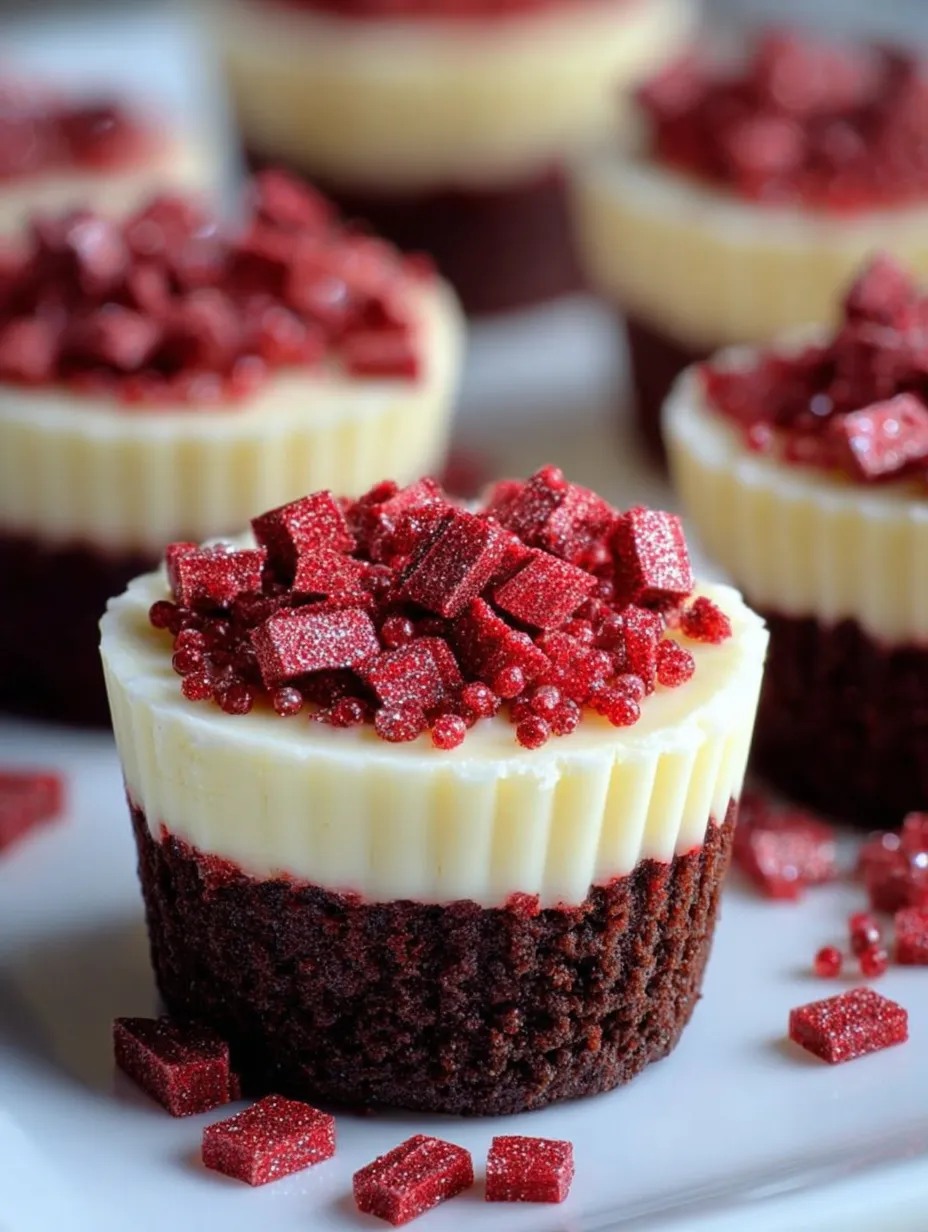
Red velvet brownies with cheesecake blend deep chocolate flavors and creamy layers all in one treat. Each square has bold red shades swirling with creamy white, making them a hit for parties, birthdays, or just when you want something fun. Ever since I brought a batch to a holiday dinner, they’ve topped the list for every get-together.
The first time I made them, they vanished way before the main meal The wow factor and flavor combo keeps everyone reaching for seconds
Dreamy Ingredients
- Whipped cream: Fluffy clouds on top bring everything together For best results, use fresh homemade whip
- Salt: Adds pop to the flavors Sprinkle in sea salt and you’re golden
- Vanilla extract: Makes everything taste warm and smooth Go for the real stuff
- Chocolate shavings or sprinkles: Fun and fancy on top—pick your fave, dark or milk
- Cream cheese: Makes the cheesecake layer rich and luscious Stick with full-fat if you can
- Red food coloring: Bright red is what you want—grab a gel type for max color
- Baking powder: Lifts the batter so it’s soft and not dense Make sure it’s still fresh
- Large eggs: Pulls it all together and adds structure Farm eggs if you can swing it
- Cocoa powder: That classic red velvet vibe comes from here Get Dutch cocoa for intensity
- All-purpose flour: Makes the texture spot on Sift it in for fluffier bars
- Granulated sugar: Sweetens and keeps the crumb moist Cane sugar’s best for this
- Unsalted butter: The fudgy magic! Quality butter really shines in these brownies
Simple Steps to Make It
- Cut and Serve:
- If you used parchment, lift the bars out and slice Wipe the knife each time for sharp lines then pile on whipped cream and chocolate if you’re feeling extra
- Cool and Chill:
- Let them cool down on the counter completely Pop in the fridge for least two hours so you get perfect slices
- Bake:
- Slide the pan into a 350-degree oven for about 35 minutes Edges will be set but the middle stays just a little soft Stick a toothpick in—it should come out with moist crumbs
- Layer and Swirl:
- Pour the creamy cheesecake layer over your brownie base Drag a skewer or knife through for swirls, but don’t blend them together too much
- Beat the Cheesecake Layer:
- Mix soft cream cheese until it’s light then add sugar Keep mixing until it’s silky Drop in eggs one at a time, scraping the bowl each go End with vanilla and flour Mix until smooth, stop early
- Spread the Base:
- Even out the red velvet brownie mix in your baking dish Use a spatula to get a flat layer Hold for later
- Combine Dry Ingredients:
- Stir up the flour, cocoa, salt, and baking powder Gently add the red color and blend into the wet stuff Mix just to combine so the brownies stay tender
- Make the Brownie Batter:
- Melt the butter so it’s just runny, then whisk in the sugar Let it cool briefly, then mix in eggs one at a time with vanilla for flavor
- Prep the Pan:
- Line a 9x13 pan or grease it up This helps everything come out easily later
Good to Keep in Mind
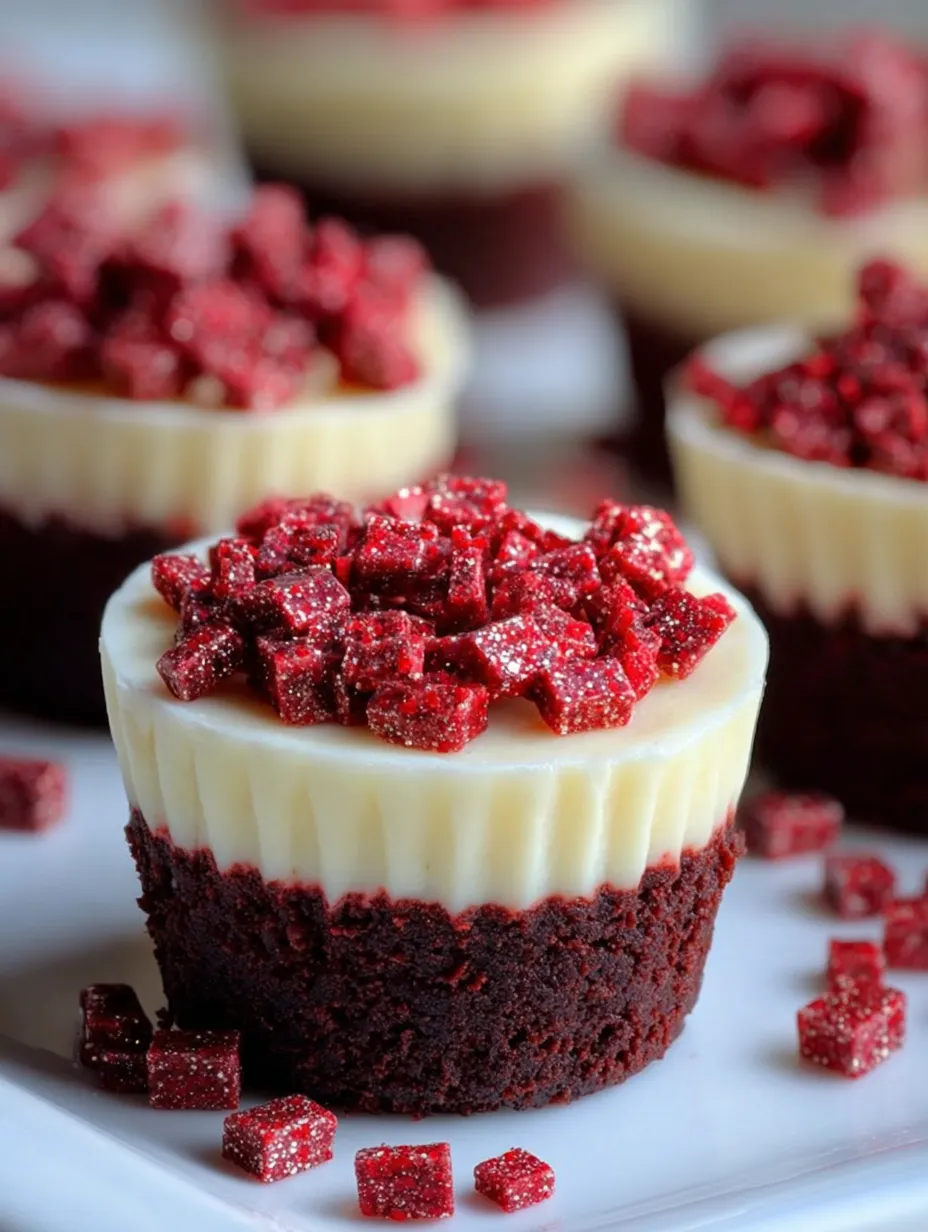
- The stack of creamy and chocolate layers totally stands out at celebrations
- Pops in the fridge for up to seven days, easy
- Travels well, so you can show off at any event
I live for those beautiful swirly tops My best memories are with my kid swirling the patterns on her birthday Watching her play artist with a butter knife is the highlight every year
Chill Like a Pro
Store these brownie cheesecake bars in a sealed container in your fridge for about a week The flavors get better after a night’s rest For longer, wrap each piece and toss in a freezer bag Frozen bars thaw fast—just half an hour and you’re snacking whenever you want
Switch Things Up
No red food coloring? Mix in a pinch of beet powder for color and an earthy flavor Want gluten-free? Swap in your usual gluten-free blend in place of flour Not into super-sweet? Top with fresh raspberries or drizzle on some dark chocolate for a crowd favorite
Fun Ways to Serve
Show them off just as they are, or toss some berries on the side for a pop of freshness Awesome with a scoop of vanilla ice cream or a dust of cocoa powder Want to get festive? Try some colored sprinkles or tiny red hearts
History and Backstory
Red velvet started out as a Southern party classic, showing up for weddings and big family dinners Mixing it with brownies and cheesecake puts a modern spin on an old favorite Folks come back for the throwback vibes and the wow factor of these layered bars
Frequently Asked Cooking Questions
- → What's the best way to swirl the cheesecake and brownie layers to keep them looking sharp?
Take a butter knife or a skewer and gently twist the cheesecake mix through the brownie. Go for a figure-eight pattern. Don't go wild—keep it light so your swirls stand out when you cut the bars.
- → Can I swap out red food coloring for something else?
If you want to use natural color, beet juice or a little raspberry puree work, though they'll change the taste a bit. Or just skip the color for a simple take—still tasty!
- → How can I stop the cheesecake top from splitting?
Don't mix the cheesecake too long and watch the baking time. Let it cool down on its own, then stash it in the fridge for a few hours to help each layer set nicely.
- → Is it alright to bake these ahead of time?
Definitely! They actually taste even better once they've chilled overnight. Just bake, cool, refrigerate, then slice right before you want to serve them.
- → What should I sprinkle or add on top?
Whipped cream, curls of chocolate, or sprinkles make them extra special. You can go with powdered sugar dusted over the top or even a light drizzle of melted chocolate.
- → How do I keep extra brownies fresh?
Store them in a sealed container in your fridge for about five days. For longer, freeze with parchment between each bar and thaw when you're ready to eat.