
 Save
Save
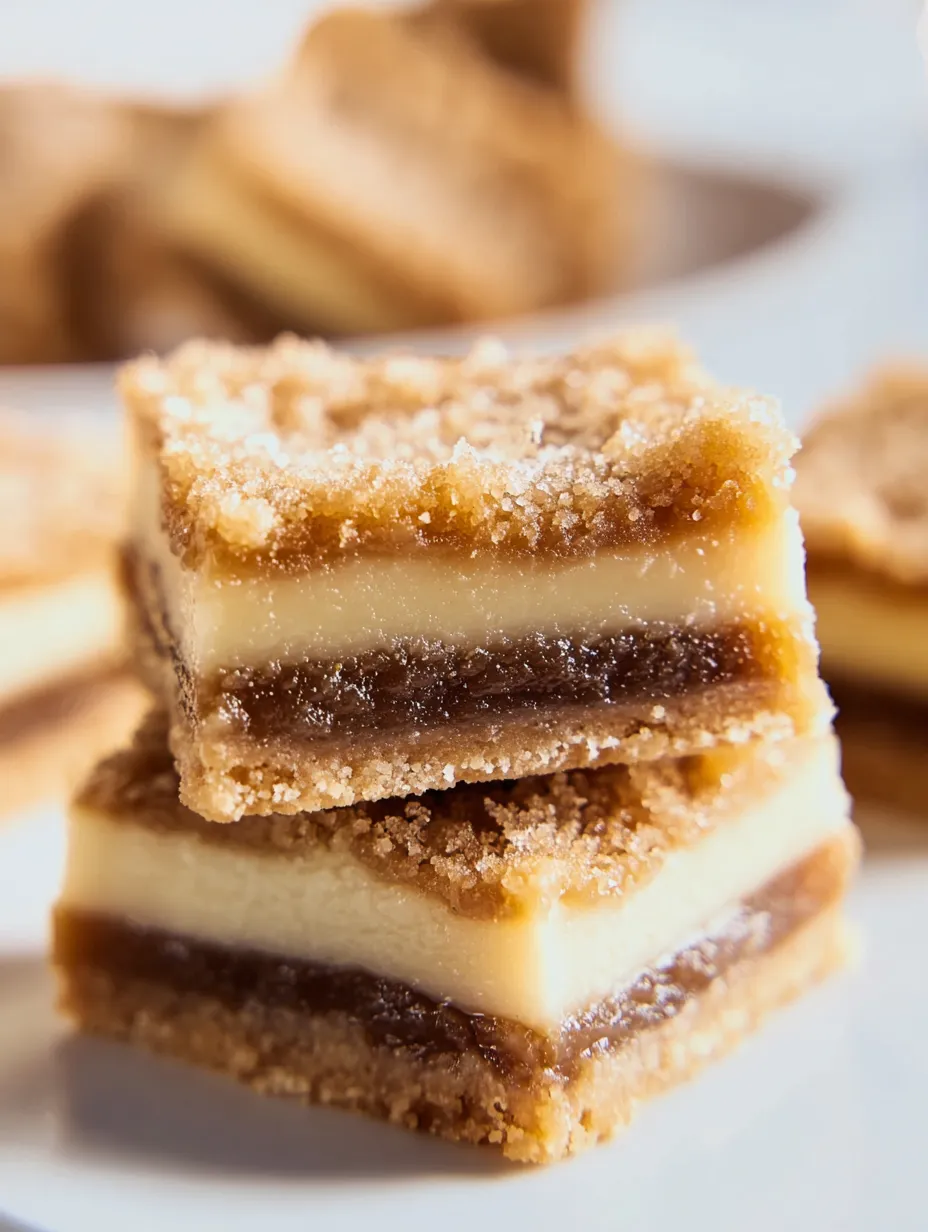
Butter Tart Squares wrap up all my favorite things about traditional butter tarts in a shareable slice. They start with a tender crumb base and get loaded with sticky sweet topping, all baked in a big pan. Less hassle, more to go around—these are my go-to for bake sales or potlucks every time. They always hit the spot when I want something Canadian and easy.
I took these to the family picnic last summer and they disappeared fast. Now, everyone wants me to make them for every holiday—no joke.
Irresistible Ingredients
- Optional raisins: add chewy bites and a bit of nostalgia Plump soft raisins give the best result if you like them
- Vanilla extract: brings warmth and rich background Try pure vanilla for maximum flavor
- Brown sugar: packs in that signature deep sweetness Use the freshest, softest brown sugar you can get
- Icing sugar: also called confectioner’s sugar It sweetens and gives the crust that melt-in-your-mouth feel Sift first so it’s not lumpy
- White vinegar: brightens the taste and keeps the filling from getting too sugary Use clear plain vinegar to keep flavors clean
- Large eggs: hold the filling together and add a creamy texture Always pick fresh eggs for best results
- All purpose flour: the backbone of the crust Unbleached works best for flavor but any will hold up
- Unsalted butter: make sure it’s cold and diced for that perfect tender base Go for a high fat butter if you want it extra rich
Easy Step-by-Step Guide
- Cut Up and Serve:
- Once the bars are fully cold, grab the parchment to lift them out. Slice clean squares and hand out to your happy crew.
- Give It Time to Set:
- Let the pan cool off on a rack so everything firms up for nice, tidy slices. Pop it in the fridge a few hours so the bars hold together perfectly.
- Finish and Bake Again:
- After the crust is out of the oven, pour the filling straight on while it’s warm. Bake until the outsides are set but the very center has a gentle wiggle—about twenty five to thirty minutes.
- Mix That Filling:
- Combine the brown sugar with the melted butter and stir until smooth. Beat in eggs one by one, just until it comes together. Drop in vanilla and vinegar for balance, and stir in raisins if you want them.
- Make That Filling Ready:
- Microwave the butter in a bowl to melt, then cool a minute so you don’t scramble the eggs.
- Bake the Base:
- Bake the crust for about ten minutes until just colored and firmed up. This way it stays crisp under all the gooey goodness.
- Press Down Crust:
- Dump the crumbs in your lined pan and squish everything down firmly. You want a solid layer so the squares don’t crumble later.
- Cut in Butter:
- Blend in the cold cubes of butter using a pastry cutter or your fingers until it looks like tiny pebbles. If too dry, splash in cold water a spoon at a time to bring it together.
- Mix for the Crust:
- In a big bowl, whisk flour and icing sugar. Add the cold butter pieces.
- Get That Oven Going:
- Flip on the oven to 350 Fahrenheit (around 175 Celsius) so it’s good and hot for the crust.
- Prep Your Pan:
- Line a 9x13 pan with parchment paper and press into every corner. Mist with cooking spray for easy lifting later.
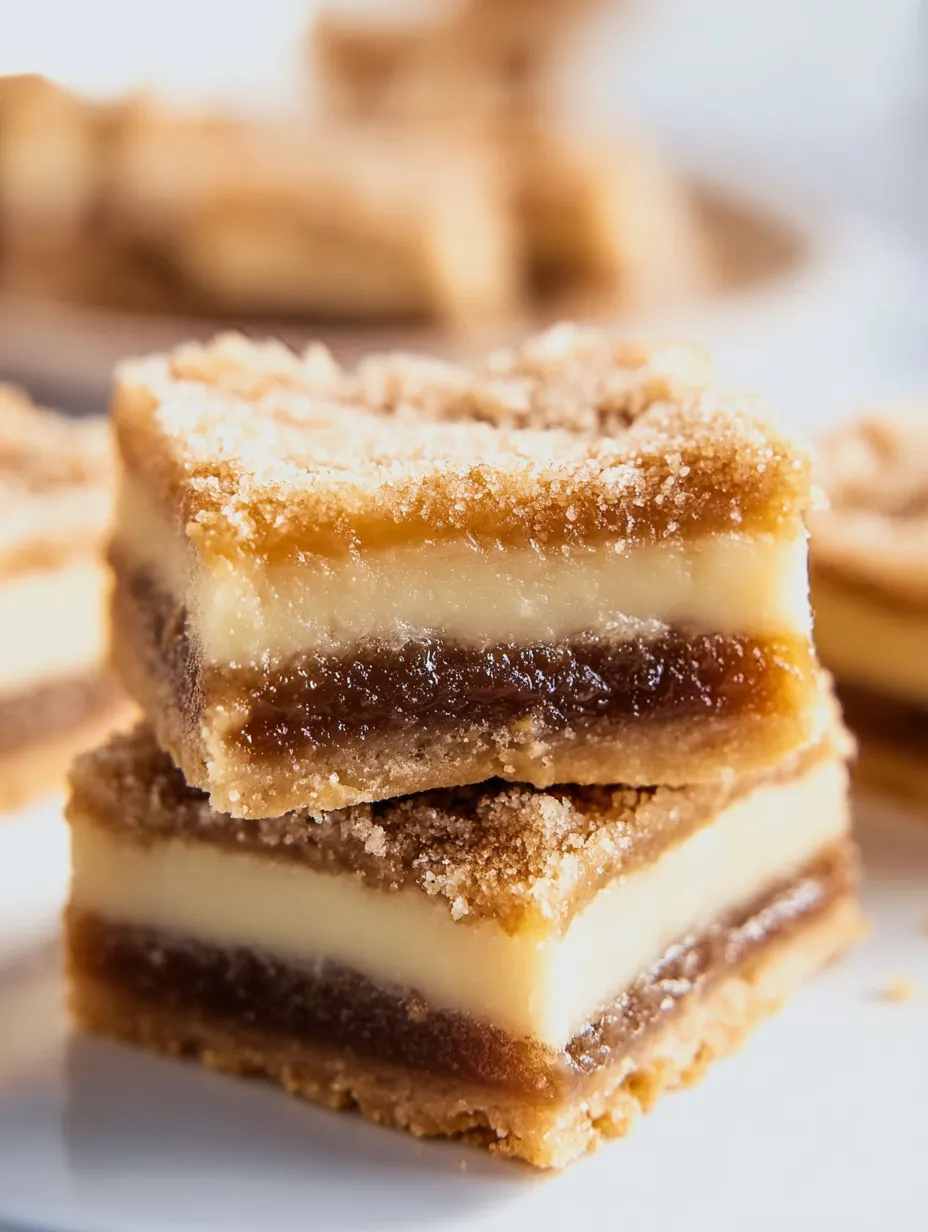
The creamy, sweet filling is the best part for me. A little vanilla hit takes me right back to grandma’s kitchen on chilly holidays when she’d sneak me one more square from the fridge.
How to Store Them
Keep your butter tart squares sealed up in an airtight tin or tub on the counter and they’ll be fine for up to three days. If you want them to last longer, just stash them in the fridge. They also freeze like a dream—wrap up tight in plastic or foil and store for up to a couple of months. Thaw at room temp and you’re set to snack!
Swaps for Ingredients
Walnuts or pecans work instead of raisins if you want more crunch. For gluten free, grab a one-for-one gluten free flour instead of regular. Almond flour gives a softer base, but changes things up a bit in texture.
Serving Ideas
Try a sprinkle of extra icing sugar to make them feel fancy. Serve with vanilla ice cream if you’re feeling decadent. For easy sharing, cut them tiny and put each piece in a mini paper cup.
A Bit of Food History
All across Canada, folks put their own spin on butter tarts. These squares give you all the caramel-y filling without fussing over tart shells. Families have passed this sweet on for ages, tweaking the ingredients to match their stories.
Frequently Asked Cooking Questions
- → What's the easiest way to get the crust just right?
Start with cold butter sliced into cubes, and mix it with flour plus icing sugar until you've got lots of little bits. Press this firmly into your pan so you get a crumbly, solid bottom layer.
- → Can I prep these bars early?
Absolutely, make them ahead and pop in the fridge for a few hours, or leave them overnight. Just slice them before serving.
- → How should I keep any extras fresh?
Store the bars in a sealed container on the counter for about 3 days, or stick them in the fridge to keep them good longer.
- → Are raisins or nuts a must in the filling?
Nope, those are just for a little extra chew or crunch if you want them. Add them based on your favorite flavors.
- → How will I know the filling’s baked enough?
You'll want the filling mostly firm but still with a little wiggle in the center. If it's really runny, just bake a bit longer until it looks right.