
 Save
Save
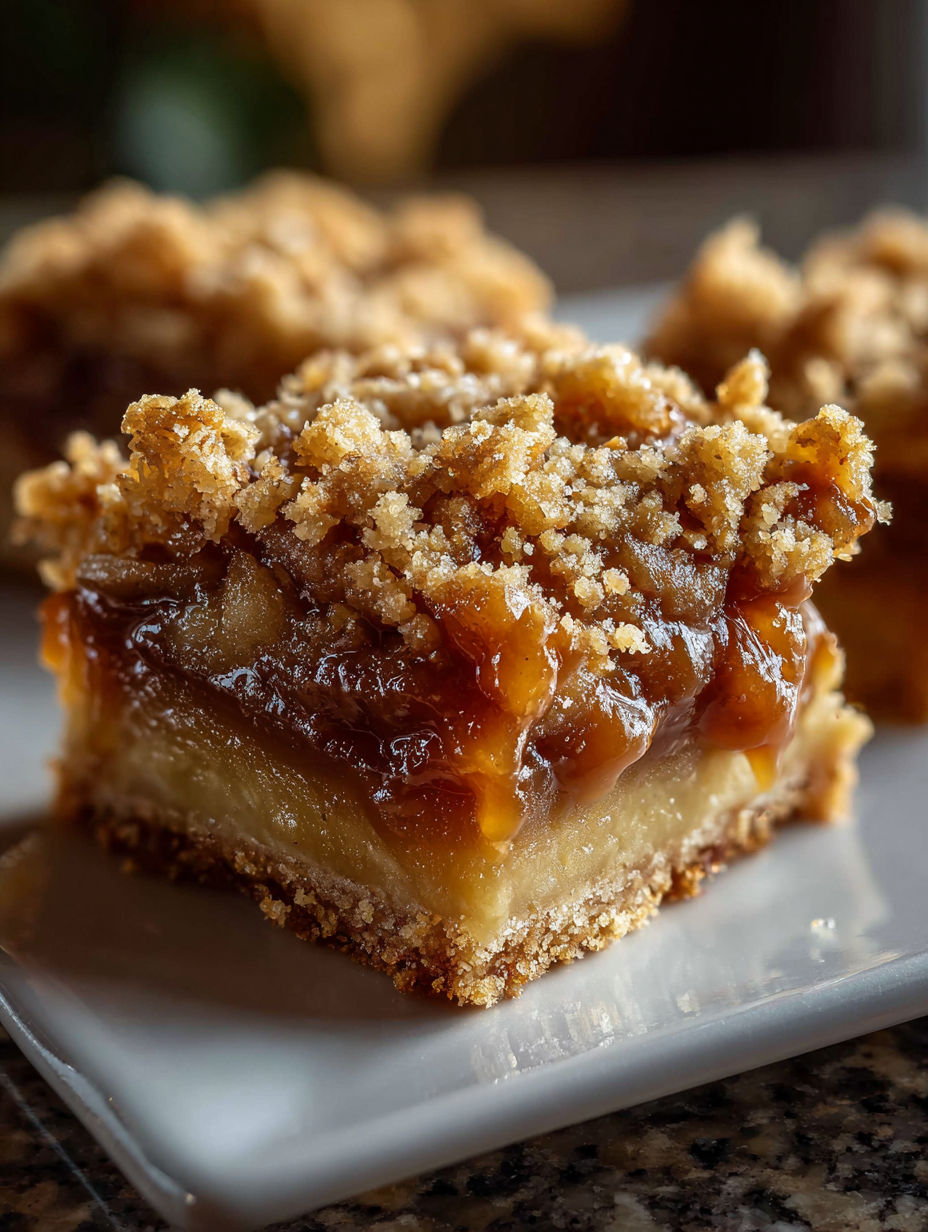
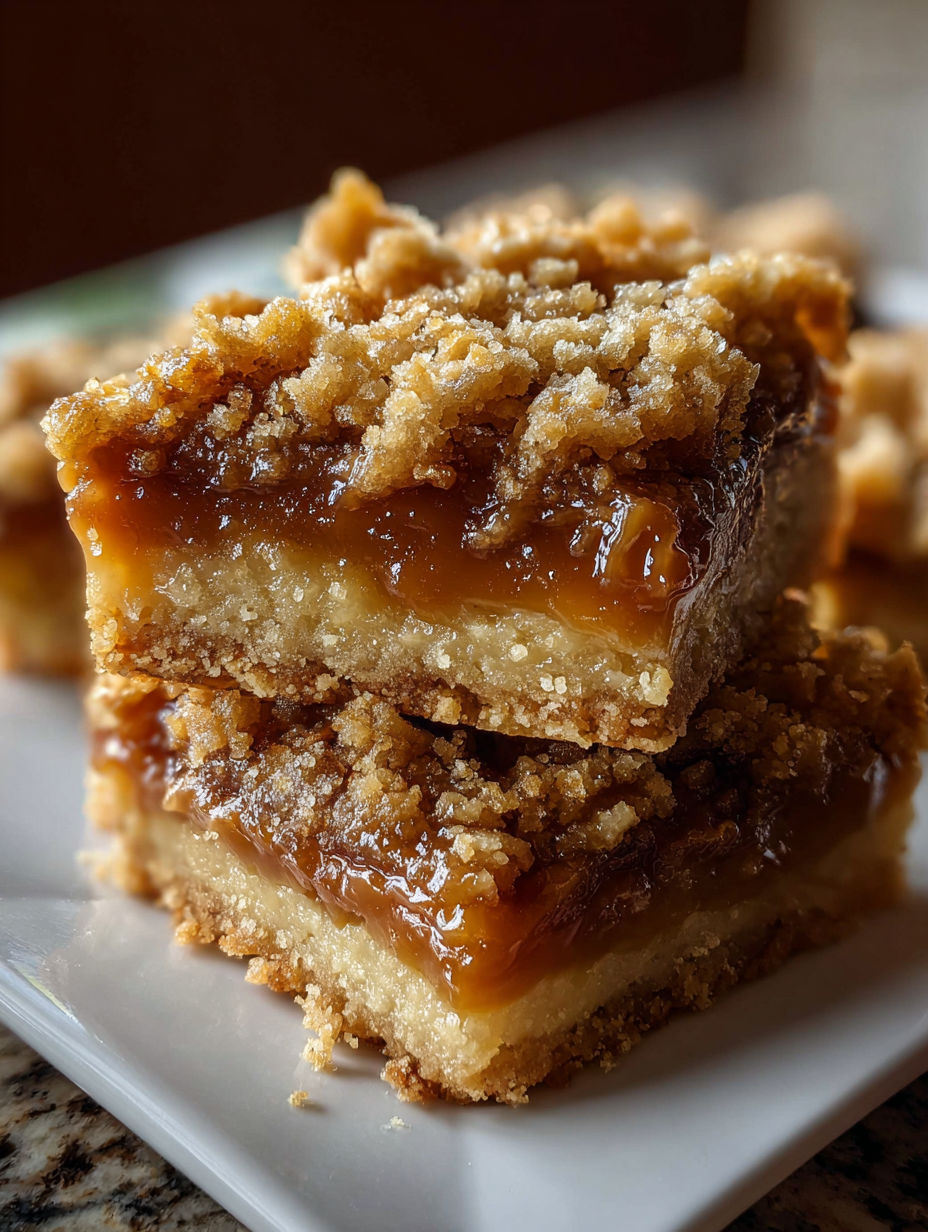
These salted caramel apple crumble bars are pure homemade comfort from fall in every bite. They mix crisp apples with cozy spices and rich salted caramel, all topped with a buttery crumble that makes any weekday feel special. Ideal for chill hangouts or a sweet weekend snack.
I whipped these bars up once when a friend dropped by unannounced and they quickly became my go-to dessert to share.
Ingredients
- All-purpose flour: gives the crumble its firm but tender texture, fresh flour bakes best
- Salted caramel sauce: the star ingredient that adds sweet and salty creaminess, pick a good quality jar or make your own
- Granulated sugar: sweetens the crumble and helps it brown nicely, finer sugar mixes best
- Vanilla extract: adds warmth and aroma to boost the caramel flavor
- Peeled and thinly sliced apples: bring juicy tartness, firmer types like Granny Smith or Honeycrisp work great
- Unsalted butter: melted to make the crumble tender and rich, unsalted is key to control salt levels
- Ground cinnamon and nutmeg: classic warm spices that cozy up the apples, freshly ground works best
- Salt: helps balance the sweets and highlights the caramel, fine sea salt is preferred
Instructions
- Cool and Serve:
- Let the bars cool completely in the pan so they hold together well when you slice them.
- Bake:
- Put the pan in the oven and bake for 40 to 45 minutes until the crumble turns golden and the apples feel tender with a fork.
- Add Salted Caramel and Topping:
- Pour the caramel sauce evenly over the apple layer, then crumble the rest of the flour mix on top, covering everything to form a textured crust.
- Layer the Apples:
- Spread the spice-coated apples gently on top of the crumble crust, pressing lightly without squashing them.
- Prepare the Apples:
- Mix peeled and sliced apples with cinnamon and nutmeg in a bowl until well covered.
- Press Base Layer:
- Set aside about two-thirds of the crumble mix and press it evenly into the bottom of the lined baking pan, firm but not crushed.
- Make the Crumble Mixture:
- In a big bowl, stir melted unsalted butter, sugar, vanilla, and salt. Then mix in flour until you get loose crumbs that you can press down but aren’t packed tight.
- Preheat and Prepare:
- Heat your oven to 375 degrees Fahrenheit. Line a 9 by 13 inch pan with parchment paper so it’s easy to lift the bars out later and clean-up is simple.
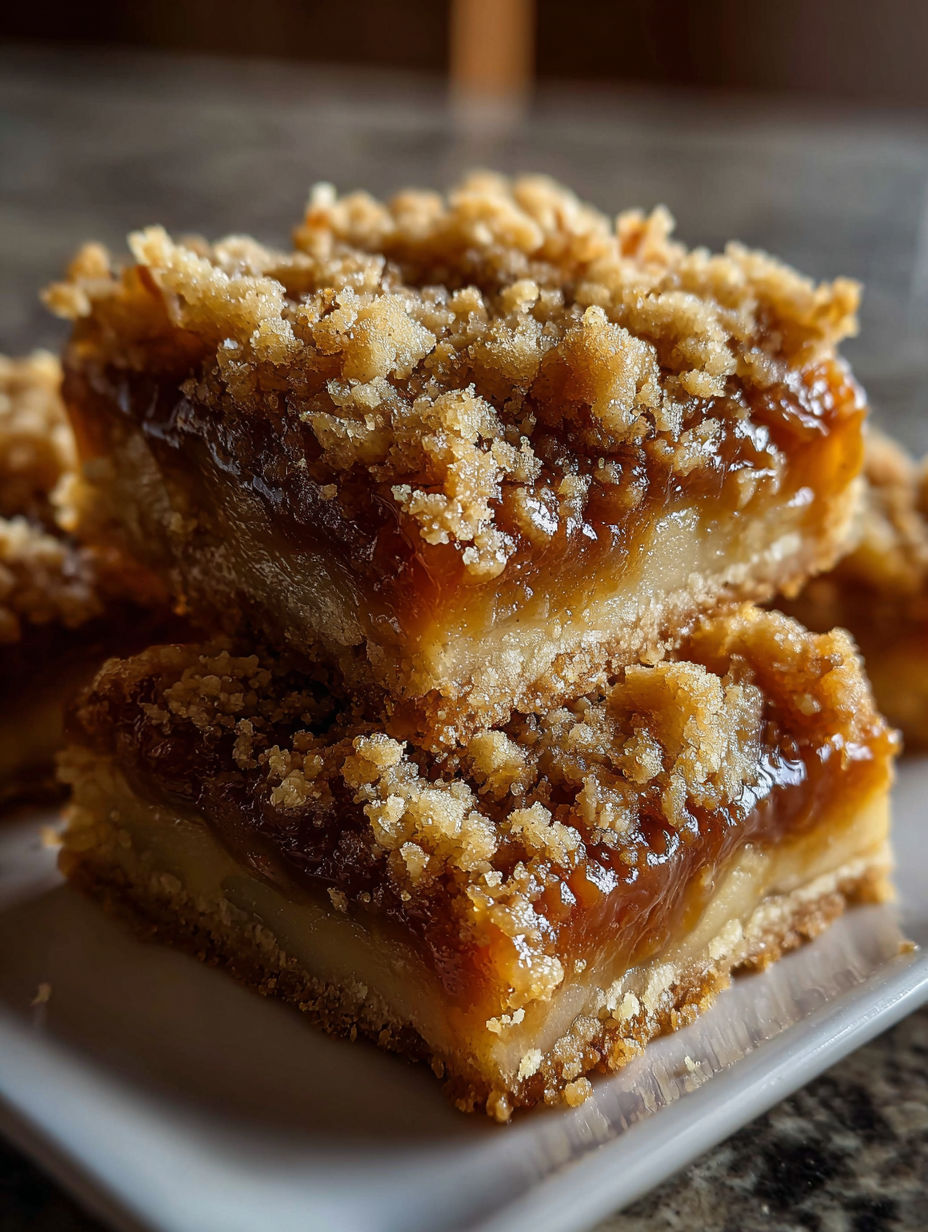
My top pick has got to be the salted caramel sauce. That buttery sweet and salty combo always makes me think of cozy nights baking with my grandma, where caramel treats were the highlight every time.
Keep It Fresh
Keep cooled bars in an airtight container on the counter for up to three days. If you want to keep them longer, wrap tight and chill in the fridge for about a week. Bars freeze well too when cut into pieces and wrapped first in plastic and then foil. They’ll keep for up to three months in the freezer.
Swap Ideas
If you can’t find salted caramel sauce, you can make your own by melting sugar with butter and adding a pinch of sea salt. Use Fuji or Pink Lady apples if you want something sweeter and less sour. Swap the all-purpose flour for whole wheat pastry flour to add a nuttier flavor and some fiber.
Ways To Serve
Warm these bars up a bit and top with vanilla ice cream or whipped cream for a rich treat. They’re also great with a hot cup of tea or spiced cider to add some seasonal charm.
Enjoy these bars any time you want a cozy treat that’s just the right mix of sweet and spice.
Frequently Asked Cooking Questions
- → Which apples are best for these bars?
Firm and tart kinds like Granny Smith or Honeycrisp keep their shape and nicely balance the caramel’s sweetness.
- → Is homemade salted caramel sauce okay to use?
Definitely, homemade caramel gives a fresh and rich taste, but store-bought sauces work well too if you want to save time.
- → What’s the best way to keep the bars after baking?
Store them in an airtight container at room temp to stay soft and fresh for a few days.
- → Can I get these ready ahead of time?
Yes, you can put everything together earlier and bake right before serving so the crumb topping stays nice and crisp.
- → Can these be made gluten-free?
You can swap regular flour for a gluten-free mix, but it might change the texture a bit.